Lowcode isn't just about writing less code than fullstack. It's about increased efficiency, and reduced time-to-value. At Appsmith, we take it a step further, applying a low-code approach to the entire application life-cycle, and not just the initial app development. Features like Version Control with Git, and Multiple Environments are already helping enterprise teams manage their suite of apps at scale. And now, with JS Modules, devs can create reusable JavaScript packages to import across multiple pages and apps, with a single place to edit and push updates.
In this guide, we'll be building a multi-purpose Utils packages to include in every app and provide some commonly used JS functions. We'll start out with an existing app that has a function we want to reuse, create a package version of it, and then replace the regular function with the package version.
Let's get to it!
Initial App (No Package Yet)
For the initial setup, we have an admin dashboard app with pages for Sales, and Customers. Each page has a select widget to filter the associated table.
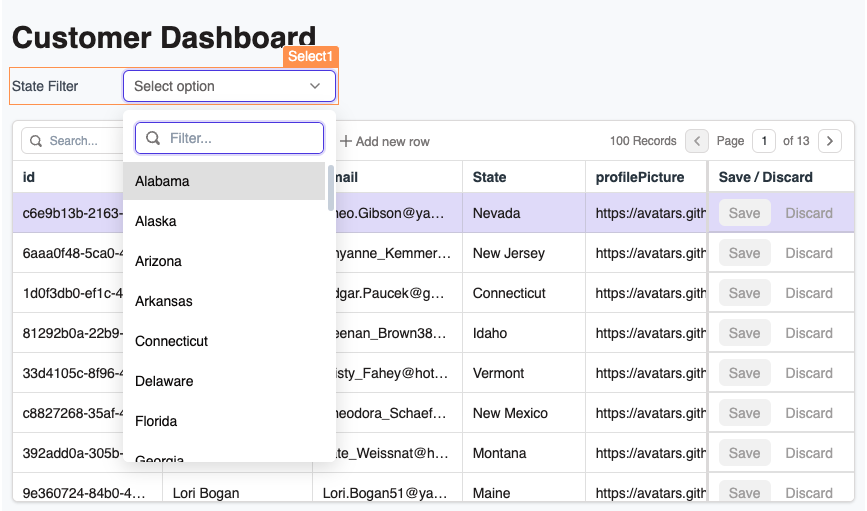
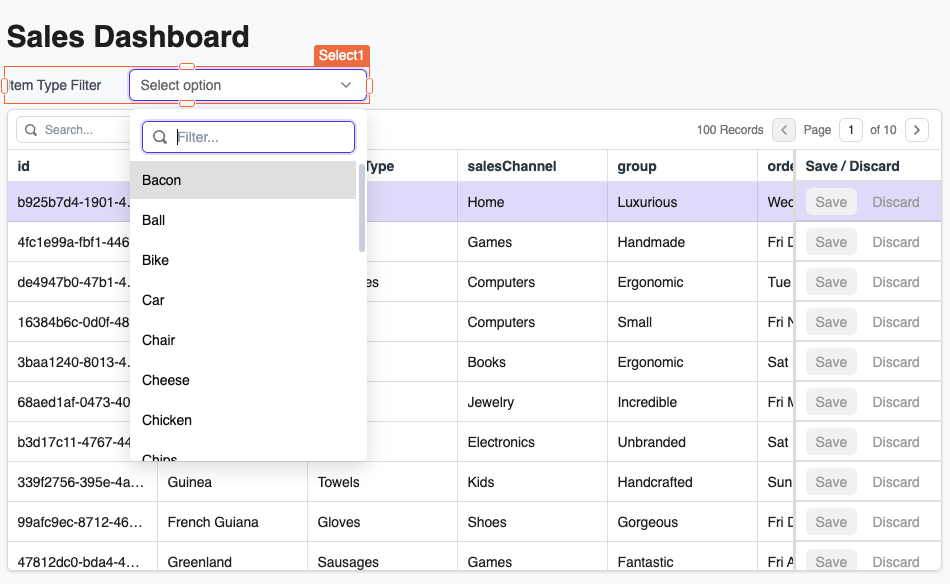
Each of these Select widgets is displaying a sorted, deduplicated list of the values from a specific column, using two very similar functions.
	itemTypeOptions () {
		const options = GetSales.data.map(s=>({label:s.itemType,value:s.itemType}))
		return _.orderBy(_.uniqBy(options,'label'), 'label')
	}

		customerOptions(){
		const options = GetCustomers.data.map(c=>({label:c.name,value:c.id}))
		return  _.orderBy(_.uniqBy(options,'value'), 'label')
	}
And the return values are both used to populate the options for the select widgets.
Now, if these two functions were on the same page of the app, we could just refactor the function to use parameters for the data and field names, then use one function for both use cases. But JSObjects live at the page level, so each page needs its own copy. That's where Packages come in!
Packages now support JS Modules, in addition to Query Modules. In this guide, we'll create our first package and update this app to use the same JS Module on both pages of the app. This will provide a central place to maintain the code, and updates will be pushed to all apps that subscribe to the package.
Creating and Deploying a Package
Start out by creating a new package from the apps homepage, and name it SelectUtilsPkg. Be sure to create the package in the same workspace as the apps that will be using it.
Then add a new JS Module named SelectOptions and paste in the following code.
export default {

	options(data, label, value){
		const options = data.map(c=>({label:c[label],value:c[value]}))
		return _.orderBy(_.uniqBy(options,'label'), 'label')
	}

}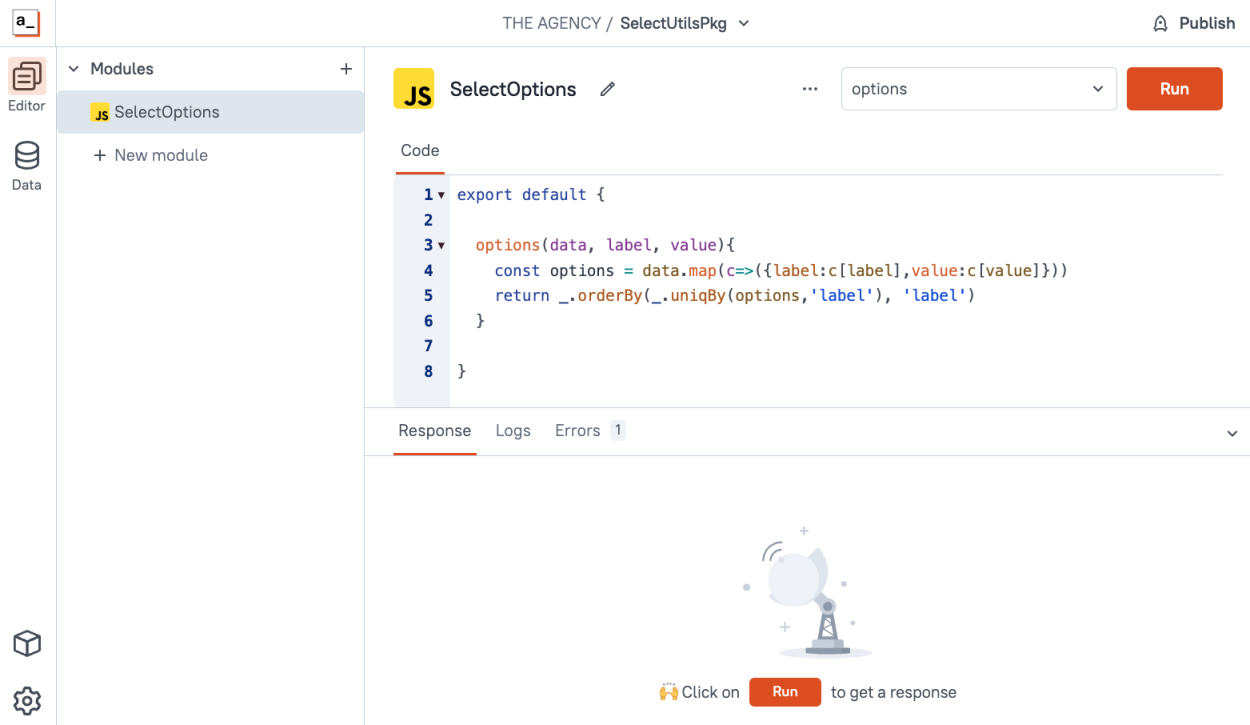
This version of the function takes inputs for the data, and which field to use for the label and value, instead of hardcoding each function to a specific dataset and field.
Deploy the Package so that it can be imported into an app.
Importing the Package to an App
Now the package can be imported and used in place of the separate functions.
Click the + on the JS tab, but this time select the SelectUtilsPkg Package instead of a blank JSObject. From here, you can pass in the variables to be used in this instance of the module.
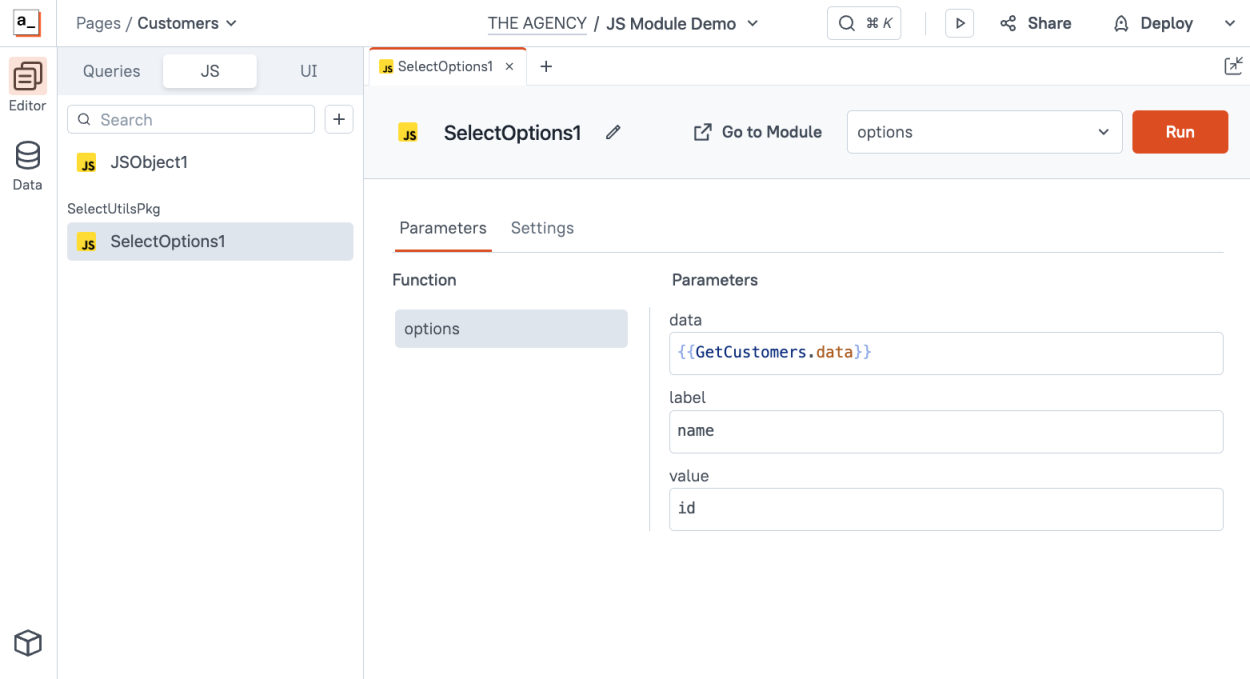
And now the original functions can be deleted and replaced with a single package that accepts parameters for use with different tables and columns on any page or in any app.
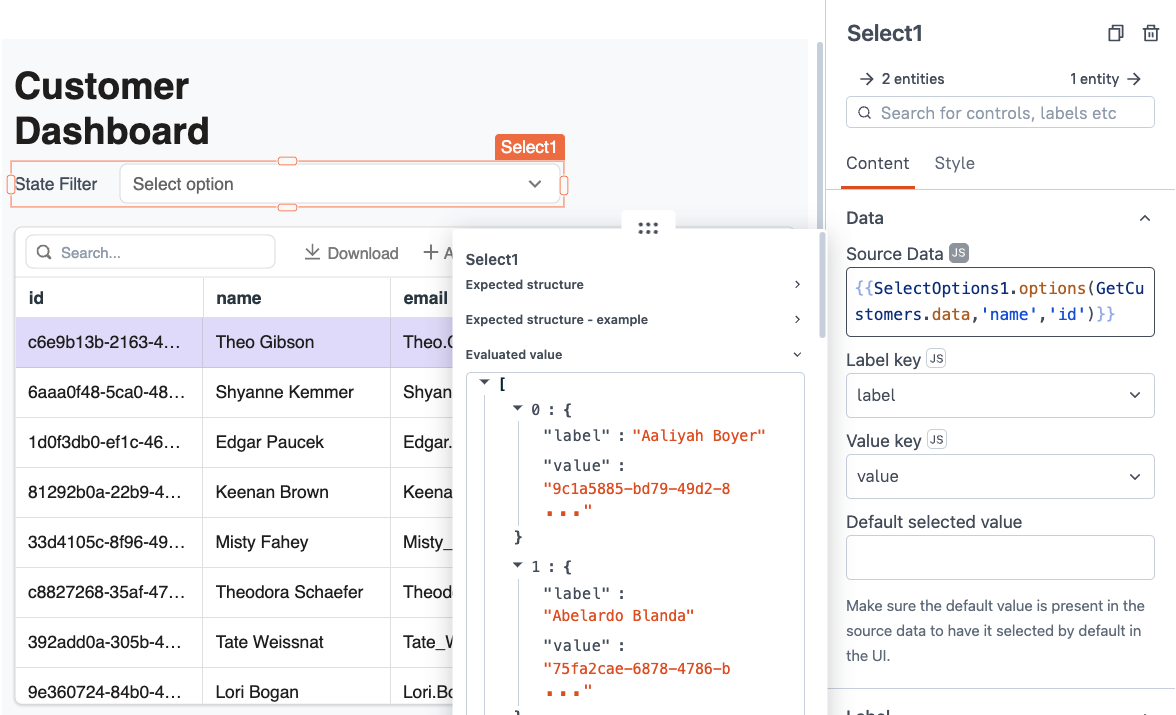
Updating a Package
If you decide to update the package, and add new parameters or change the functionality, just redploy and the changes will be reflected in all apps where the package is used.
Conclusion
With Appsmith Packages, you can now share JS Modules and Queries between apps, giving you a central place to maintain your code and boosting efficiency.


