Appsmith Community Templates: A Beginner's Guide to Sharing Your Apps
Goal
Welcome to the Appsmith community! This guide aims to provide beginners with a quick start on creating and publishing community templates on the Appsmith community portal. Community templates are an excellent way to share your app creations with others and showcase your skills.
Prerequisites
Before you dive into creating and publishing community templates, ensure you have a basic understanding of building apps in Appsmith. This will help you navigate through the process more smoothly.
Overview
In this guide, we'll cover the steps to prepare your Appsmith app for publishing as a community template and then walk you through the process of creating your community profile and app entry on the portal. Let's get started!
Prepping Your Appsmith App
Before you publish your app as a community template, make sure it's public and forkable to allow others to access and create their own versions. Here's what you need to do:
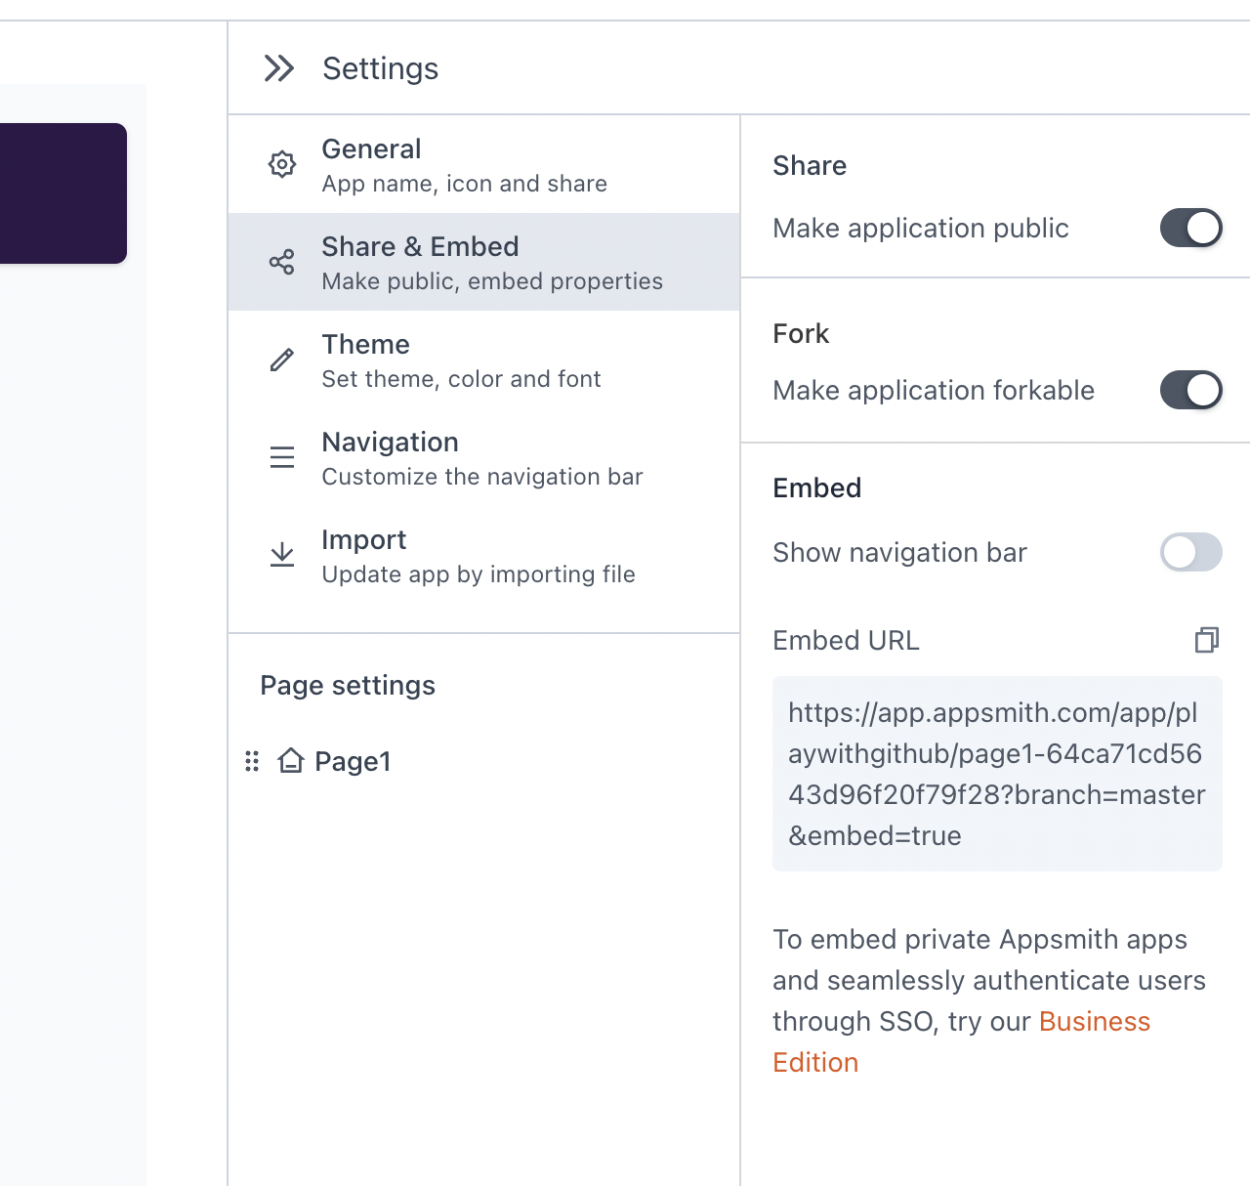
- Make it Public and Forkable: Head over to the main canvas, navigate to App Settings, then Share & Embed, and enable forking and sharing. This way, anyone with the app link can view your app, fork it, and work on their version without altering your original app.
- Capture an App Screenshot: Take a full screenshot of the most functional or representative version of your app. This screenshot will be used to showcase your template on the community portal.
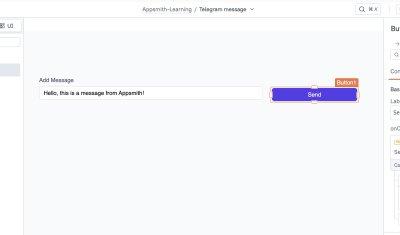
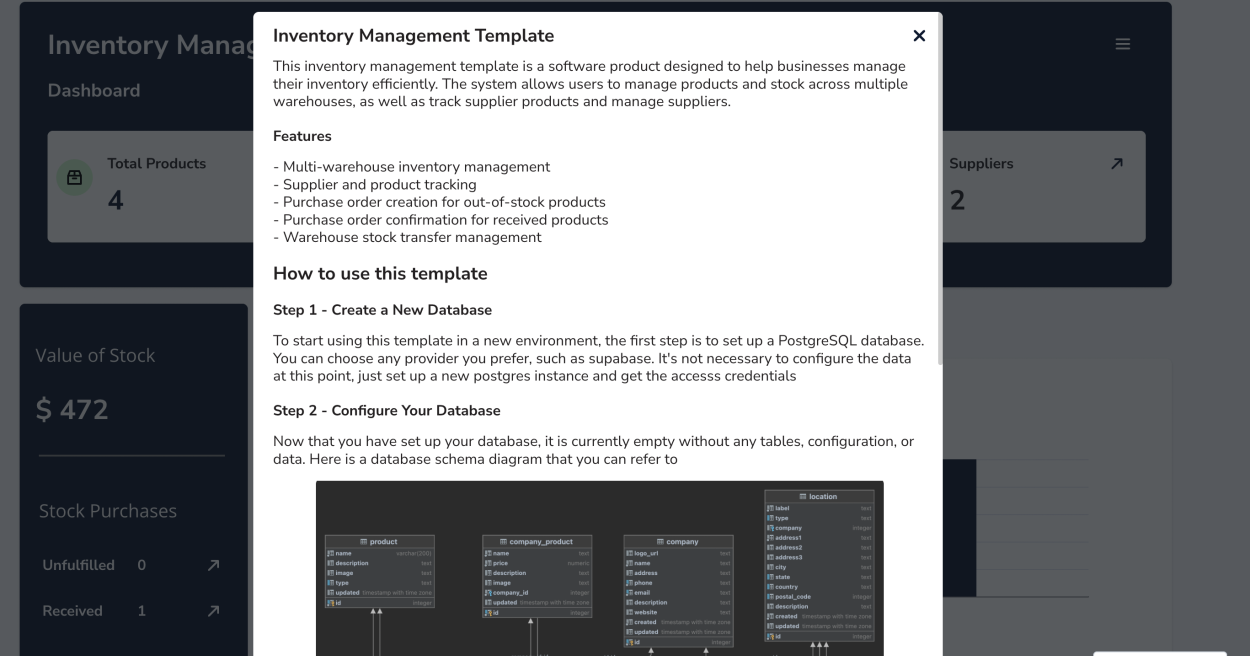
- Handling Datasources: Keep in mind that the datasources used within your app won't be passed along to users who fork your template. Consider creating a helpful getting started screen or modal to guide users in setting up and connecting their datasources like the one below.
Alternatively, design your app to work with demo data if no datasource is present. For inspiration, check out our OpenAI cost tracker community template here, where we use demo data when no OpenAI token is provided or use live data when a token is provided.
Creating Your Community Profile on the Portal
Once you have your community profile set up, it's time to showcase your app by creating an app entry on the portal. Follow these steps:
- Navigate to My Content > Create Content > Template: Find the relevant section on the portal to add your template.
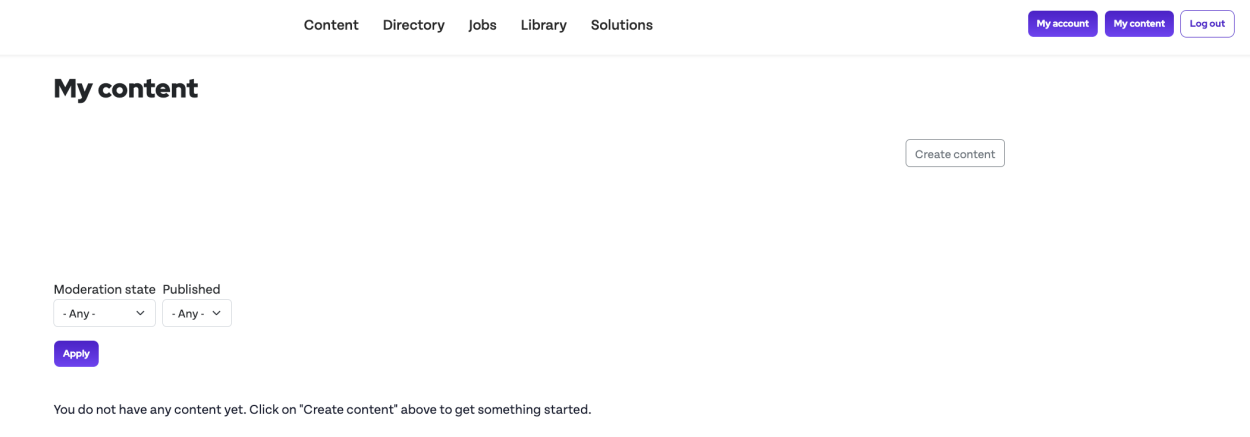
- Navigate to My Content > Create Content > Template: Find the relevant section on the portal to add your template.
Upload App
- Fill Out the Form: Provide information about your app in the form. Include the public URL of your app, the widgets used within it (with specific datasources, if applicable), and don't forget to upload the screenshot you captured earlier.
- Publish Your App: Once you've filled out all the necessary details, set your app status to "published" to make it visible to the community.
Conclusion
Congratulations! You've successfully prepared your Appsmith app and created a community profile with your very own app entry. By sharing your app as a community template, you're contributing to the growing ecosystem of Appsmith developers and helping others learn and build upon your work.
Now, whenever someone discovers your template on the community portal, they can easily fork it, experiment, and perhaps even enhance it further. Remember to engage with the community, gather feedback, and keep refining your templates to inspire others and foster collaborative app development.
Keep exploring, creating, and sharing – the Appsmith community awaits your innovations! Happy templating!


