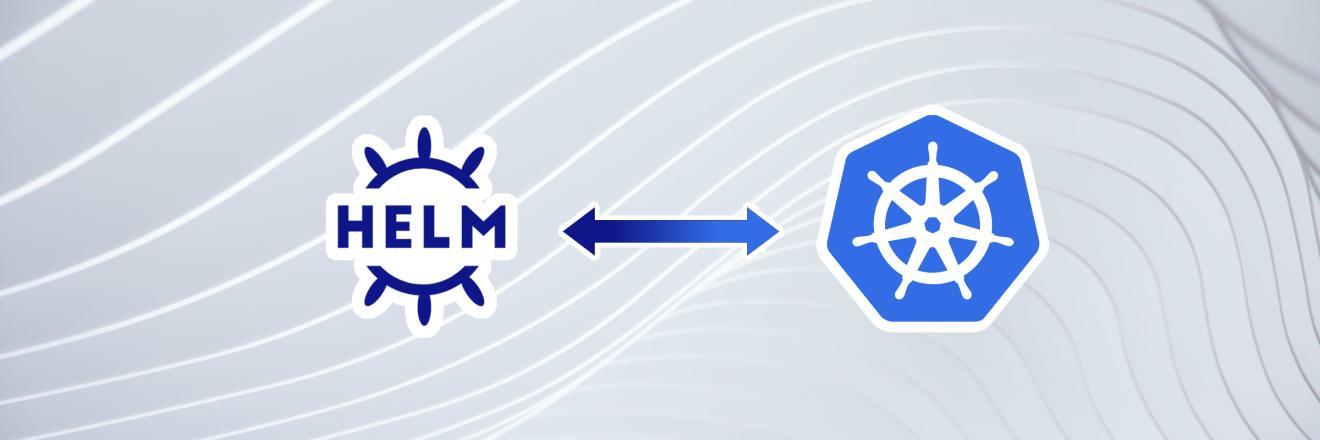

Getting Started with Helm: Installation and Your First Deployment
Goal
To guide you through the process of installing Helm, creating your first Helm chart, and deploying an application to a Kubernetes cluster.
Prerequisites
Basic understanding of Kubernetes
A Kubernetes cluster set up and accessible. This could be a local development cluster created with Minikube or Docker Desktop's Kubernetes support, or a cloud-based cluster (e.g., Google Kubernetes Engine, Amazon EKS, Azure Kubernetes Service).
kubectlinstalled and configured to communicate with your cluster.Access to a command line/terminal.
Overview
Helm is like a toolbox for people who use Kubernetes, which is a system for running apps. It helps them set up and look after their apps automatically. This guide will show you how to get Helm working, make your very first Helm chart (which is like a recipe for your app), and put an app out there for use. This is your starting point to get really good at deploying apps with Kubernetes.
Looking for more info? Checkout our "Introduction to Helm" article.
Installing Helm
As noted in the prerequisites for this tutorial, make sure you have access to a Kubernetes cluster, and verify that
kubectlis installed and configured.Installation will depend on your platform:
- Linux/MacOS:
- Open your terminal.
- Run
curl -fsSL -o get_helm.sh https://raw.githubusercontent.com/helm/helm/main/scripts/get-helm-3 - Execute
chmod 700 get_helm.sh - Install Helm with
./get_helm.sh
- Windows:
- Open PowerShell as an administrator.
- Run
choco install kubernetes-helm(Ensure Chocolatey is installed).
- Alternative methods: Helm can also be installed via package managers like Homebrew on MacOS (
brew install helm) or Snap on Linux (sudo snap install helm --classic).
- Linux/MacOS:
Creating Your First Helm Chart
A Helm chart is a collection of files organized in a specific directory structure. At its simplest, a chart directory contains:
- Chart.yaml: A YAML file containing metadata about the chart.
- values.yaml: A YAML file specifying default configuration values.
- templates/: A directory containing template files that generate valid Kubernetes manifest files when combined with values.
- charts/: An optional directory containing dependency charts.
To create a basic chart, just follow these steps:
- Open your terminal.
- Run
helm create my-first-chartto create a chart directory with the default structure. - Navigate into your chart directory with
cd my-first-chart. - Customize the
values.yamland templates in thetemplates/directory as needed.
As you can see, the
helm createcommand does most of the work for you!Sample config to use
If you don't have a specific use case to work on, here is some sample configuration that you can use to deploy an Nginx server.
Chart.yaml
The
Chart.yamlfile contains metadata about your Helm chart. Here's a basic example for our simple web application chart:apiVersion: v2 name: simple-webapp description: A Helm chart for Kubernetes to deploy a simple web application type: application version: 0.1.0 appVersion: "1.0"This file defines the chart name (
simple-webapp), a description, the chart version, and the version of the application you're deploying (appVersion).apiVersion: v2indicates that this chart is compatible with Helm 3.Values.yaml
The
values.yamlfile specifies configuration values for templates. For our simple web application, we'll define values to configure the deployment of a basic NGINX web server:replicaCount: 1 image: repository: nginx pullPolicy: IfNotPresent tag: "stable" service: type: ClusterIP port: 80Here, we're setting up a single replica of Nginx. We specify the Nginx image to use (
nginx:stable), and we set thepullPolicytoIfNotPresent, which means Kubernetes will use the local image if it exists instead of pulling from a registry. For the service we're usingClusterIPto expose the application within the cluster on port 80.Template - deployment.yaml
Now that you have your
Chart.yamlandvalues.yamlset up, you can create a basic template for deploying Nginx. Helm charts use templates written in Go template language, with Kubernetes YAML definitions.Inside your chart directory (
simple-webappin this case) go to thetemplatesdirectory. Create a file namedeployment.yamlfor the Nginx deployment. Here is a simplified version:apiVersion: apps/v1 kind: Deployment metadata: name: {{ include "simple-webapp.fullname" . }} spec: replicas: {{ .Values.replicaCount }} selector: matchLabels: app: {{ include "simple-webapp.fullname" . }} template: metadata: labels: app: {{ include "simple-webapp.fullname" . }} spec: containers: - name: nginx image: "{{ .Values.image.repository }}:{{ .Values.image.tag }}" ports: - containerPort: 80Template - service.yaml
Now create a
service.yamlfile to define the service for your deployment.apiVersion: v1 kind: Service metadata: name: {{ include "simple-webapp.fullname" . }} spec: type: {{ .Values.service.type }} ports: - port: {{ .Values.service.port }} targetPort: 80 selector: app: {{ include "simple-webapp.fullname" . }}In the Helm chart we've created, the YAML files work together in a smart way to customize how the application is set up and managed. The
Chart.yamlfile acts like your chart's identity card, providing basic info like the chart's name and version. Then, thevalues.yamlfile steps in as a flexible friend, holding all the customizable settings for your application, such as how many copies to run or which version of an image to use.When Helm goes to deploy your application, it looks at the templates in the
templates/directory, likedeployment.yamlandservice.yaml, and fills in the blanks with the data fromvalues.yaml. This means you can easily change the behavior of your application by adjusting the settings invalues.yamlwithout touching the core templates, making your Helm chart incredibly versatile and easy to use across different environments or scenarios.Deploying Applications with Helm
Ok, so now you have a basic chart - how do you deploy it? Well, it depends on if it is local or from a repository:
Instructions for deploying a local chart:
- Ensure you're in the chart directory.
- Deploy your chart to Kubernetes with
helm install my-first-app ./my-first-chart. - Helm will output the status of the deployment and provide instructions to retrieve the application's URL or IP address.
How to deploy charts from public or private repositories:
- Add a repository with
helm repo add [REPO_NAME] [REPO_URL]. - Update your repo list with
helm repo update. - Search for available charts with
helm search repo [REPO_NAME]. - Install a chart from the repository with
helm install my-first-app [REPO_NAME]/[CHART_NAME].
Install Appsmith
Now that you have Helm setup and a basic working understanding, you can also try something more advanced. Lets install Appsmith!
-
Create a folder named
appsmithon your machine for deployment and data storage. Then, navigate to this folder using thecdcommand. Add the Appsmith chart repository with:helm repo add appsmith-ee https://helm-ee.appsmith.com -
Load the Appsmith chart repository with:
helm repo update -
Generate the
values.yamlfile with:helm show values appsmith-ee/appsmith > values.yaml -
Run the below command to deploy Appsmith:
helm install appsmith-ee appsmith-ee/appsmith -n appsmith-ee --create-namespace -f values.yaml -
Get pod name with:
kubectl get pods -n appsmith-eeThis displays the status of the pods. Proceed to the next step once the pod status is shown as RUNNING.
-
To access and verify the installation locally, use the below command that forwards the port 8080 to port 80:
kubectl --namespace appsmith-ee port-forward appsmith-ee-0 8080:80Note: In the above command,
appsmith-ee-0is the Appsmith pod name. - Open http://localhost:8080 and wait for the server to come up. This can take up to 5 minutes. Once the server is up and running, you can access Appsmith at http://localhost:8080.
- Fill in your details to create an administrator account.
- Once you've created an account, you can either start with the free plan or activate your instance with a license key. If you want to generate a license key, sign up on customer.appsmith.com to create one, and then proceed to activate your instance using the newly generated license key.
-
Conclusion
In this guide, you've really jumped into Kubernetes and Helm. You got Helm set up, made your own chart, and launched an app, seeing for yourself how Helm makes things simpler and faster. You even learned how to use Helm to set up something more complex like Appsmith.
As you keep exploring Kubernetes, don't forget that Helm is like a super tool that helps you easily handle complex setups.