


Lookup Address From Coordinates Using Map Widget (Reverse Geocoding)
Goal
Create a reverse geocoding integration with the Appsmith map widget
Prerequisites
Geocode API (like Google Maps or Positionstack)
Overview
Have you ever been in a situation where you have the coordinates of a location – perhaps from a GPS device or a data source – but you really need the physical address? This is where reverse geocoding comes into play. Reverse geocoding is the process of converting geographic coordinates into a human-readable address. It's an invaluable tool in various scenarios, from mapping applications to location-based services.
In this tutorial, we'll guide you through a straightforward method to achieve reverse geocoding using the Map widget in Appsmith. This approach is perfect for web developers who need to implement an interactive map feature where users can click on a map to get detailed location information, or for applications that need to display addresses based on coordinates received from other sources.
For example, imagine you're developing an application for a delivery service. Your drivers use GPS devices that provide coordinates but need to know the exact delivery addresses. By implementing reverse geocoding, you can significantly enhance your app's usability and efficiency.
Whether you're a seasoned developer or just starting out, this tutorial will equip you with the skills to enrich your applications with reverse geocoding capabilities. Let's dive in and unlock the power of location data!
Get geocoding API key
Generate an API key by signing up for a geocoding service like Google Maps API or Positionstack.
Create Appsmith query
Create a REST API to enable reverse geocoding, like:
http://api.positionstack.com/v1/reverse?access_key=d23456&query={{Map1.selectedMarker.lat}},{{Map1.selectedMarker.lat}}This API performs reverse geocoding to retrieve location information based on provided latitude and longitude parameters. The
access_keyserves as an authentication key for accessing the geocoding service.Configure the Map widget
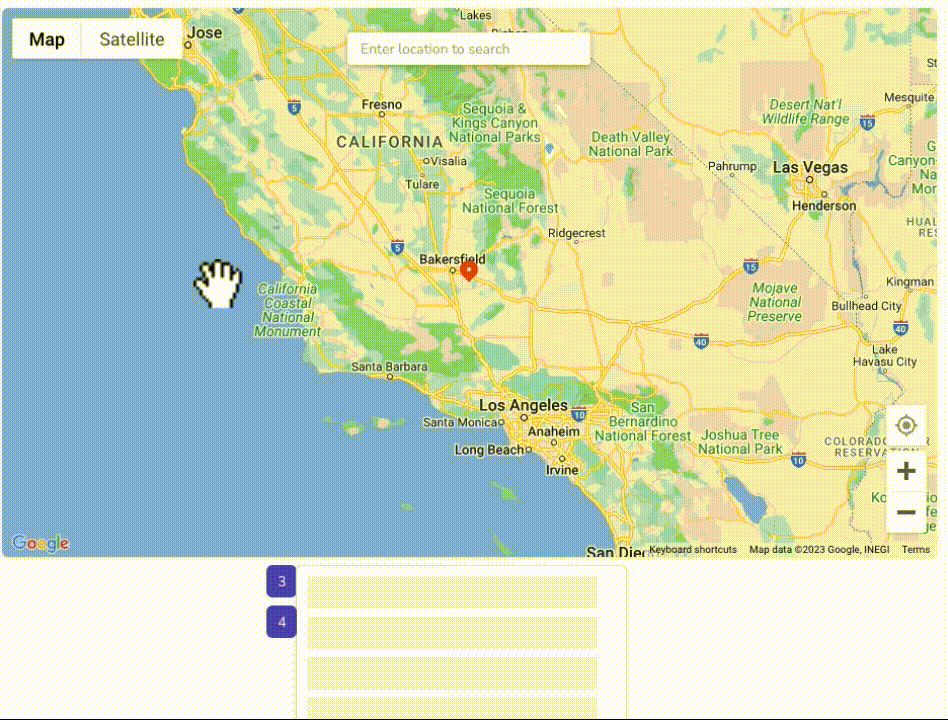
- Drag a Map widget onto the canvas for your app
- Enable
Create new markerproperty of the Map widget. - Click JS and set the
OnCreateMarkerandonMarkerClickproperties to execute the query:
{{ Api1.run() }}The above code executes the API with latitude and longitude parameters obtained from the selected marker.
Configure the Text widget for output
Drop a Text widget on the canvas to display reverse geocoded address information, like:
Continent: {{ Api1.data.data[0]?.continent }}
Country: {{ Api1.data.data[0].country  || "" }}
Region: {{ Api1.data.data[0].region || "" }}
Locality: {{ Api1.data.data[0].locality || "" }}
The above code extracts continent, country, region, and locality information from the response of the API.
With this setup, the Text widget dynamically displays address information whenever you create a new marker or click on an existing marker.
Conclusion
As we conclude this tutorial, let's take a moment to reflect on what we've accomplished. We started with just a set of coordinates, and now we have a fully functional feature in our application that can translate those coordinates into detailed, readable addresses! This transformation is made possible through the power of reverse geocoding and the Appsmith platform.
By integrating a Map widget with a reverse geocoding API, we've created an interactive tool that enhances the user experience and adds significant value to any location-based application. Whether for a delivery service app, a travel guide, or a real estate platform, converting coordinates to addresses on the fly is immensely useful.
The simplicity of the process is also worth noting. With just a few steps – generating an API key, setting up a REST API, and configuring the Map and Text widgets – we were able to build a feature that seems complex but is quite straightforward to implement. This ease of execution is a testament to the power of modern web development tools and services.
Remember, the techniques we've covered in this tutorial are just the tip of the iceberg. The world of web development is vast, and there are endless possibilities for what you can create. We encourage you to experiment, explore, and continue learning. With the right tools and a bit of creativity, there's no limit to what you can achieve in your web development journey.