Retrieval-Augmented Generation (RAG) is a technique that improves the responses from a language model by retrieving extra reference data in real-time, instead of only relying on the model's initial training set. The reference data can be in the form of documents or images that you provide with the prompt, or it could be live-searching the web or specific sites to ground the response and provide more context.
In this guide, we'll show 3 different examples of RAG, using Appsmith AI, and Chat API's from OpenAI and Cohere AI. Using these techniques, you can build AI assistants into your internal tools, and ground the responses to be based on your companies data and policies.
Appsmith AI with File Reference
First we'll check out the built-in Appsmith AI, which is free to use, and does not require an API key. Appsmith AI has several different methods for text generation, and also supports uploading images with the prompt. Additionally, there's an option to add specific files at the Datasource level so they are referenced with every prompt. For this example, I'll be using an employee handbook to build a chat bot that answers employee questions.
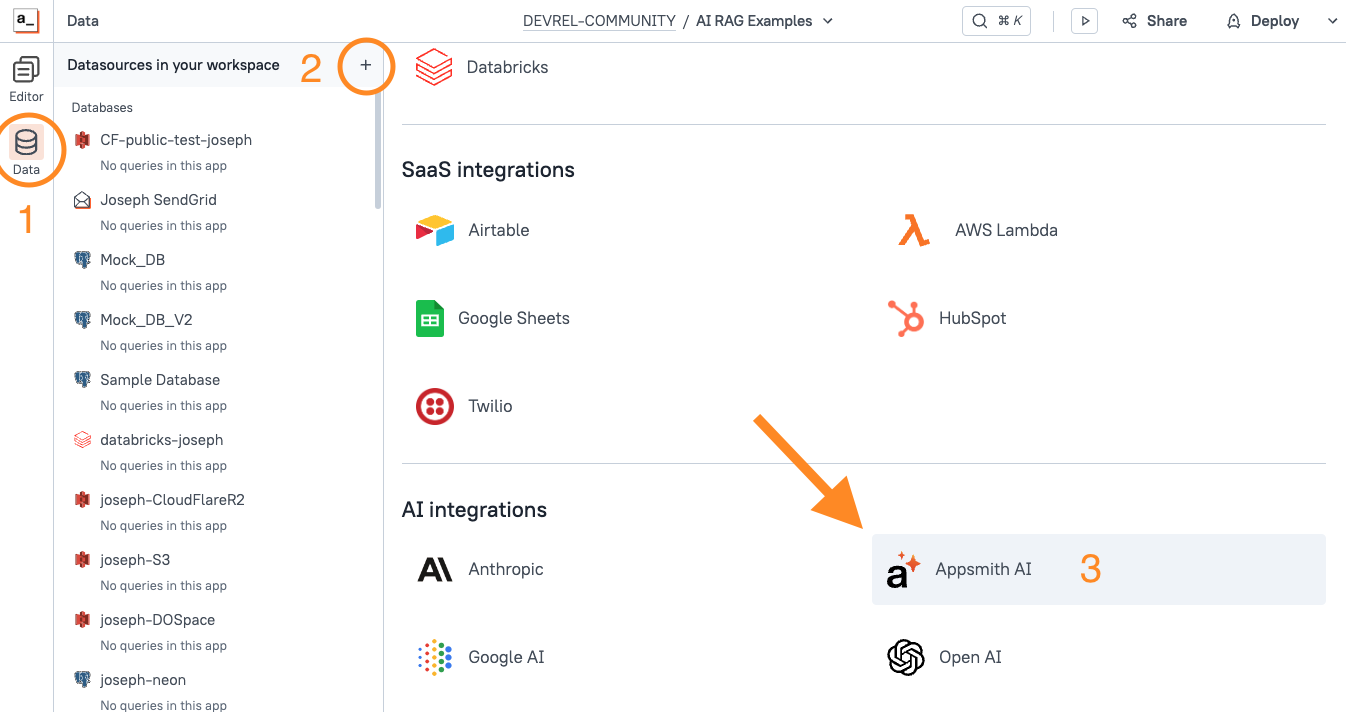
Start out by creating a new Datasource, and select Appsmith AI.
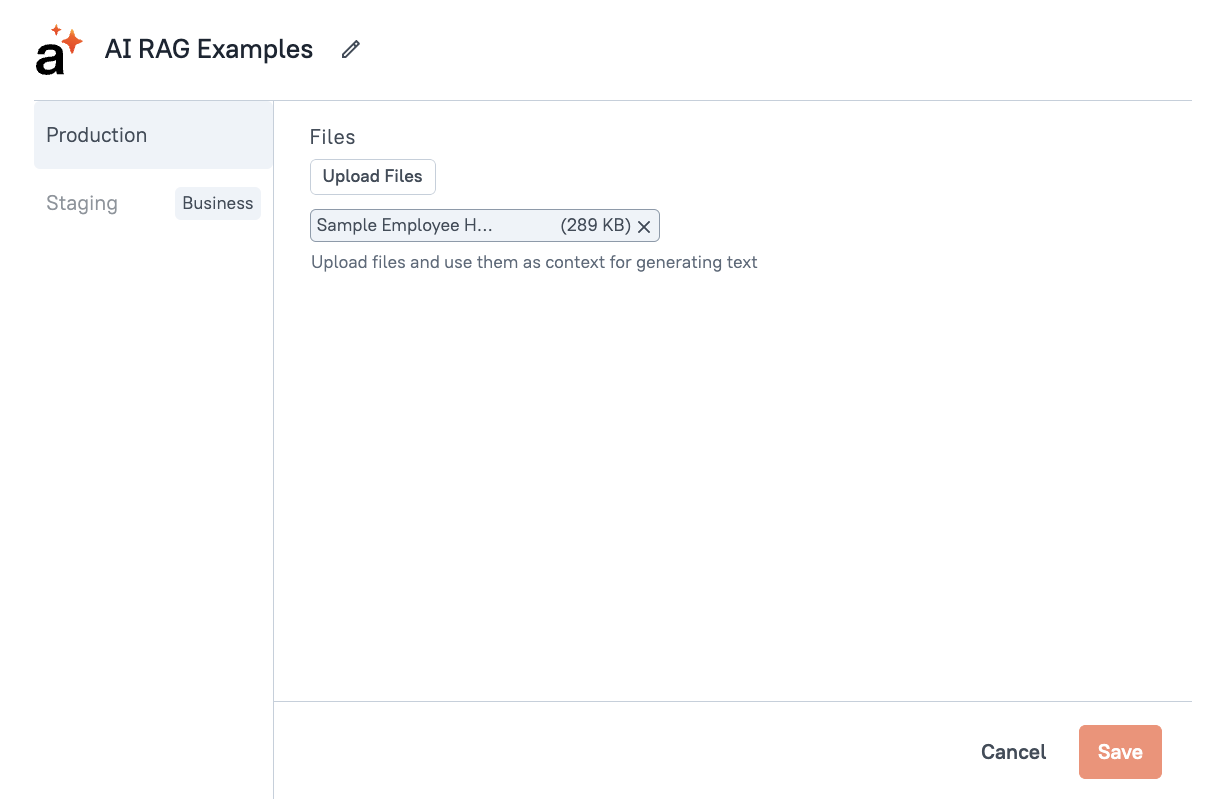
Then upload any files you want to reference. For this example, I'm using this sample Employee Handbook.
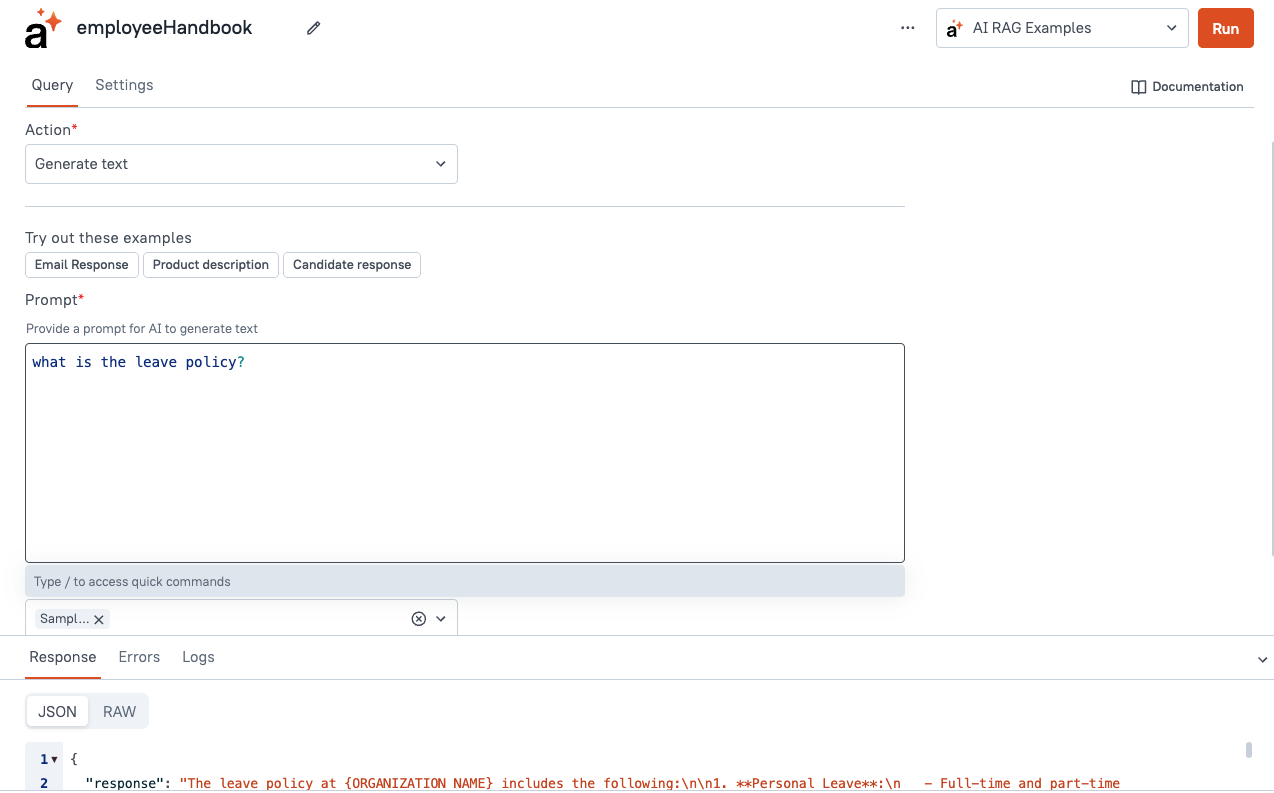
Next, create a new query under the datasource and select the Generate text action. Then type a question in the prompt field. Lastly, choose the PDF file in the Use context from files option.
Click Run, and you should get back a response based on your file.
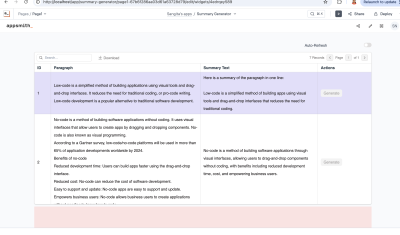
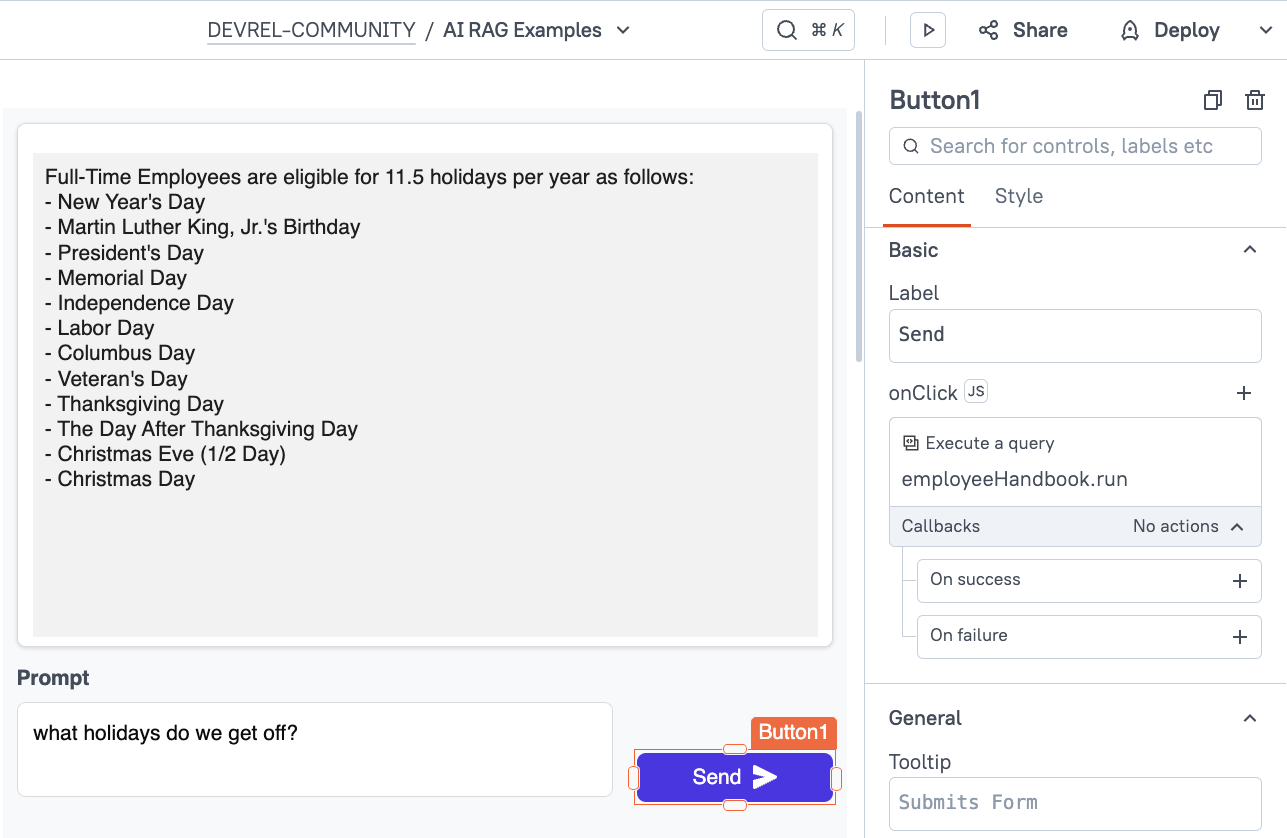
Now for the UI. Add an input widget and a button to send the message, then set the button's onClick action to run the employeeHandbook API. Then add a text widget to show the AI response, and set the content to {{employeeHandbook.data.response}}.
Then head back to the Query pane and update the prompt to reference {{Input.text}}. You should now be able to chat with your PDF!
OpenAI Chat with Image Url
Next we'll check out RAG using OpenAI's Chat API, and referencing a public image url. Start out by cloning this page so we can reuse the UI, and just swap out the API. Delete the Appsmith AI query, and then import this curl request for the OpenAI Chat endpoint:
curl https://api.openai.com/v1/chat/completions \
 -H "Content-Type: application/json" \
 -H "Authorization: Bearer $OPENAI_API_KEY" \
 -d '{
   "model": "gpt-4o",
   "messages": [
     {
       "role": "user",
       "content": [
         {
           "type": "text",
           "text": "What'\''s in this image?"
         },
         {
           "type": "image_url",
           "image_url": {
             "url": "https://raw.githubusercontent.com/appsmithorg/appsmith/refs/heads/release/static/appsmith_logo_white.png"
           }
         }
       ]
     }
   ],
   "max_tokens": 300
 }'
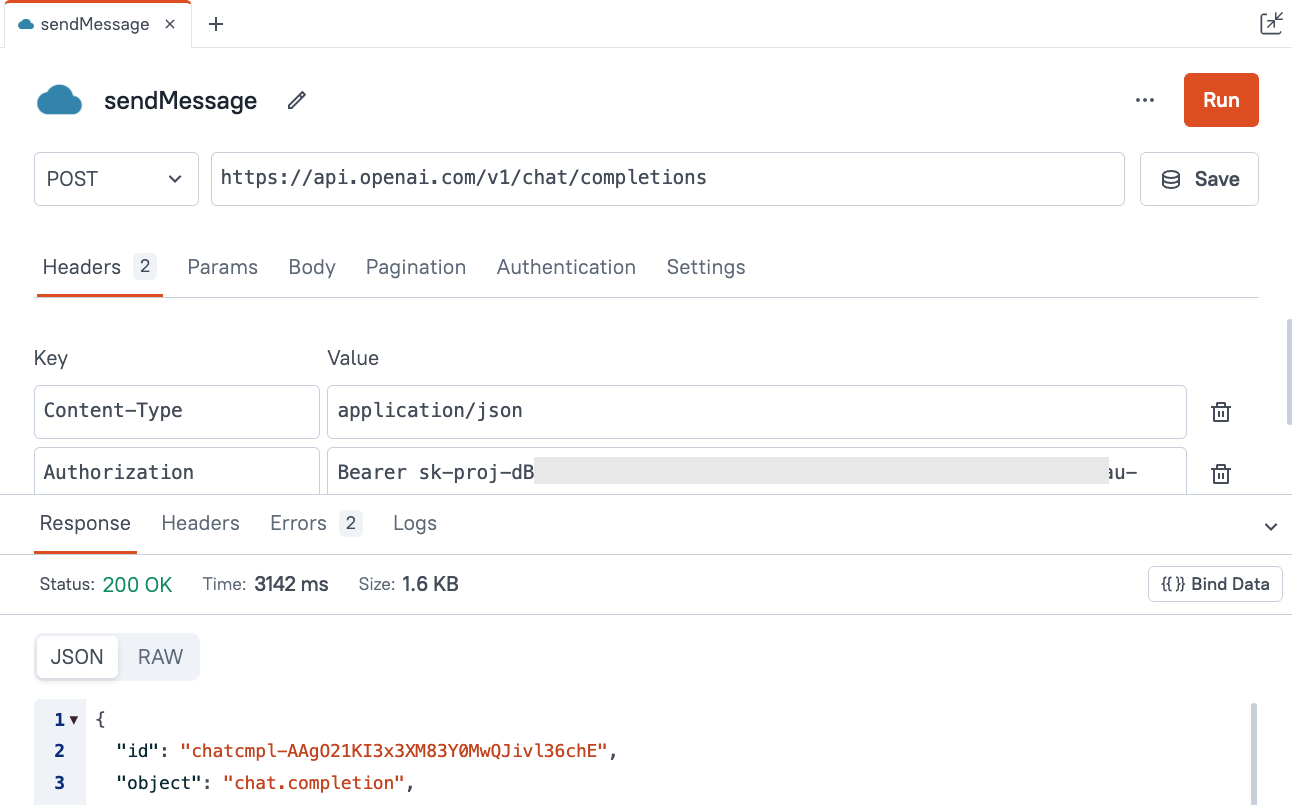
Once imported, replace the $OPENAI_API_KEY placeholder with your API key in the Header tab. Click Run and you should get back a response describing the Appsmith logo.
 Next, add a new input for the image url, separate from the prompt. Now that we have two inputs, this would be a good time to rename them.
Rename the inputs to inp_prompt and inp_url. Then update the send button to run the sendMessage API.
Lastly, update the text widget to display the response message from OpenAI. Update the content to:
{{sendMessage.data.choices[0].message.content}}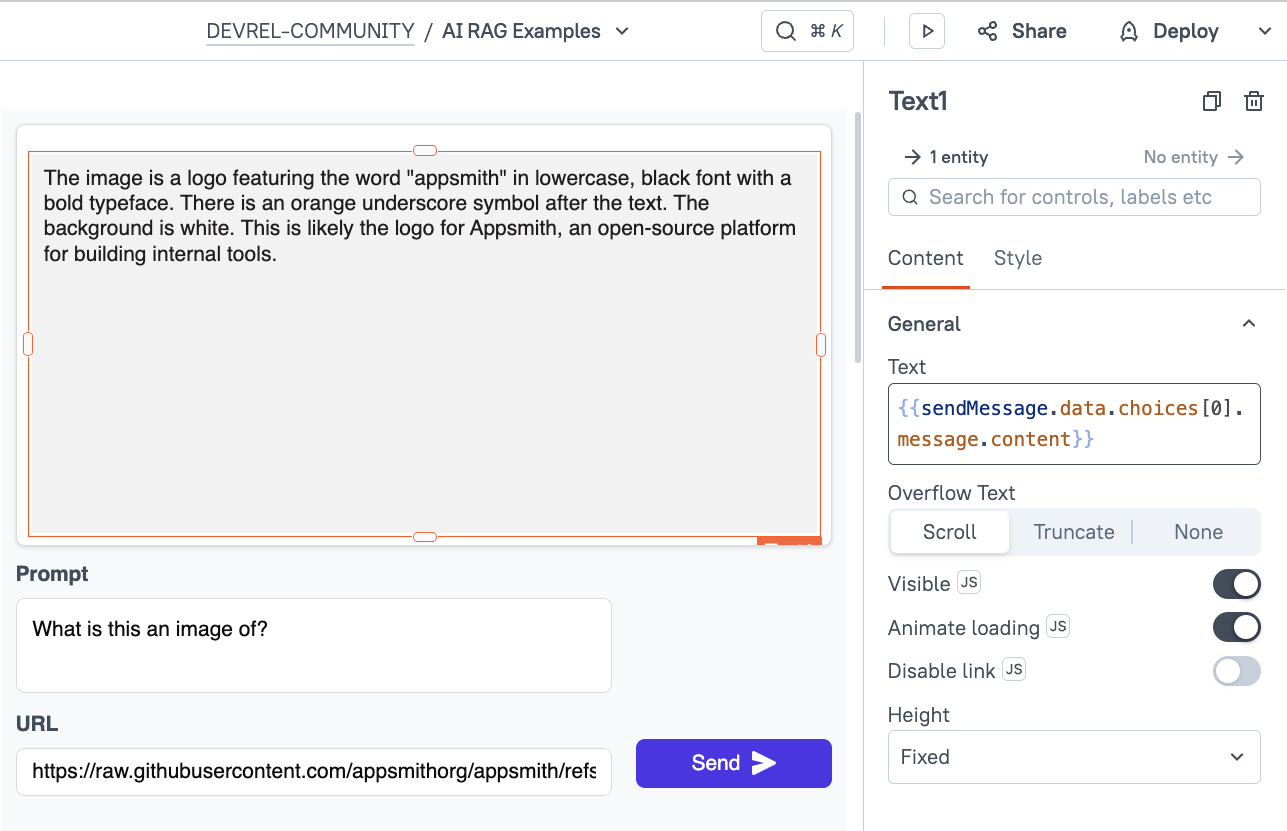
Before moving on, we should save this API as a datasource, and move the API key to the Appsmith server. Select the API in the query pane and click the Save button after the URL.
Then set the Auth Type to Bearer token. Copy the token from the header section to the Bearer token field, without the word Bearer. Then delete the original Authorization header, and save the Datasource. The key is now securely stored on the Appsmith server, instead of in the app.
Cohere AI with web search
Lastly, we'll check out Cohere AI's Chat API, using their web search tool. This allows the AI to search the web in real-time, before responding to your prompt. You can also add an optional URL to ground the responses to a specific site.
Start out by cloning the Appsmith AI page again, and deleting the employeeHandbook API. Then import this curl request:
curl --location --request POST 'https://api.cohere.com/v1/chat' \
--header 'Authorization: Bearer YOUR_API_KEY' \
--header 'Content-Type: application/json' \
--data-raw '{
   "model": "command-r-plus",
   "message": "what hosting options does appsmith support?",
   "temperature": 0.3,
   "prompt_truncation": "AUTO",
   "stream": false,
   "connectors": [{"id":"web-search"}]
 }'
Once imported, update the Authorization header with your API key for the bearer token. Note the connectors array. This is where we can enable the web search option by including {"id":"web-search"} in the list of connectors.
Then, update the body of the API to take the message from Input1.text. "message": "{{Input1.text}}"
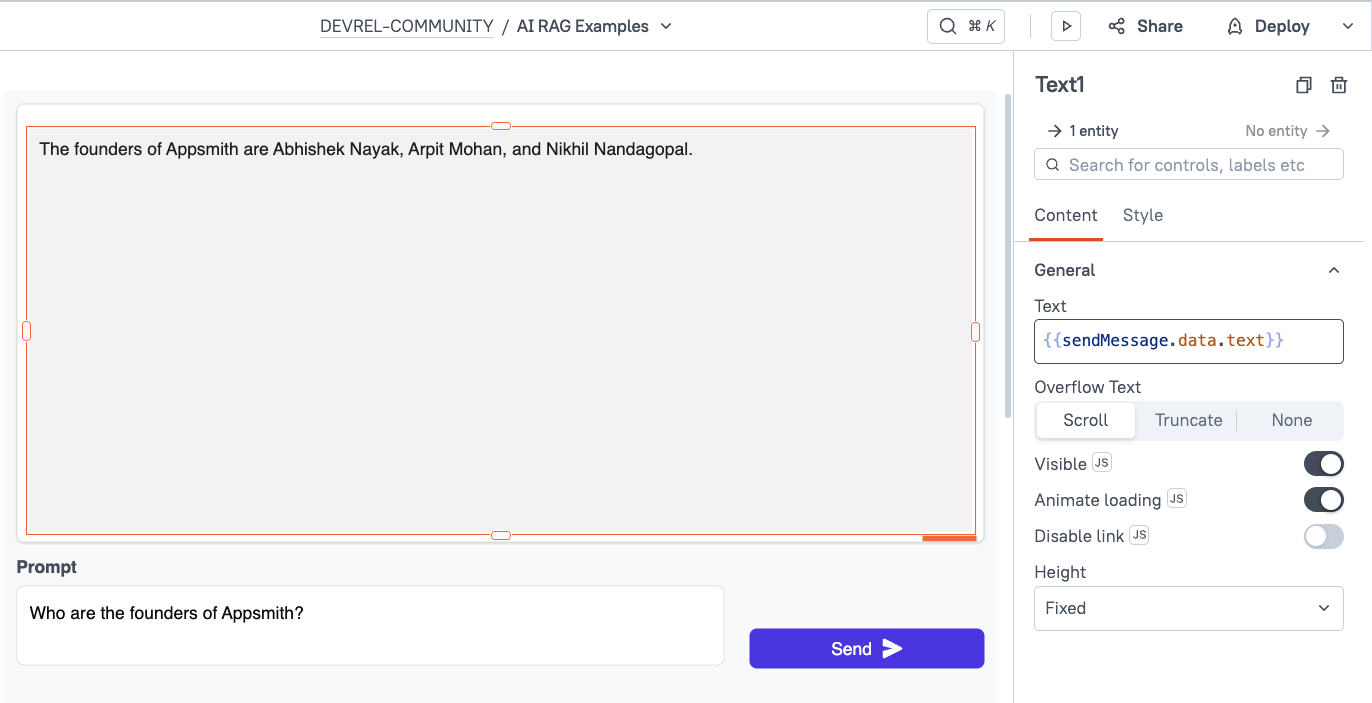
Lastly, go back to the UI and reconnect the button and text widget. With the Cohere API, the reply is at sendMessage.data.text.
Now enter a prompt in the input and then test it out. You should now be able to chat with the Cohere AI, with web search enabled for more up-to-date results.
This method can improve results in most cases, but it could also pull data from untrusted sources. In order to ground the response to data from a specific domain, you can include a site url in the connector object.
connectors: [{
    id: "web-search",
    options: {
      site: "docs.appsmith.com"
    }
  }]
Conclusion
Retrieval Augmented Generation is a great way to improve the accuracy of LLM responses, especially when grounding to a specific domain. This enables teams to leverage AI for internal tools with more predictable results that are tailored to your use case.