

Appsmith Agents just launched, enabling organizations to build more powerful agentic systems with secure access to your company data, and function calling to integrate with any datasource. In addition to our 35+ database, SaaS and API integrations, agents also supports several new datasources for RAG (Retrieval-augmented generation).
In this guide, we'll be building an office administrator agent, that can access meeting notes in Google Drive for RAG, call functions to fetch live customer data, and send messages to users in Slack. The agent can then be used as a stand-alone tool, or a Chrome extension that is accessible on any website.
This guide will cover:
- Creating an Agent in Appsmith
- Adding Google Drive as a knowledge source for RAG
- Function Calling for REST APIs and JavaScript
- Embedding the agent as a Chrome extension
Let's get started!
Creating an Agent in Appsmith
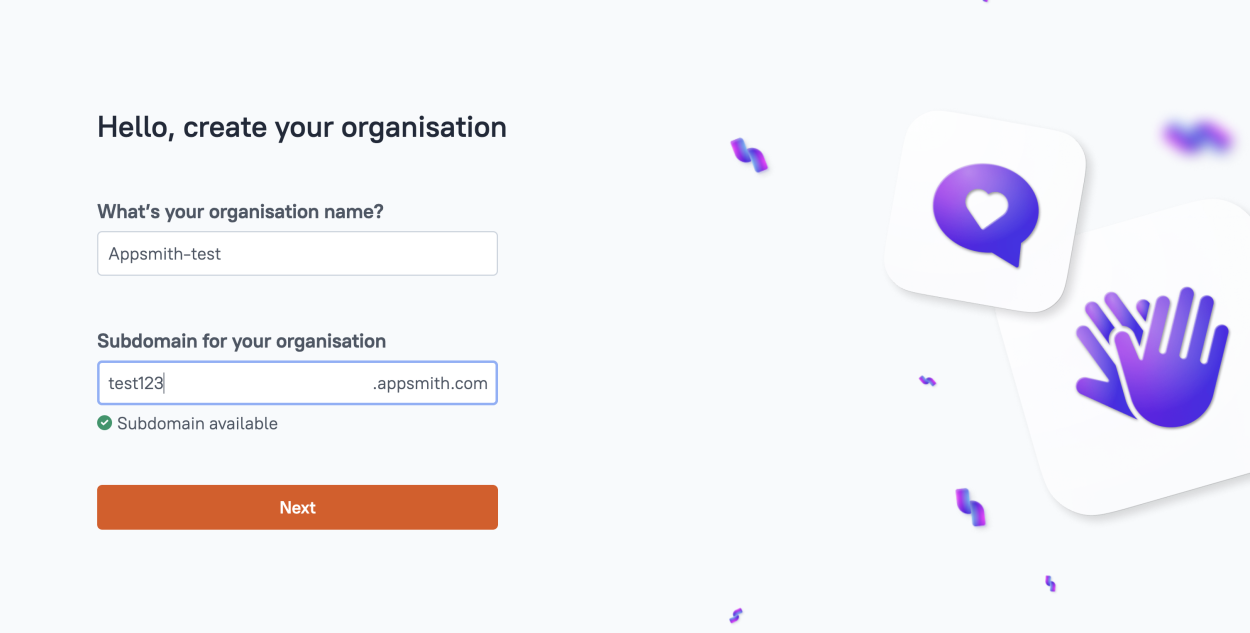
Start out by creating a free trial instance at https://login.appsmithai.com/, and choosing your subdomain.
Note: Existing business and enterprise customers will soon be able to access agents on their current instances. For now, agents are only available by creating a new instance from the appsmithai.com page.
On the next screen, you'll be presented with your first Agent already created, with a ChatQuery to being using the Agent. You can also create a new agent from the apps home page once your instance is set up.
At this point, the agent is created and usable, but it doesn't have access to your data or any function calling yet. Next, let's add a knowledge source for RAG.
Adding Google Drive as a knowledge source for RAG
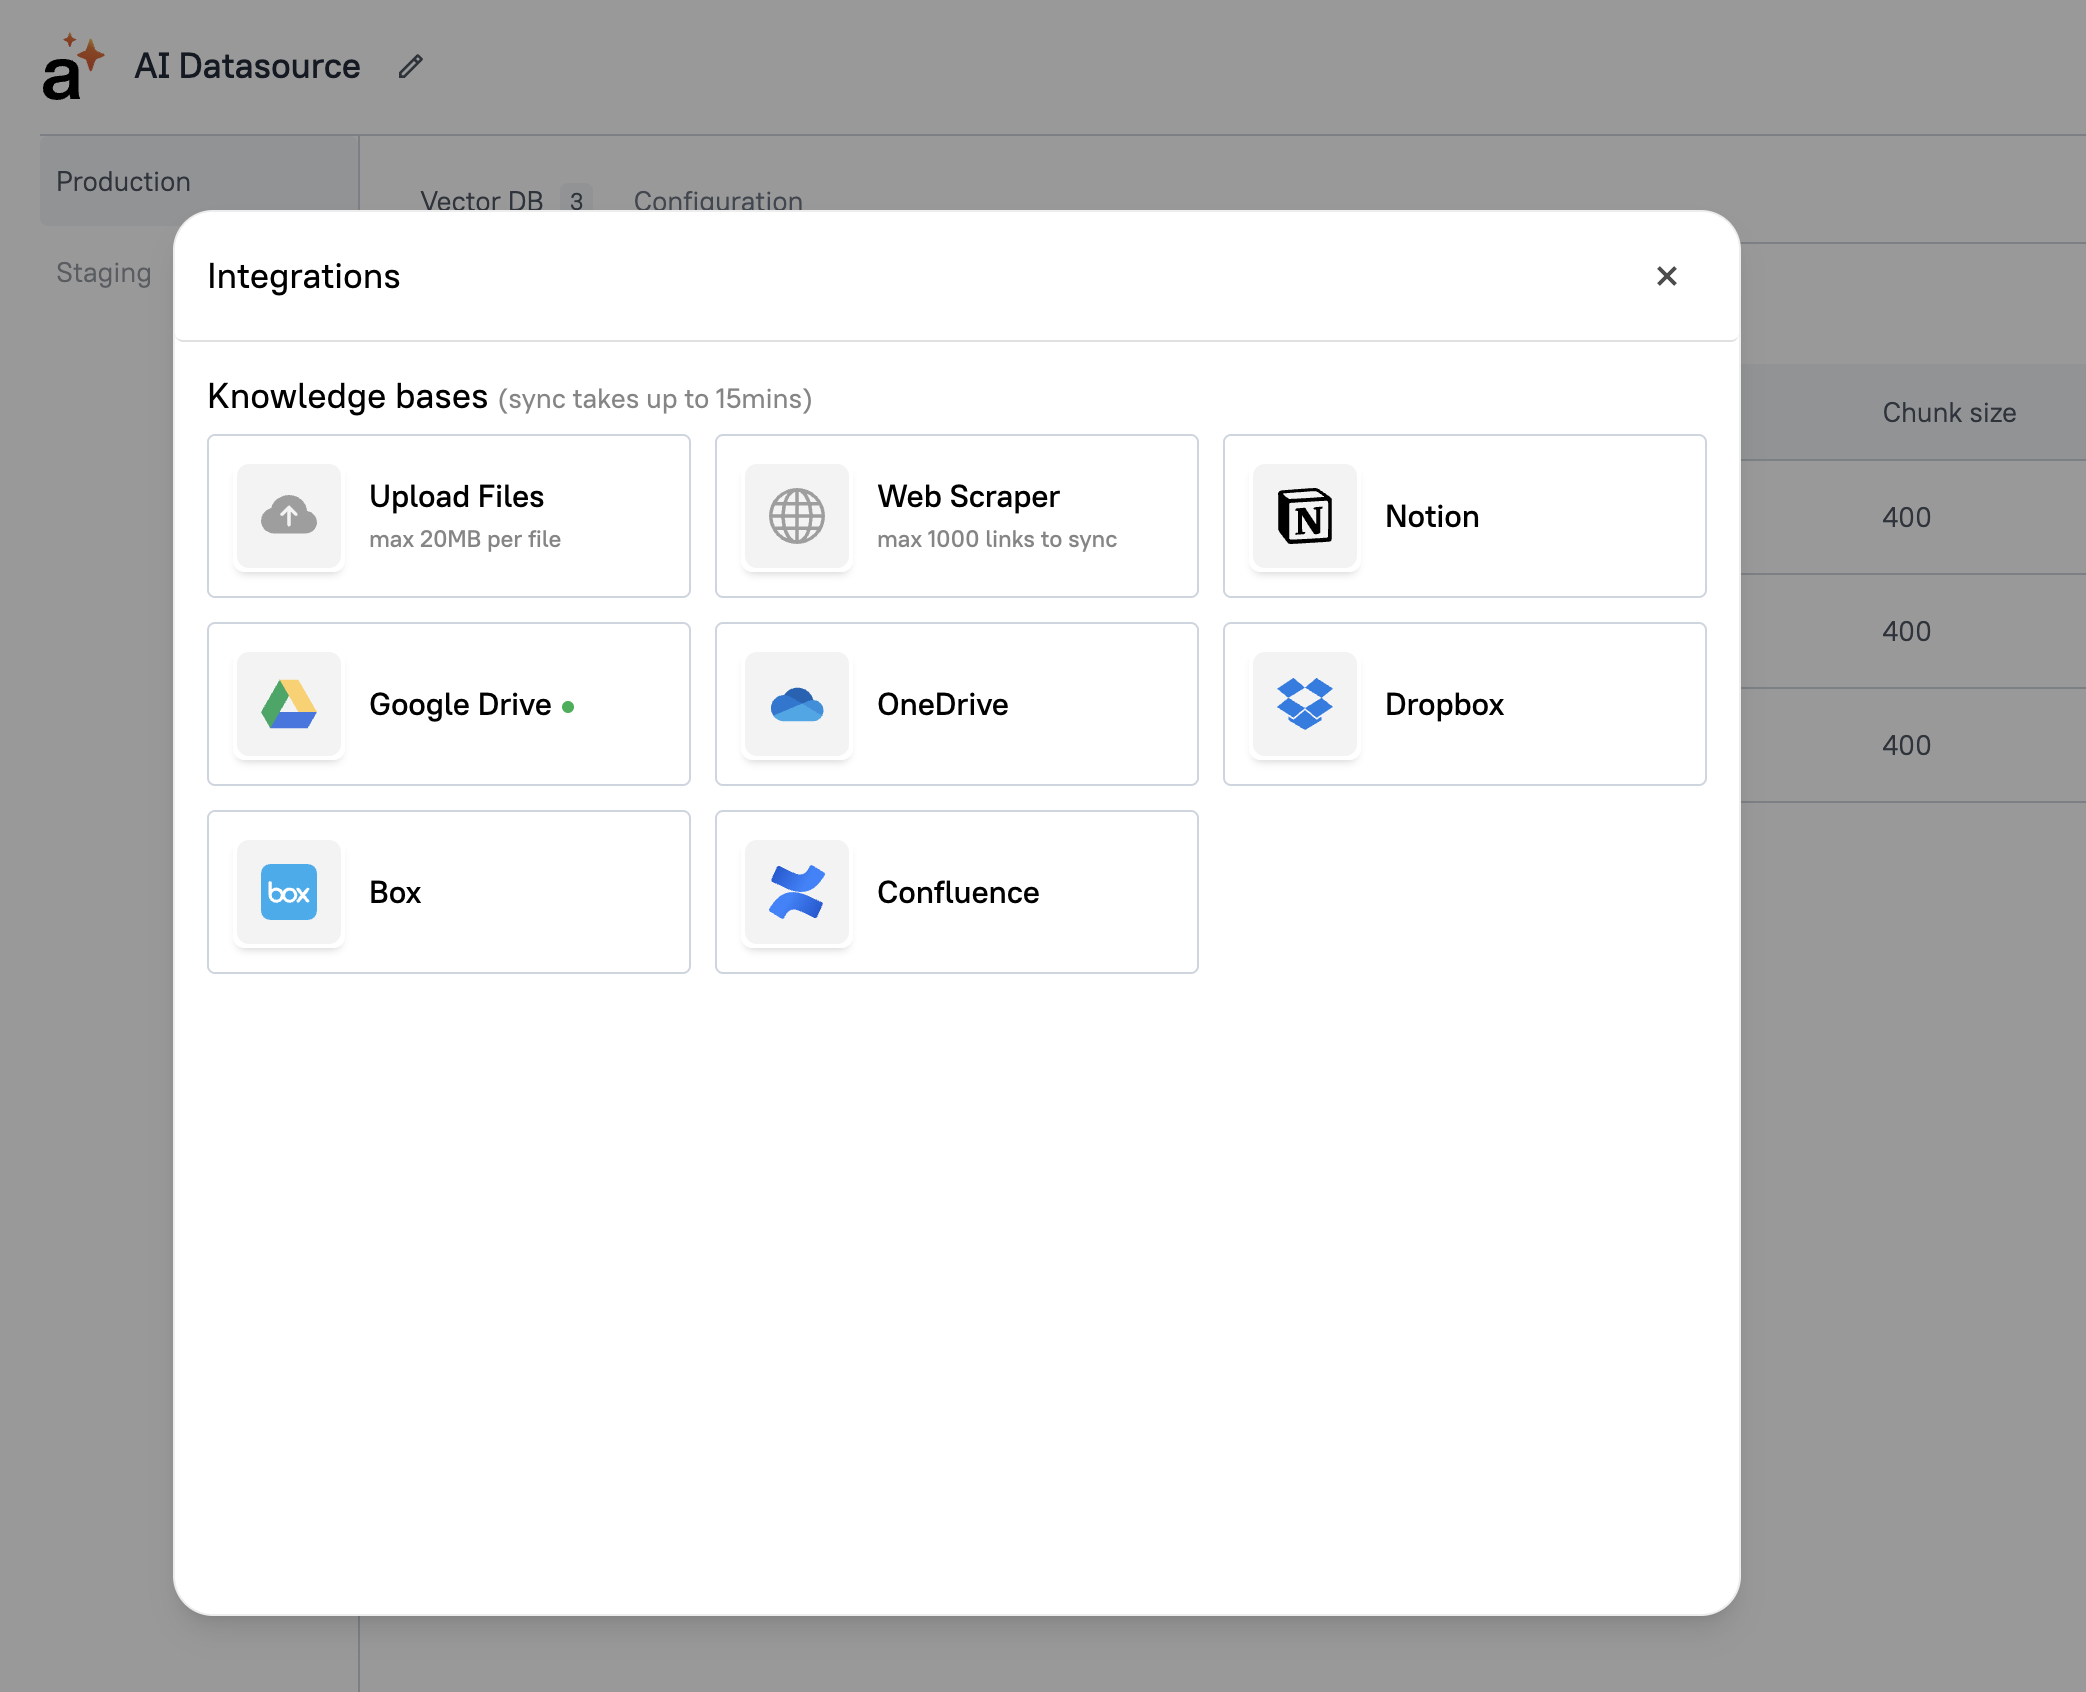
You should see a modal to connect a RAG source when the editor opens on your first agent. You can also add new sources from within the ChatQuery > Knowledge Sources > Add sources. Select Google Drive, and then authorize Appsmith to connect to your Google account.
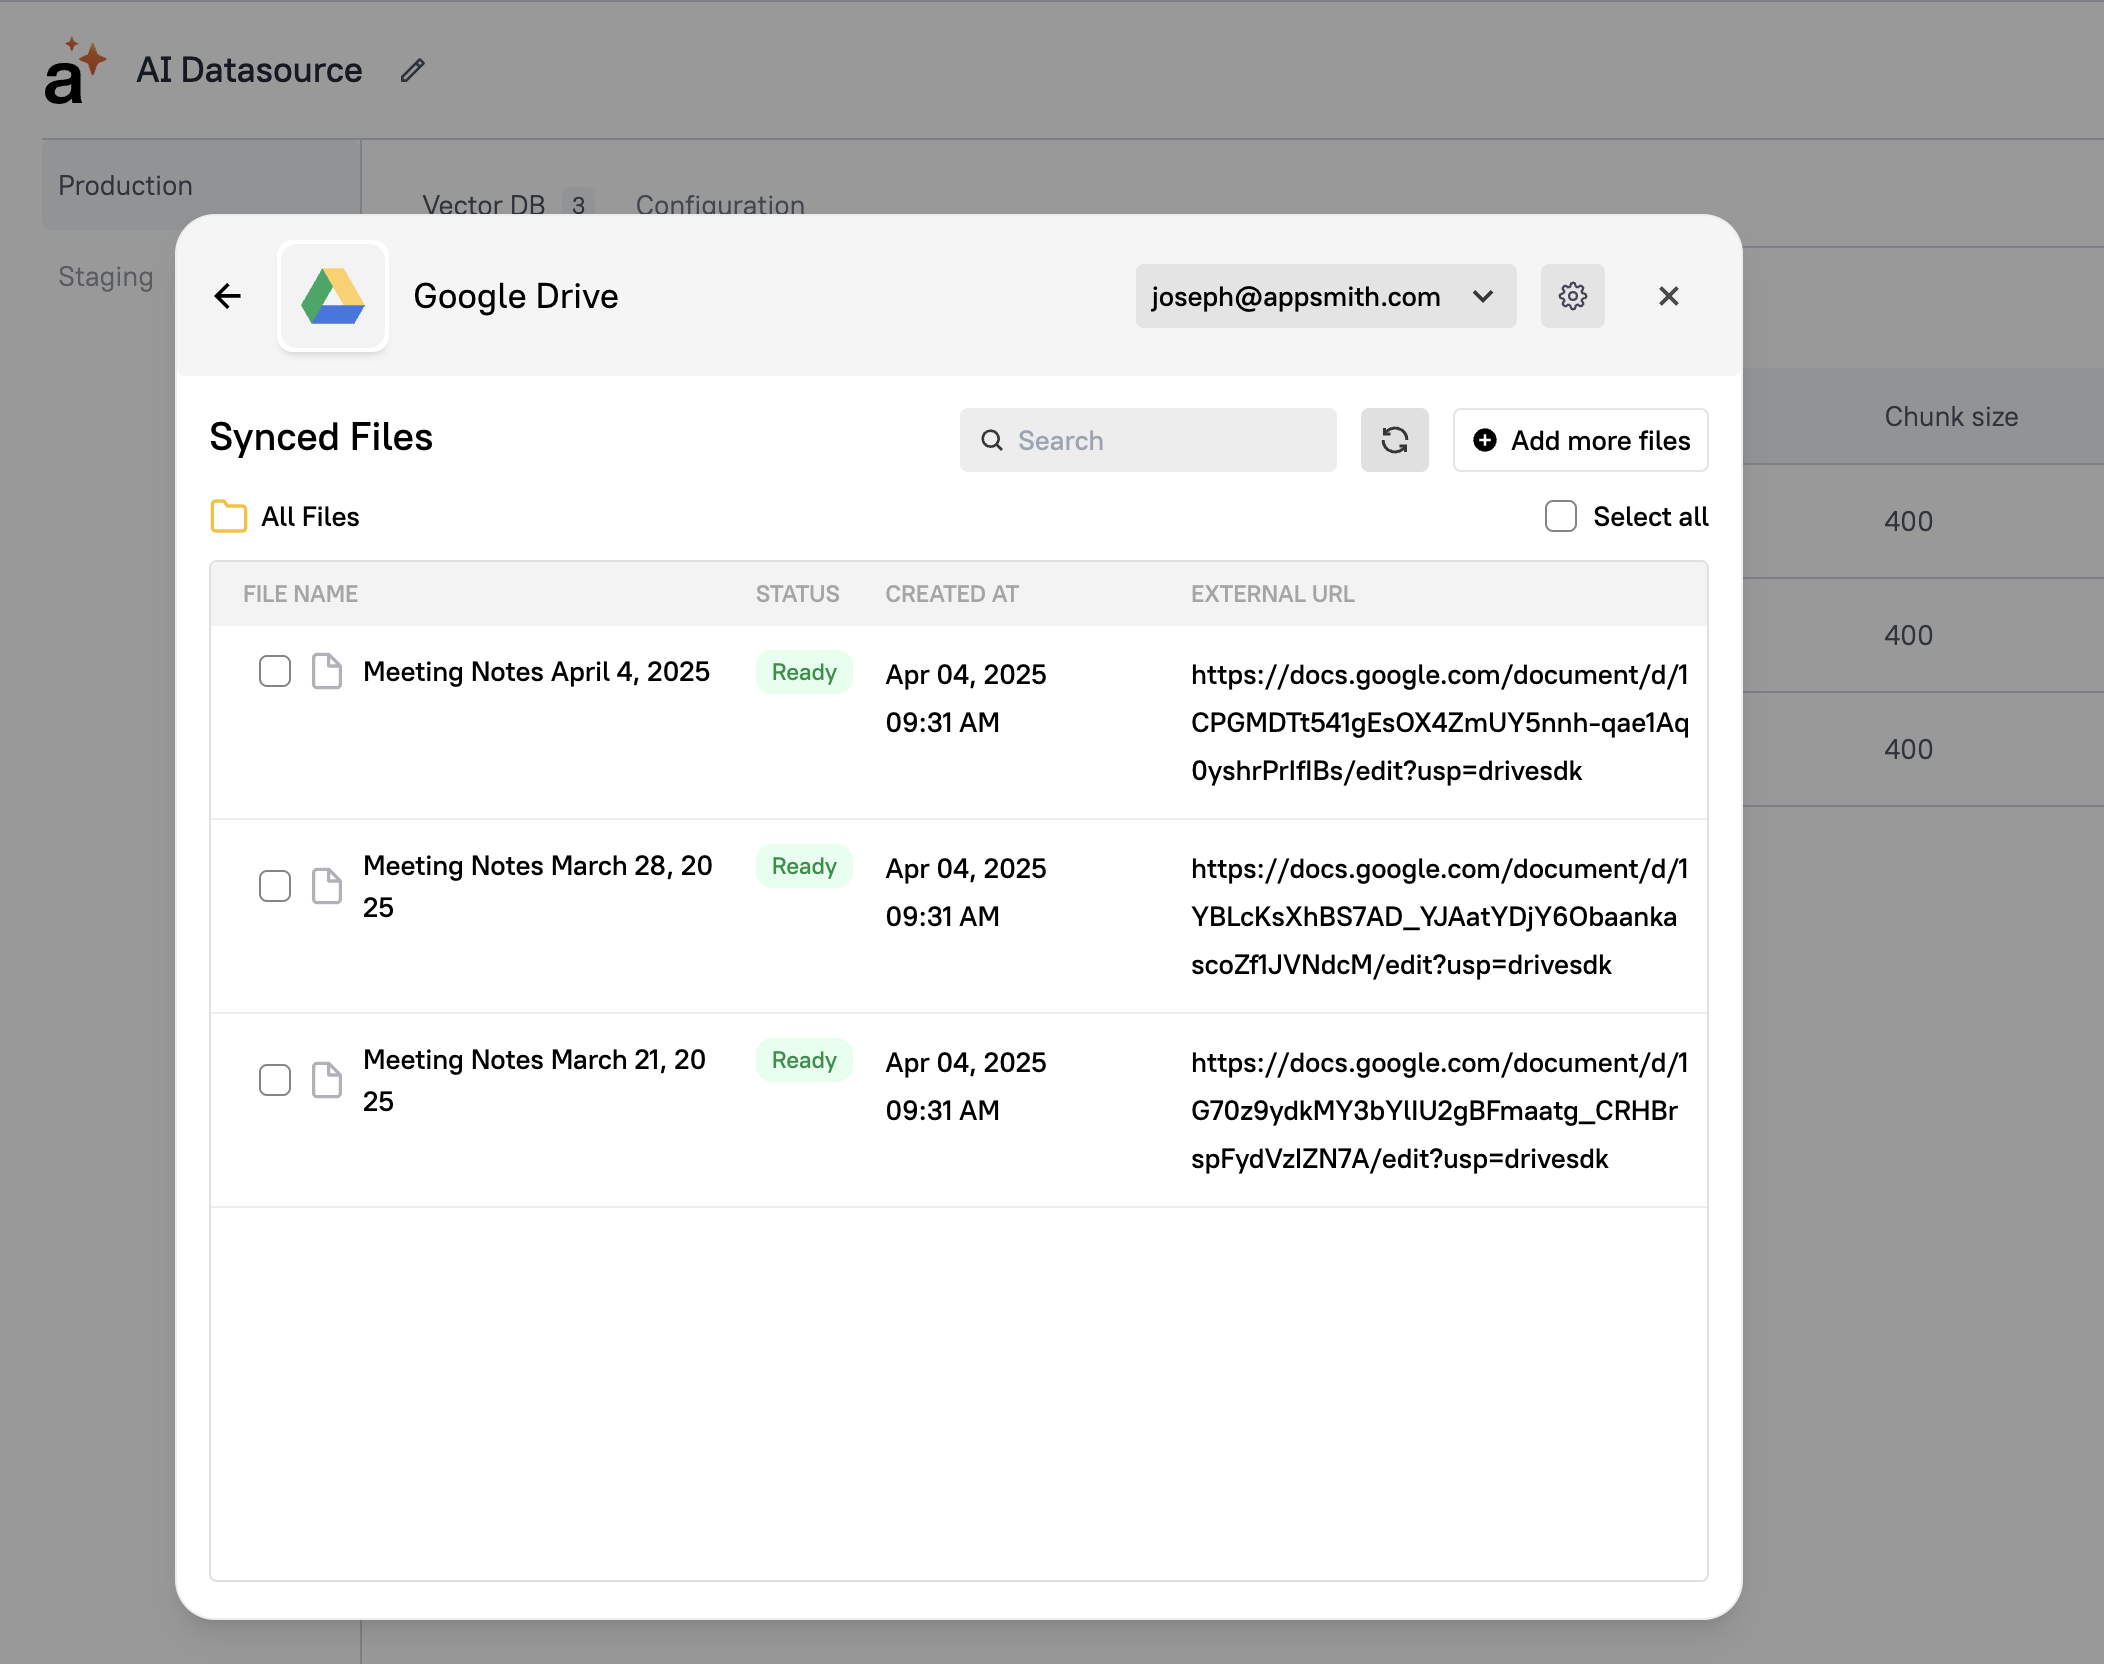
Then select the specific documents that you want to use for RAG. In this case, I'll be using 3 sample meeting notes documents based on The Office.
Next, head back to the ChatQuery in the editor and enter a system prompt. For this guide, I'm using the following prompt:
{{
`You are an AI assistant that helps Dunder Mifflon employees be referencing old meeting notes.
The user's name is `  + 'Jim' || appsmith.user.name
}}
Here, I'm hard-coding the current user's name to Jim for testing. However, you could easily pass in the current user's name or email from the appsmith.user object.
Next, enter preview mode and try asking a question from your Google Docs.
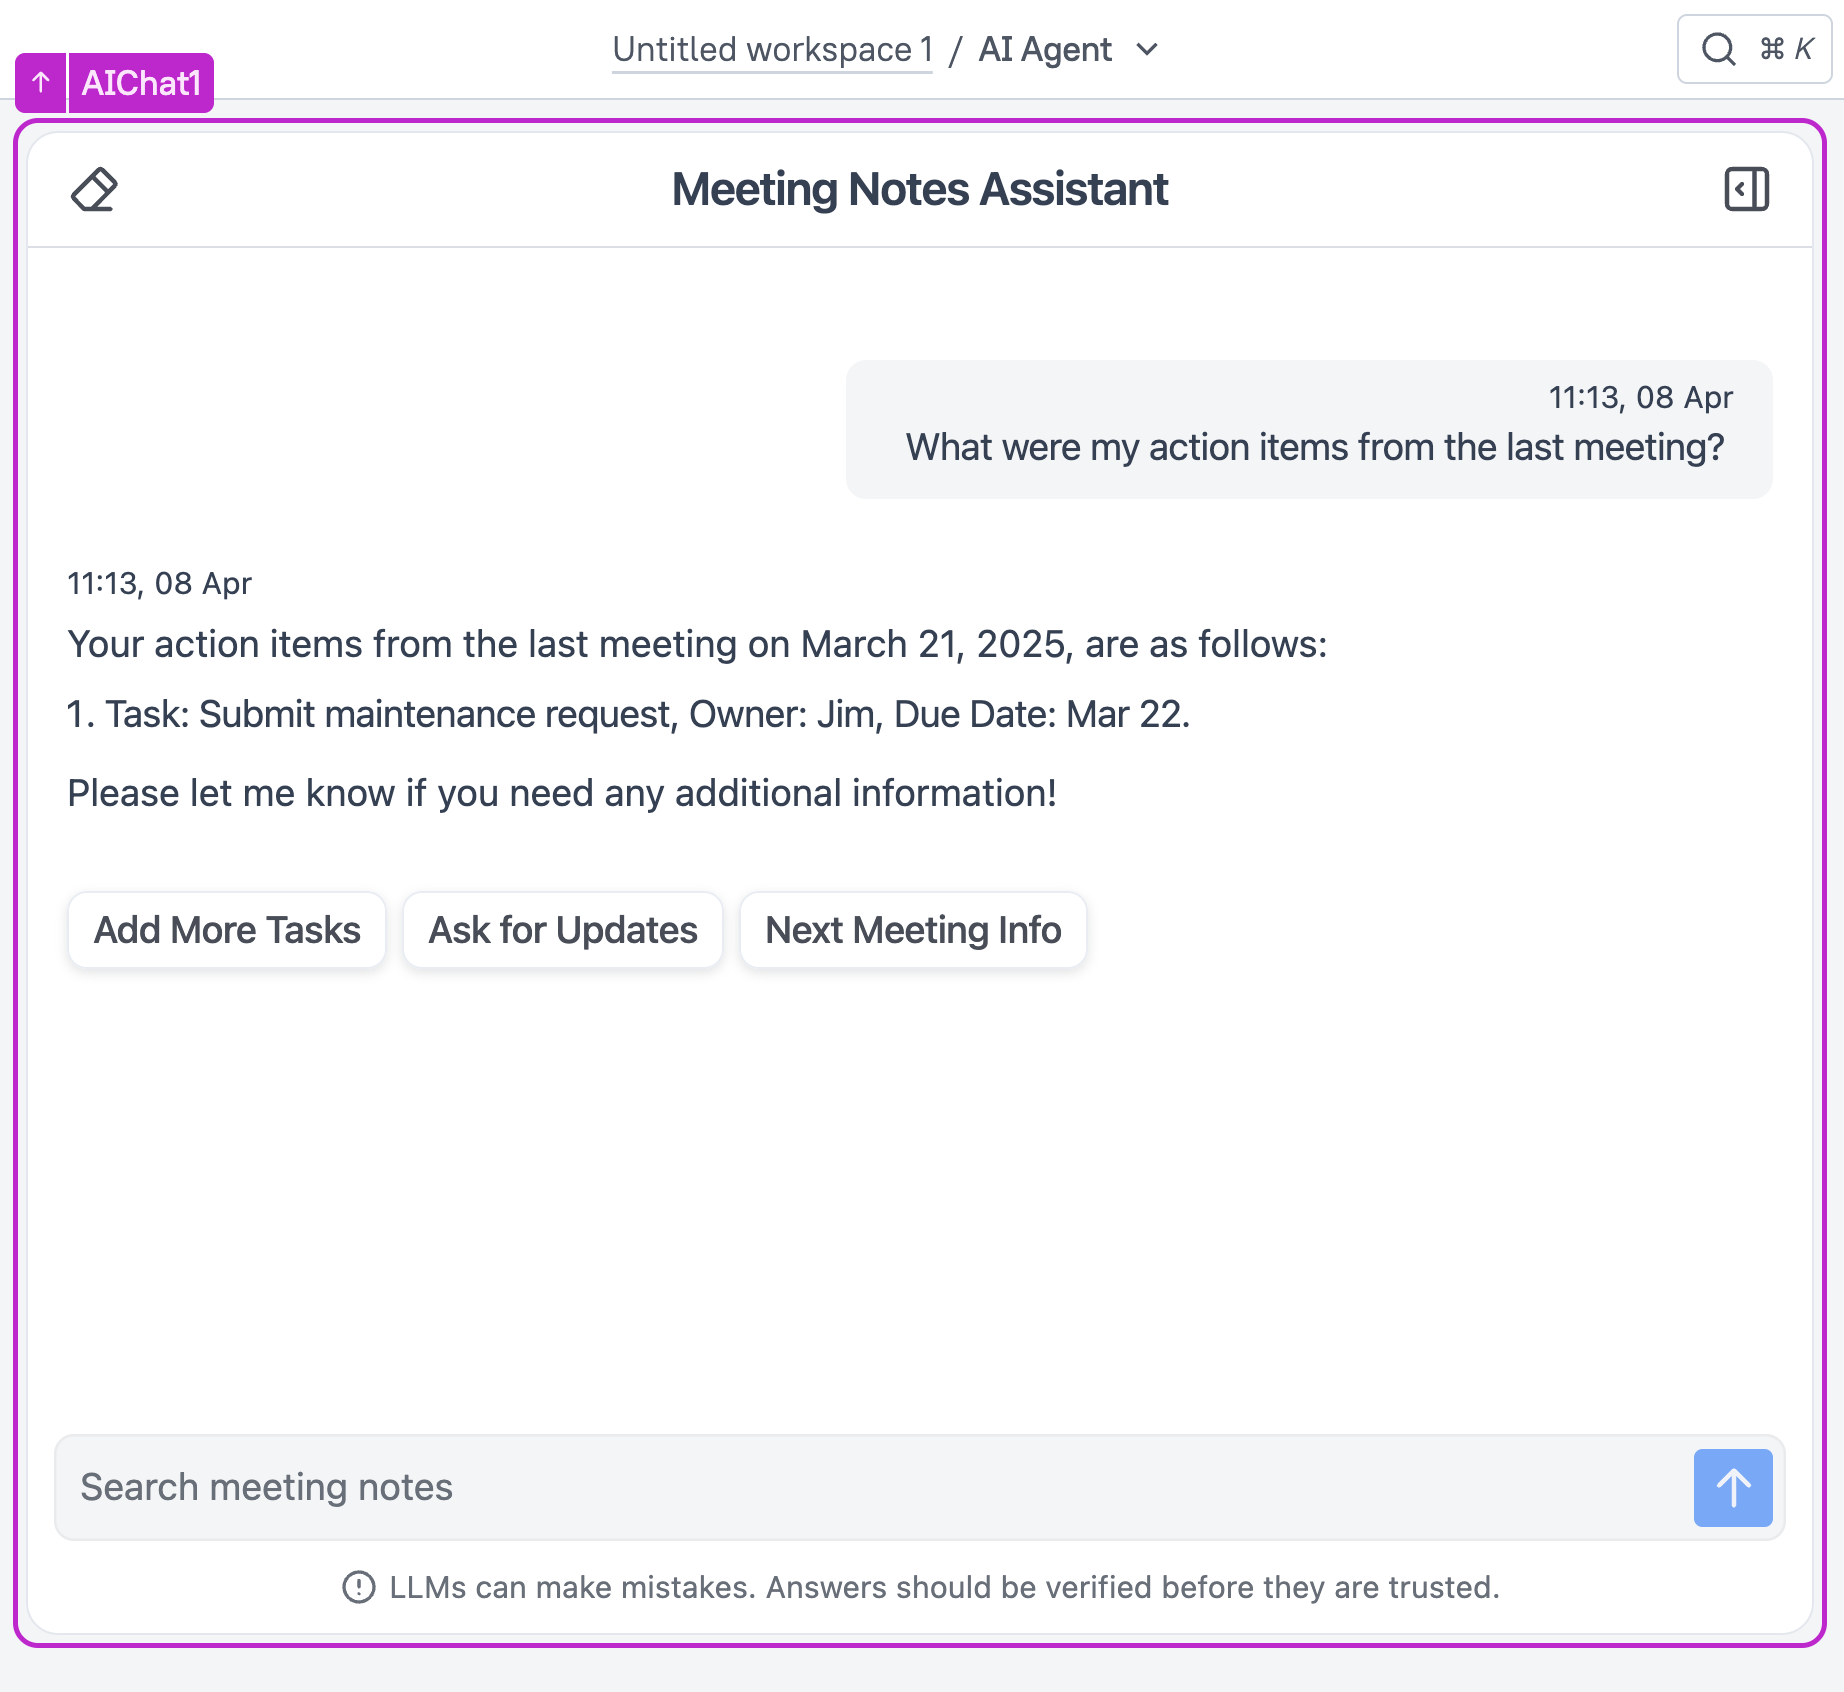
As you can see, the Agent has been able to determine which user I am, then scan the meeting notes from Google Docs and extract my recent action items.
Next, let's add Function Calling for retrieving a list of customers, and sending a message to Slack.
Function Calling for REST APIs and JavaScript
One of the main differences between AI Assistants and Agents is that agents can take action on the user's behalf, and affect other systems. This is accomplished through Function Calling, which enables the agent to call certain APIs, database queries, and JavaScript functions.
Getting a list of Customers
Select the ChatQuery in the Query tab of the editor, and scroll down to the Function Calling section. Add a new Function, select + New Query, and then REST API. Then add an API to GET your list of customers. In this case, I'm using a mock endpoint from Mockoon.
https://playground.mockoon.com/customers?limit=20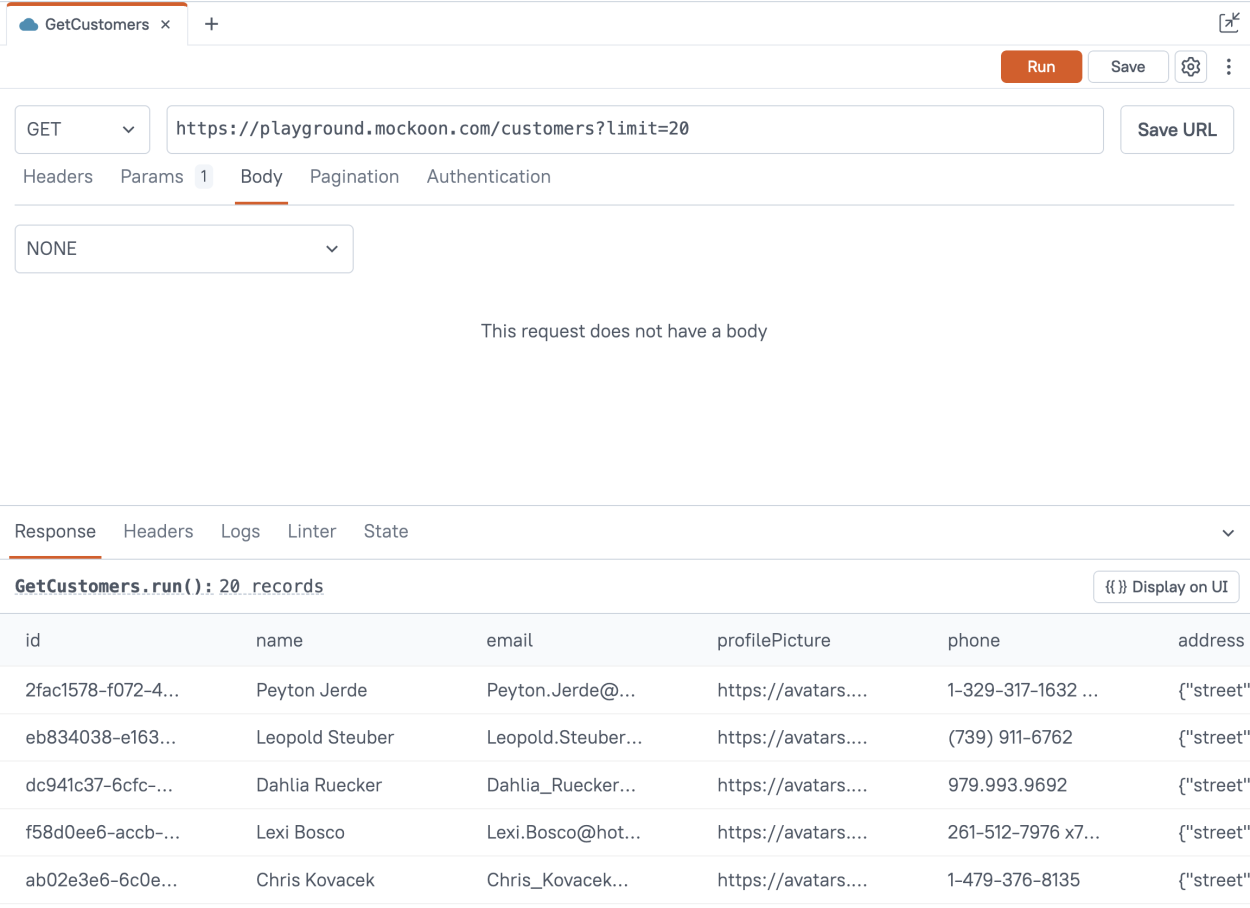
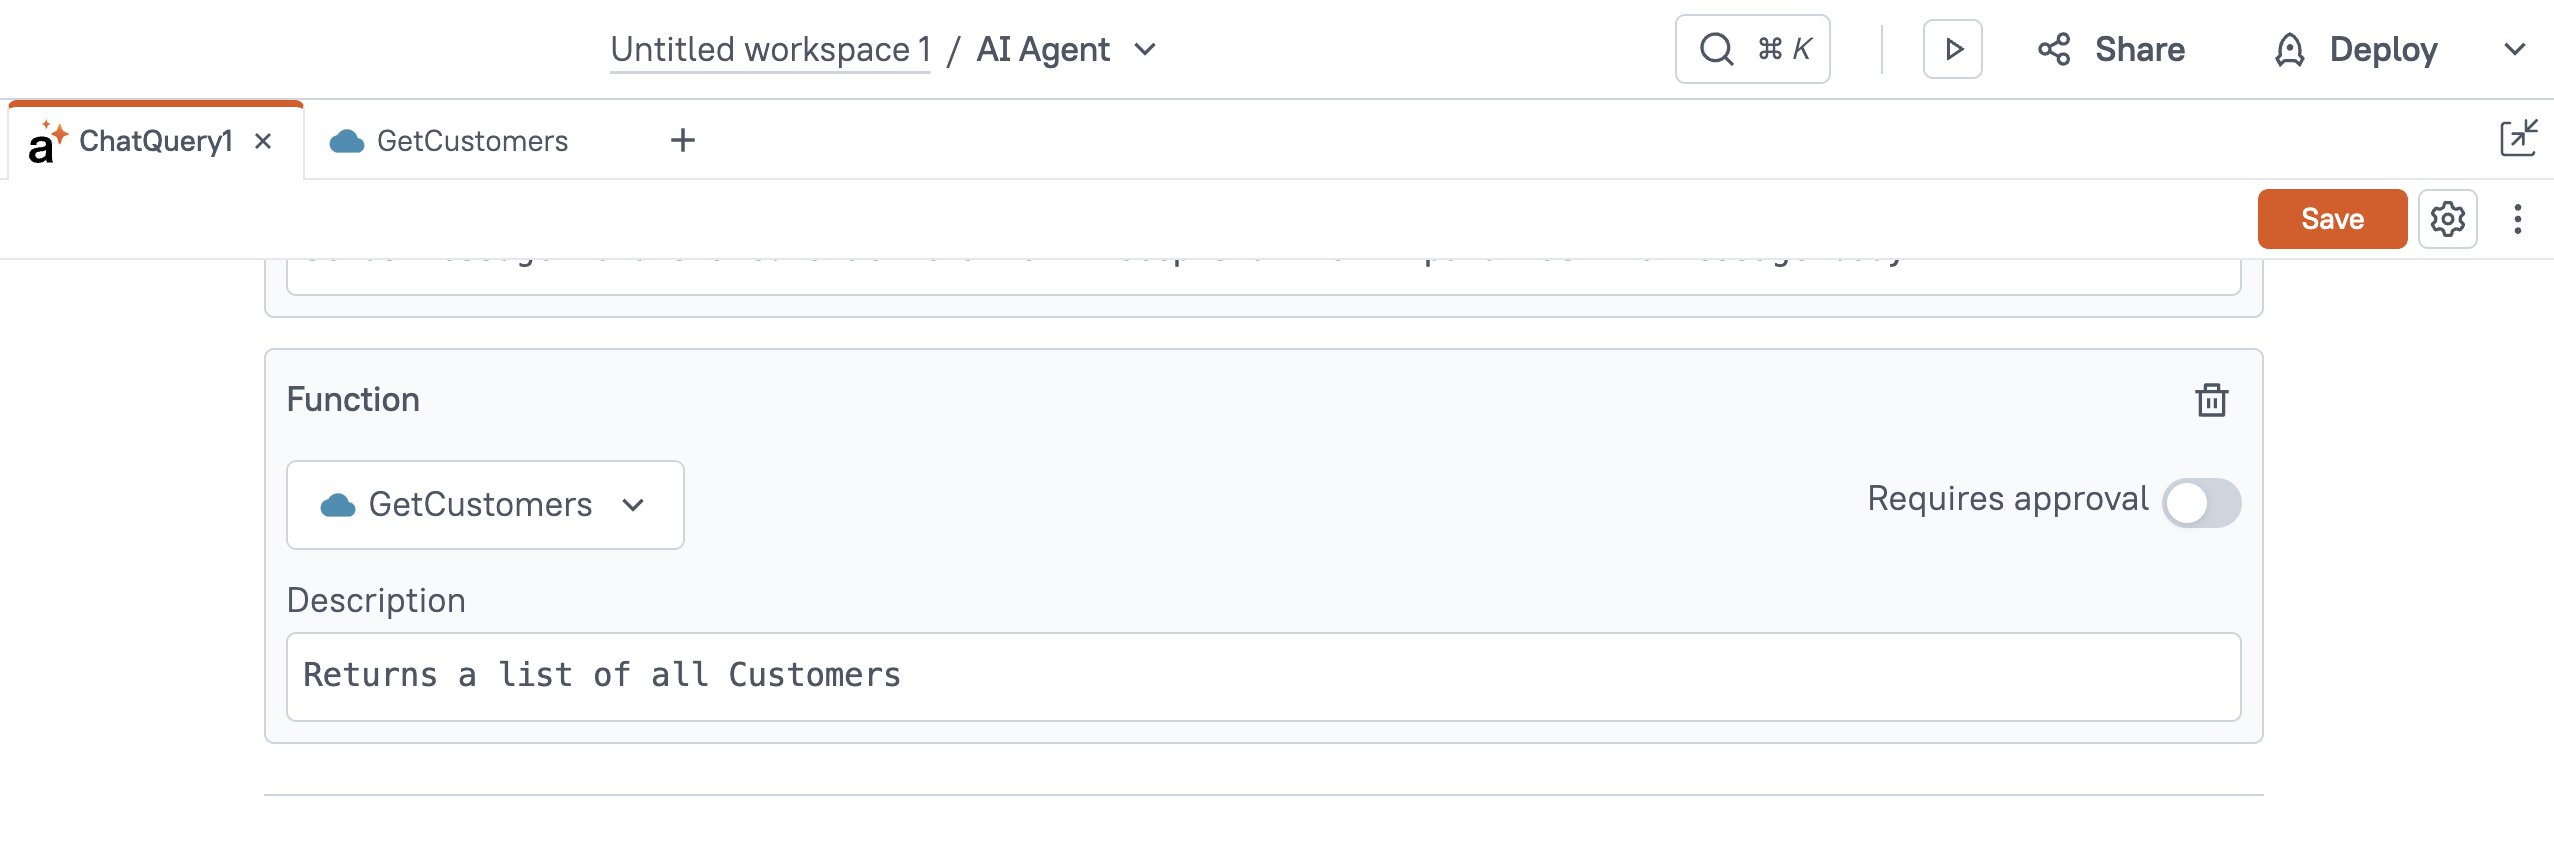
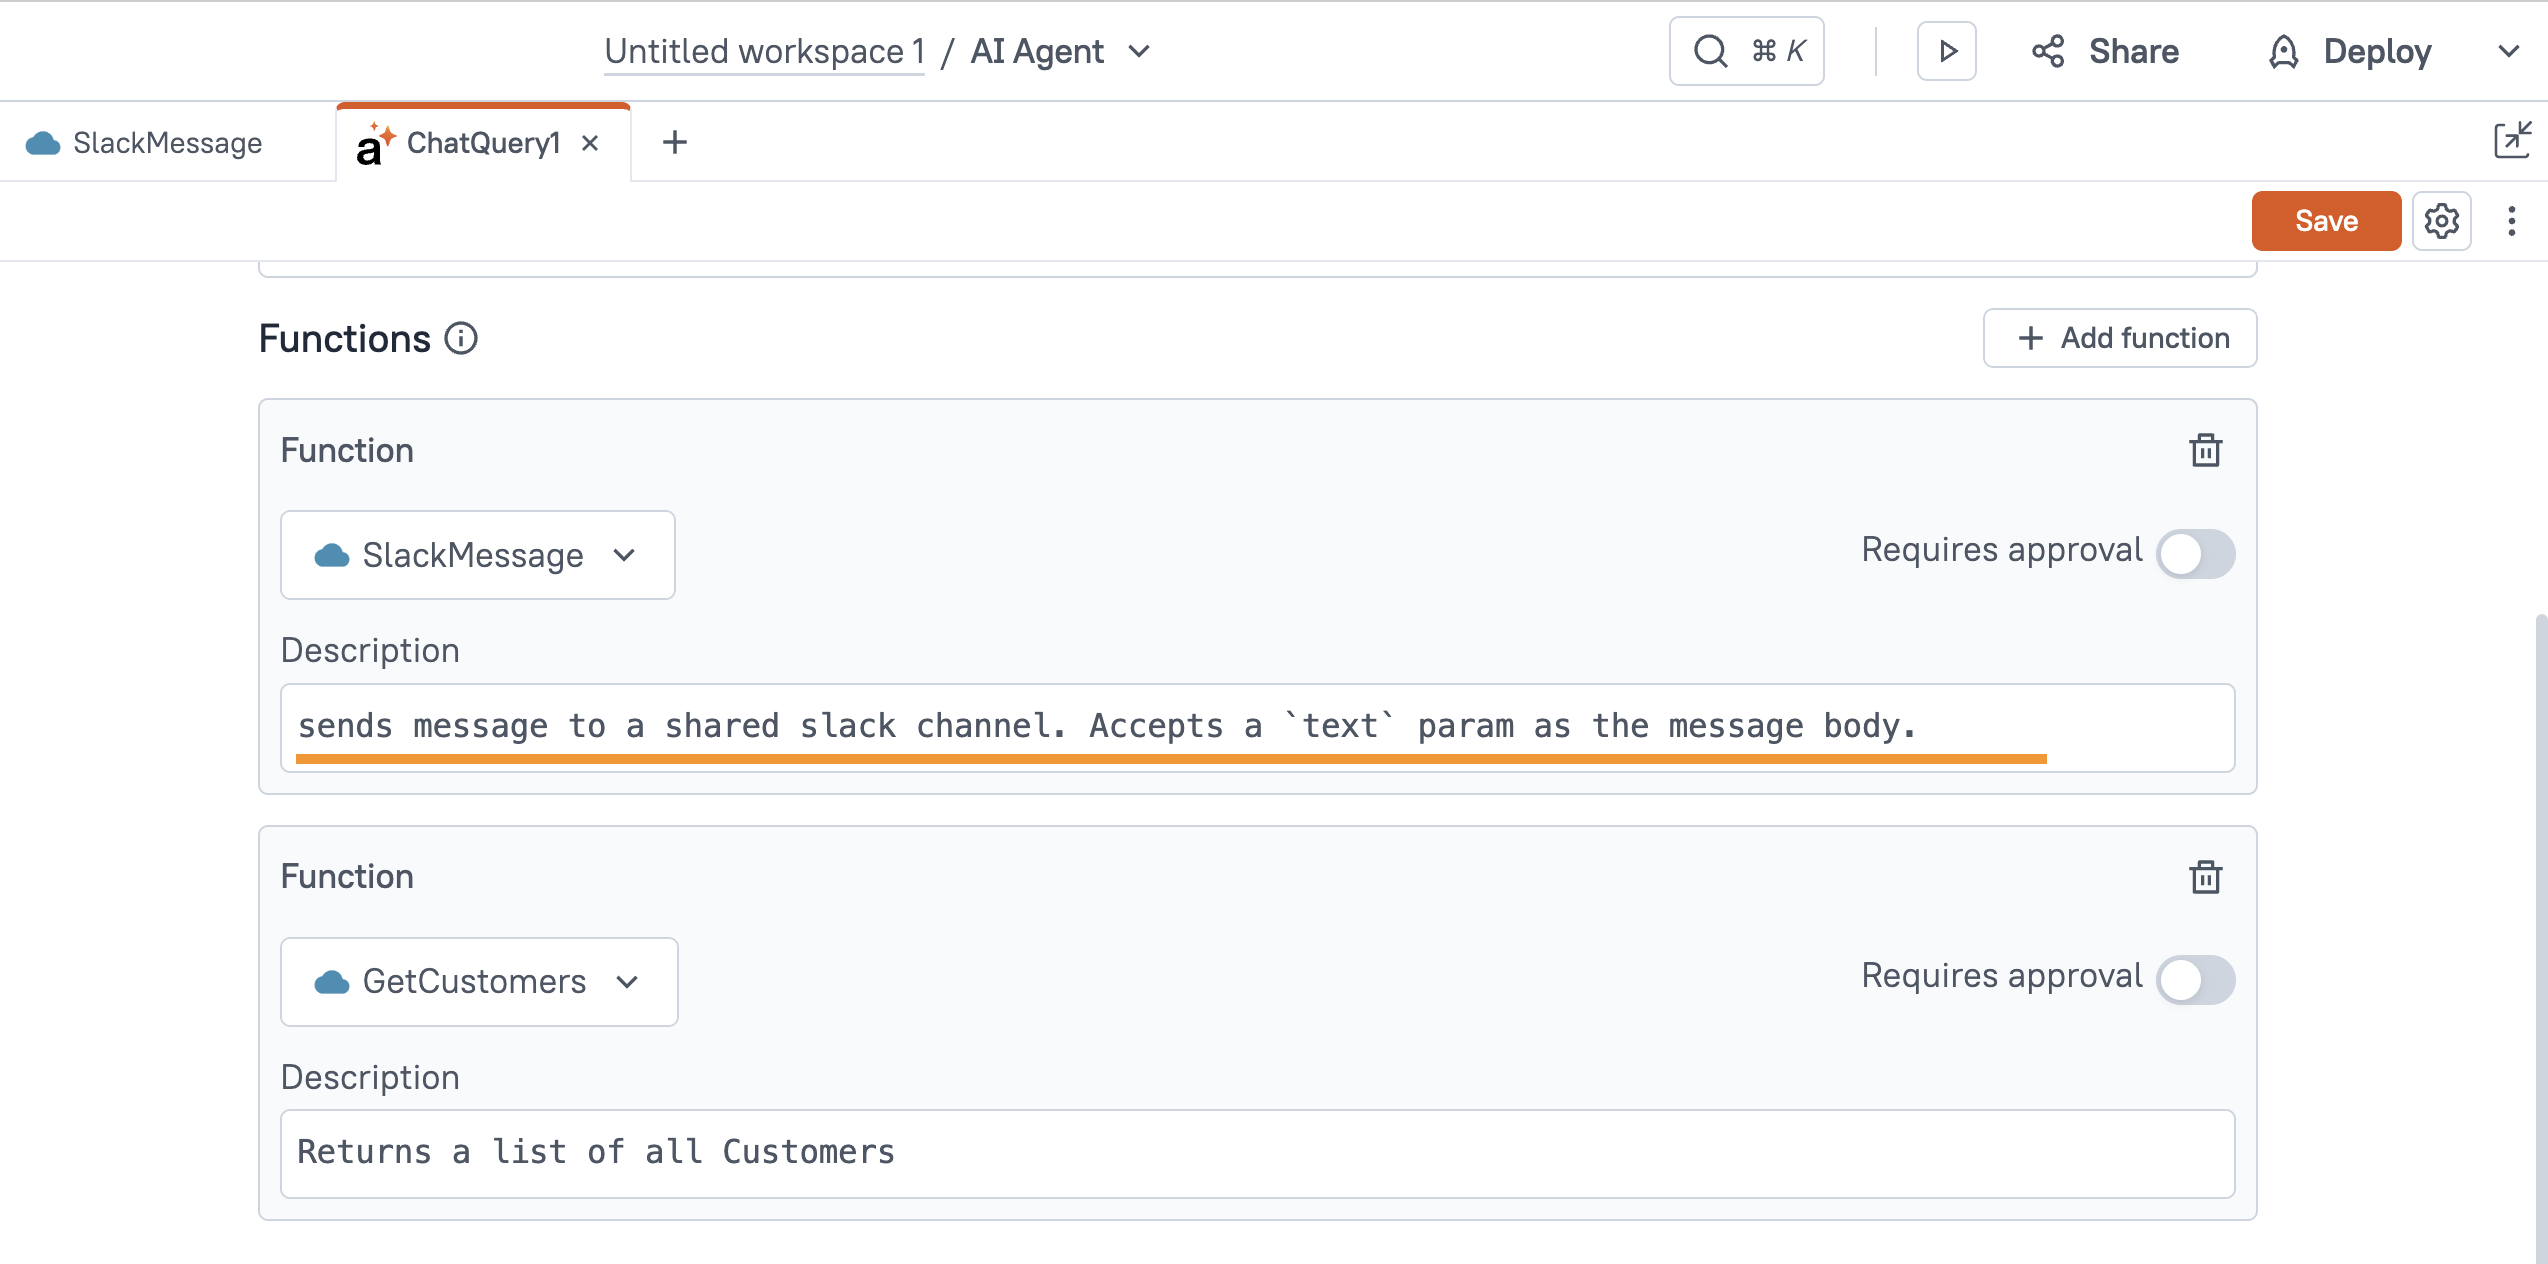
Then in the Function Calling section of the ChatQuery, enter a description so the agent knows what this query does.
Now test it out by asking a question about customers. The agent should detect that there is an appropriate function to use, and call it to help answer the question.
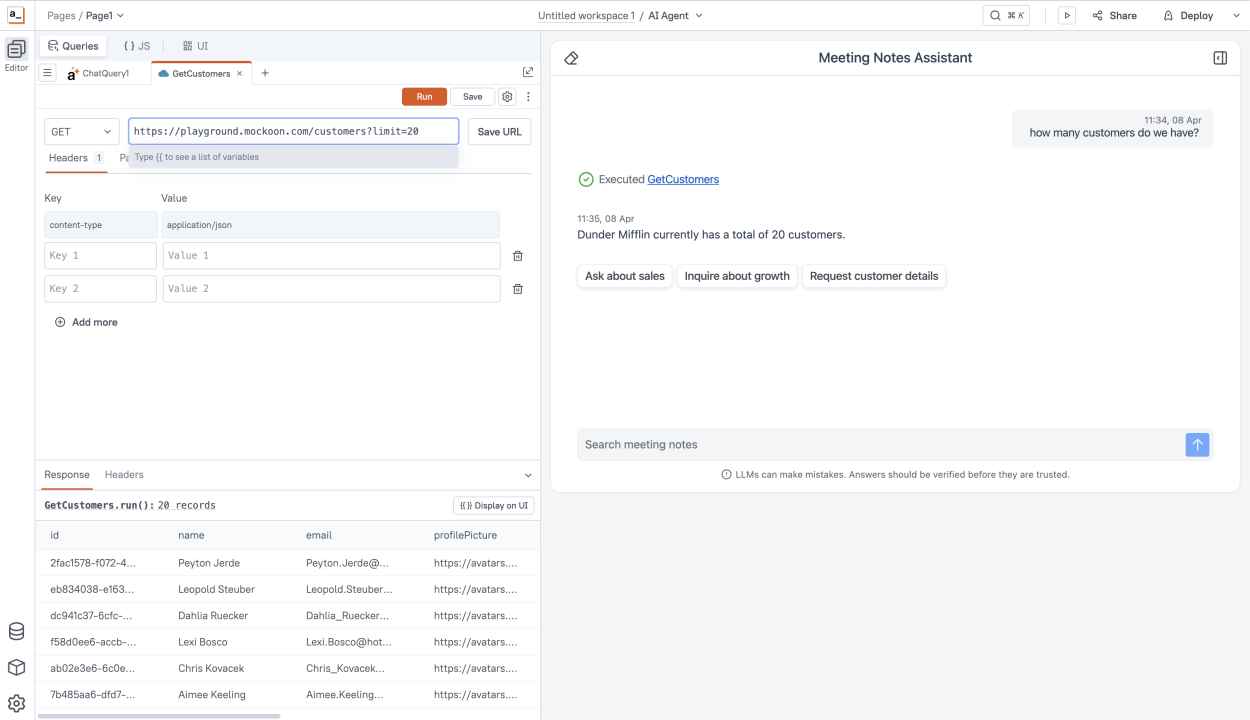
Nice! Now the agent can receive real-time info about customers and ground the responses with live customer data. Next, let's add a function to send a Slack message.
Sending a Slack Message
There are several different ways to send a message to Slack from Appsmith. You can create a custom app and a bot user, or use the API to send it as your own user. Or you can use the new Slack Workflows feature to quickly set up a webhook endpoint (guide).
Once you have your Slack endpoint created, add a new function call to the ChatQuery, and create a new REST API.
Enter the URL for your webhook, and set the method to POST. Then set the body type to JSON, and the body to:
{{
{
	"text": this.params.text
}
}}
This allows a text parameter to be passed in at run-time by the agent. The agent will determine which function to call and what parameters to pass in for you. Just use the this.params.PARAM_NAME in the body or URL parameter, and the agent will understand how to use it!
Now return to the ChatQuery and be sure to give the function a description to help the agent know when to call the function.
Ok, time to test it out!
Ask the agent another question from your Google Docs source. In this case, I'm asking about the sales targets from the last meeting.
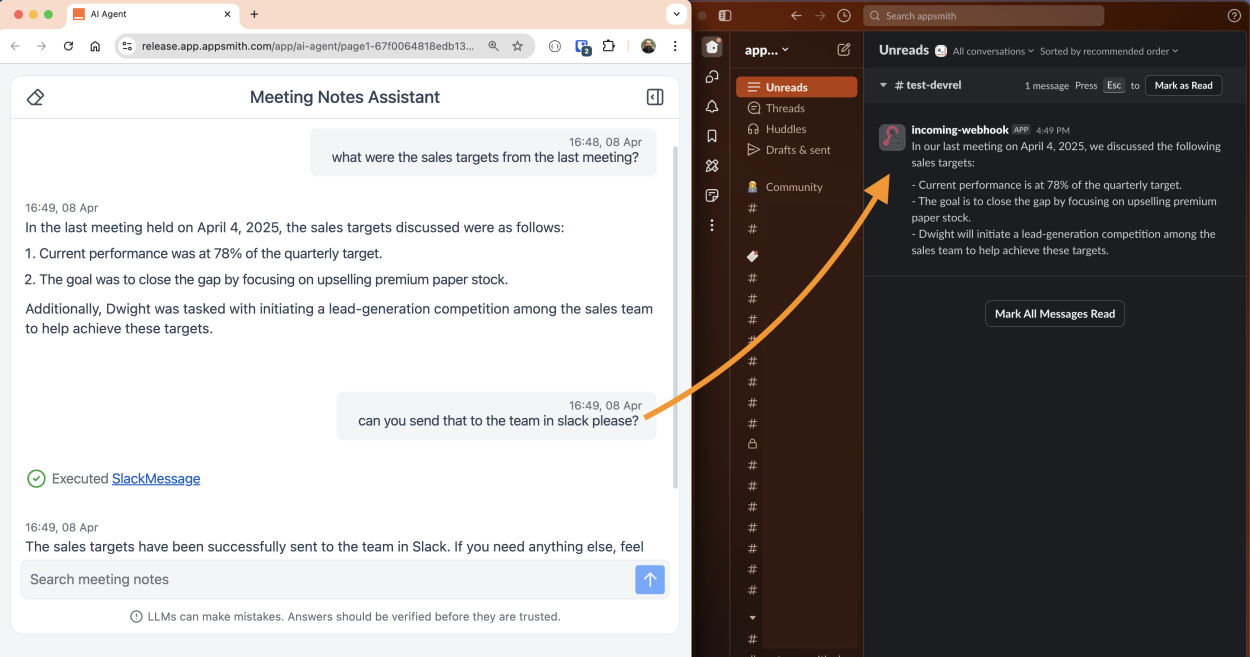
Notice how the prompt to send the message just says 'send it to Slack'. The chat maintains a history and context that the agent can use across multiple messages. The agent was able to perform RAG search on the Google Docs, find the most recent meeting and extract the sales target data, then send a message to Slack and insert the query parameter!
Embedding the agent as a Chrome extension
Ok, you've just built your first agent with RAG and function calling! It's already a lot more useful than a regular AI Chat, but we can make it better! Next, we'll embed the agent as a Chrome extension that can be used on any website, enabling the agent to have even more context for RAG.
First, click Deploy from the editor to deploy your agent into production. Then, click the Share button and copy the app URL.
Next, install the Appsmith Agents Chrome extension. Then add the URL to your agent app.
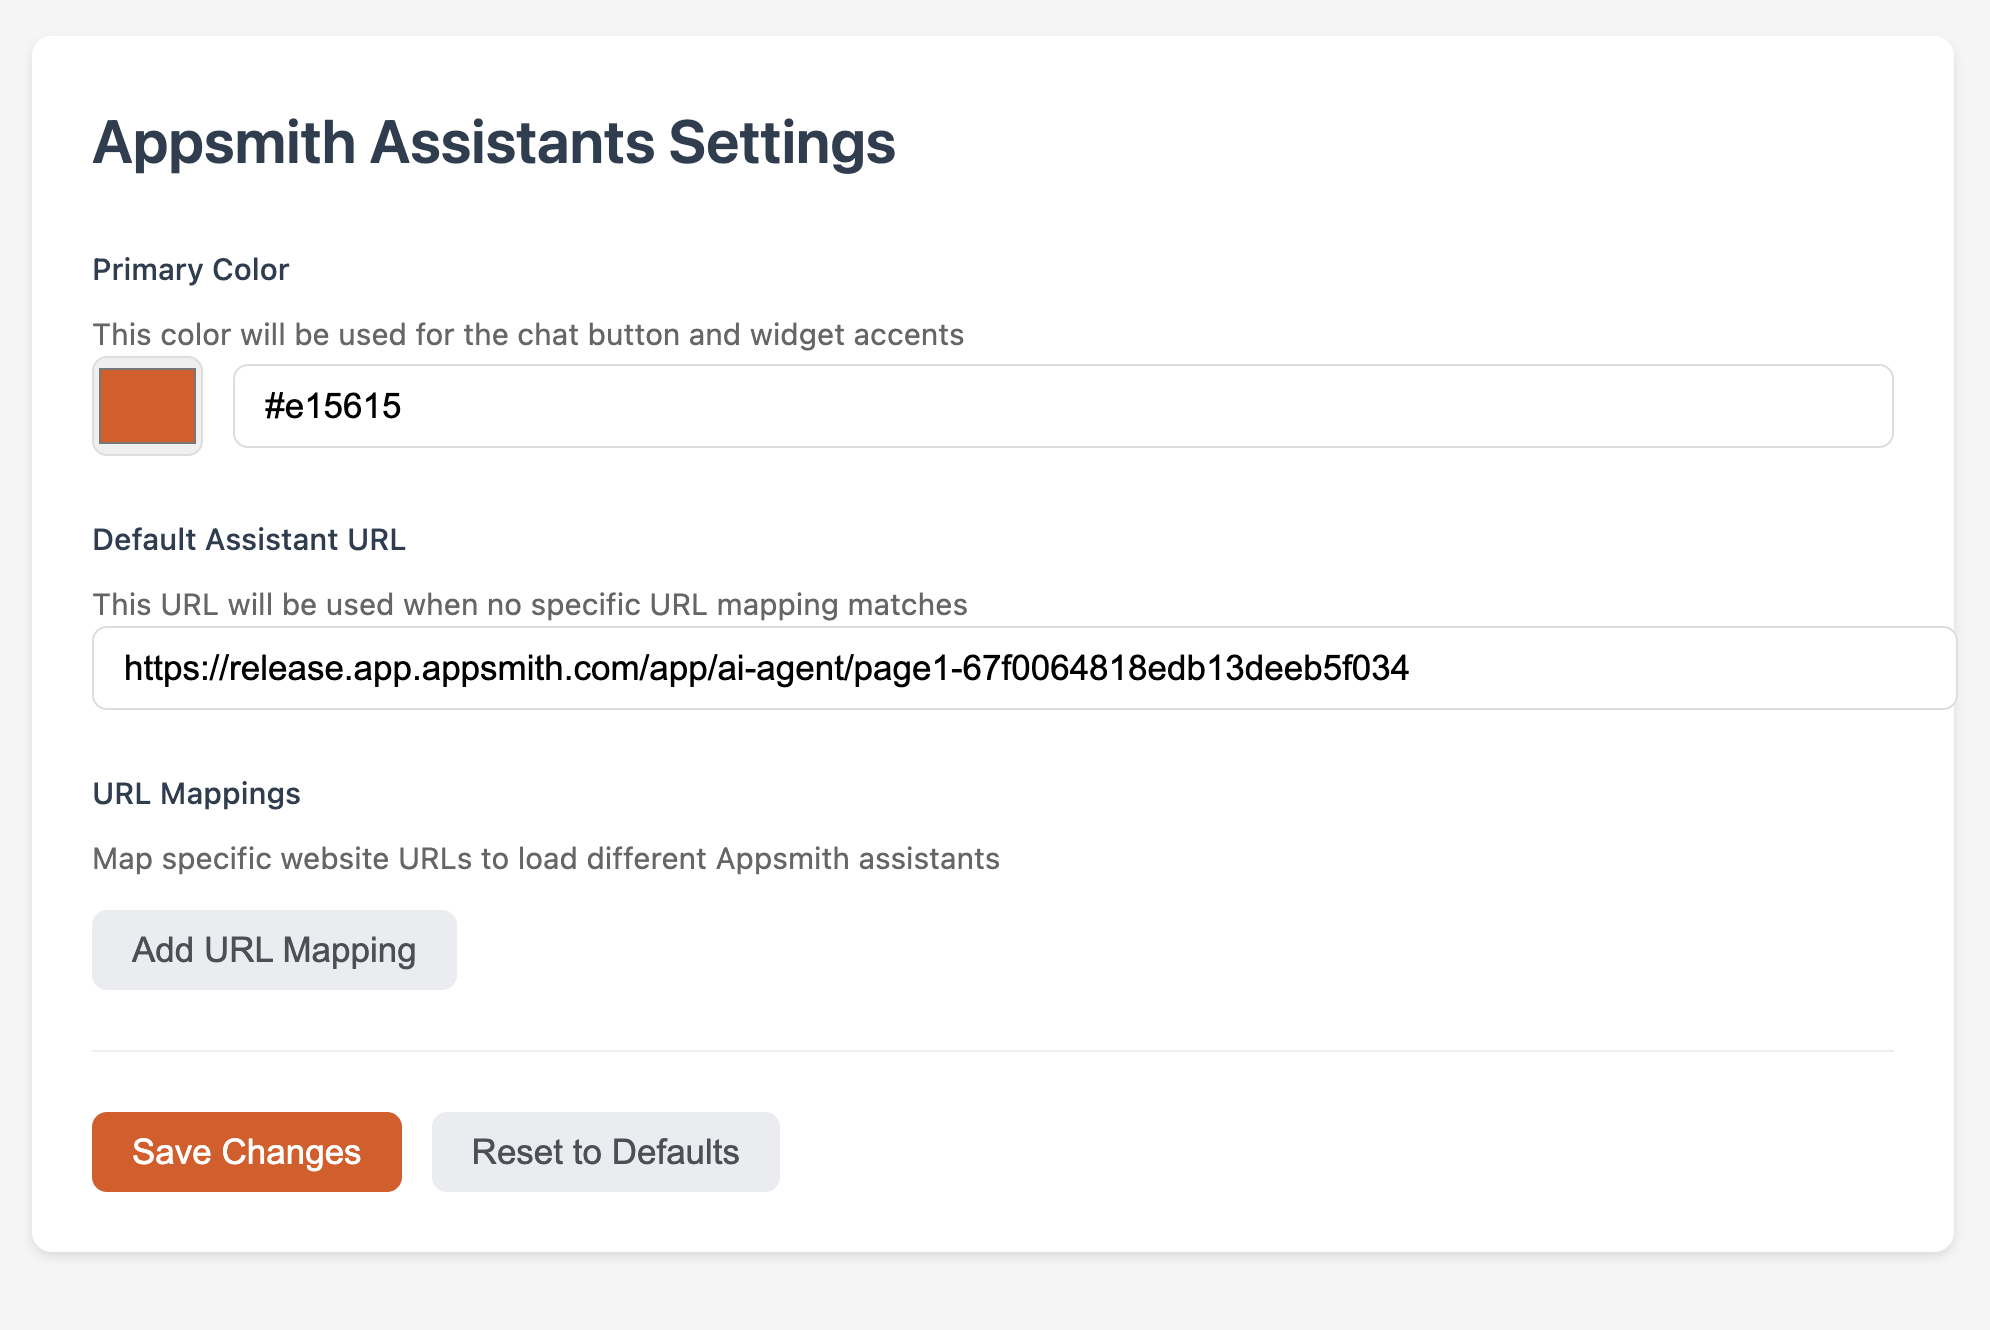
Optionally, you can add URL mappings to link specific websites to certain agents, instead of using the same agent on all websites. This enables you to create specialized agents for different tasks, and with different function calling and RAG capabilities for each website.
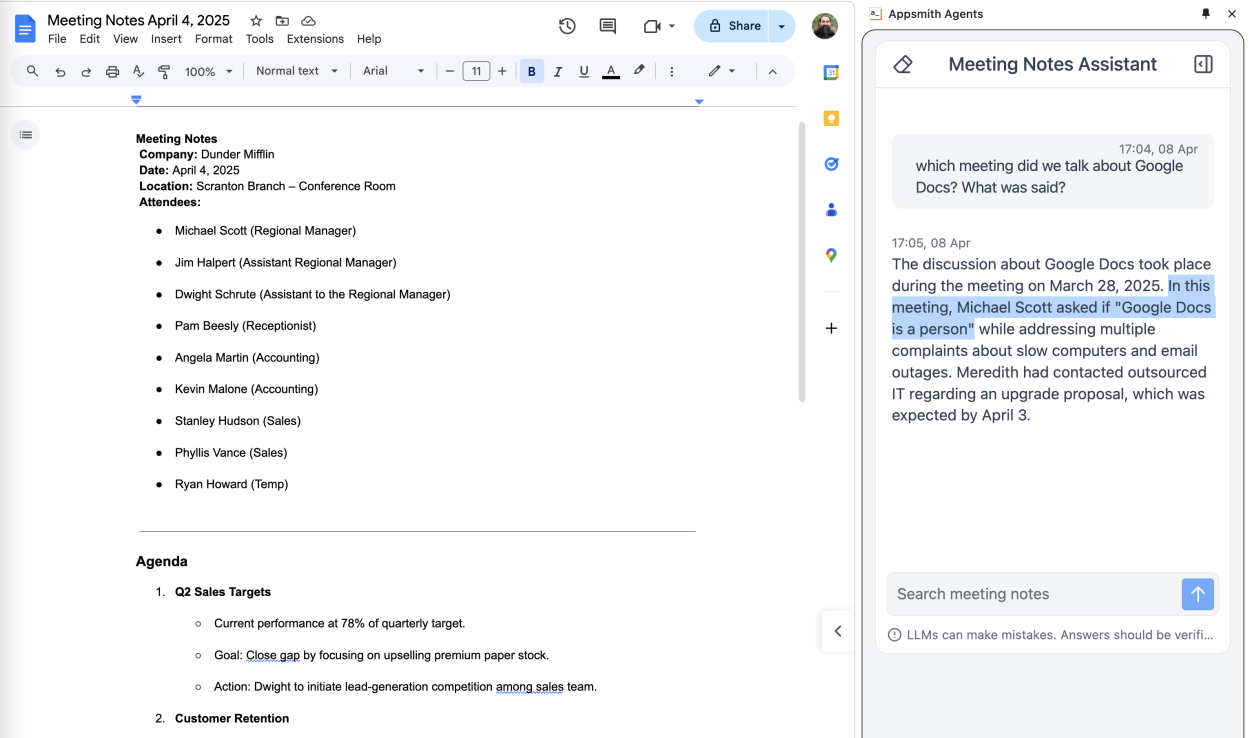
Once the extension is setup, go to a web page you want to use it on and click the chat icon in the bottom right corner. If you already had the page open, you may need to refresh for the agent to show up after adding the extension.

Conclusion
Appsmith Agents are the easiest way to build AI Agents securely, with RAG and function calling that can access your companies data and APIs. In just a few steps, you can set up powerful agents that work anywhere, even directly on other websites as a Chrome extension. Appsmith Agents support a wide range of RAG sources, like Notion, Google Docs, Box, Dropbox, and other cloud storage providers, enabling employees to work more efficiently, while keeping company data secure.
Google Docs - does not seem to available now - is it because I am using a free trial?
is this available on the self host?