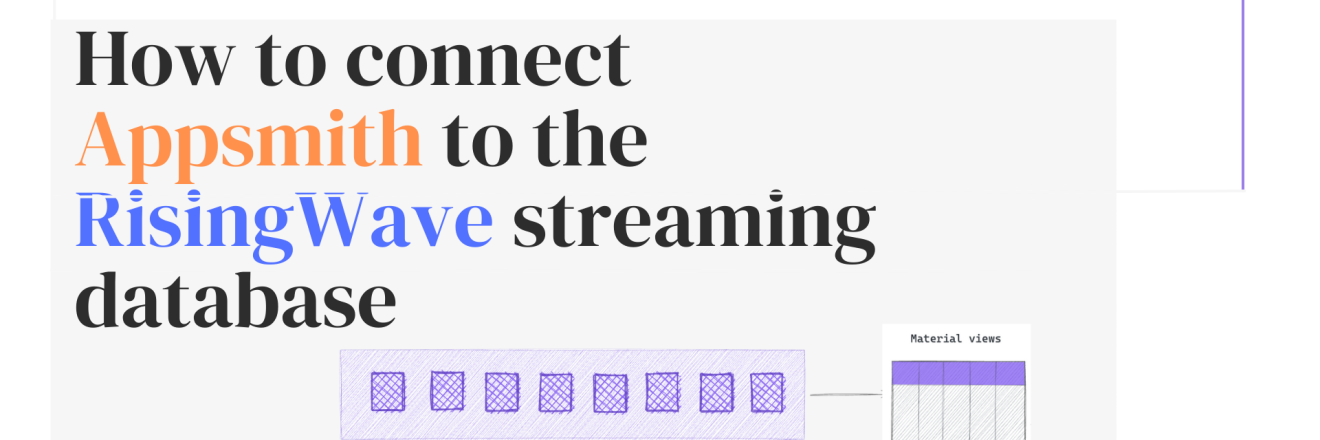
How to Connect Appsmith to the RisingWave Streaming Database
Goal
In this article, we'll walk you through creating a data-driven app using Appsmith and RisingWave an open-source streaming database. You will learn how to connect Appsmith to Risingwave as a new data source and create a materialized view showing the result of a query, and each time Appsmith queries RisingWave, it gets up-to-date data. Before jumping into implementation, let's learn a few concepts.
Prerequisites
Docker and Docker Compose installed in your environment.
PostgreSQL interactive terminal, psql, is installed in your environment.
For detailed instructions, see Download PostgreSQL.
Overview
What is a streaming database?
Streaming databases are the next generation of traditional SQL databases such as PostgreSQL or MySQL. They consume streaming data from one or more data sources, perform incremental computations when new data comes in, and update results dynamically. Streaming databases can subscribe to changes in a SQL query or a view in a database that allows you to implement push-based event-driven applications. For more information, read how a streaming database differs from a traditional Database.
What is RisingWave?
RisingWave is an open-source streaming database that is wire-compatible with PostgreSQL, designed for real-time data. If you want to show information on your app in real-time, a streaming database can consume data from various sources and it creates materialized views, allowing you to query real-time events using SQL.
Example data-driven app with Appsmith and RisingWave
In this section, we are going to build a simple tax-riding app monitoring dashboard where our app consumes data from the RisingWave and displays information on Appsmith UI. We call it a low-code app but not no-code because you need to write some SQL queries and docker commands😃
When it comes to building our low-code data-driven application using Appsmith and RisingWave, we can split the process into 2 main parts:
- Creating a backend with the RisingWave database. For example, it can be used to build a simple taxi-riding app. Like Uber which operates in multiple cities. This streaming database will be an ideal choice for tracking real-time data like taxi locations, customer requests, and ride statuses.
- Designing and building a frontend for our app (It can be web or mobile displays the data and allows your users to consume the content and make actions). The app connects to the RisingWave database, we will fetch existing taxi trips, show this data in the app, add new trips, and show some
Step 1. Set Up RisingWave Database
First, ensure you have a running instance of the RisingWave streaming database. You may need to install it on your local machine or server. You can install it locally by pulling a RisingWave image and running it as a Docker container. See the getting started RisingWave in the Docker guide.
docker run -it –pull=always -p 4566:4566 -p 5691:5691 ghcr.io/risingwavelabs/risingwave:latest playgroundStep 2. Connect to RisingWave using psql
Once RisingWave is up and running, we test the connection using PostgreSQL interactive terminal. Using
psqlcommands, you can manage and query data. Open your terminal, run the following psql command:psql -h localhost -p 4566 -d dev -U rootStep 3. Create a Taxi trip table
Now let's create our first table to store data about taxi trips. We can use psql command in the terminal to run
create tableSQL query to achieve this. Of course, you can also run the same query from the Appsmith interface, you will learn it later in this tutorial.CREATE TABLE taxi_trips ( trip_id int, taxi_id int, completed_at timestamp, distance double precision, duration double precision);Step 4. Install and Launch Appsmith
Follow the instructions on the Appsmith documentation to install Appsmith using Docker. Once installed, you can access the Appsmith dashboard in your web browser. Open https://localhost and wait for the server to come up. In my case, I was using a Docker desktop for a Windows machine and initiated two containers (One for RisingWave, and another for Appsmith):

Step 5. Create a New App
In Appsmith, create a new application. You will be presented with a blank canvas and a range of widgets, APIs, and DB queries to help you build your app. I am going to skip some trivial steps so you can also read the Build Your First App quickstart tutorial on the Appsmith website and learn how to connect a data source, fetch data and display data in a table view.

Step 6. Connect Appsmith to the RisingWave database
Appsmith provides a built-in connector for PostgreSQL which means we can use the same capability for connecting the RisingWave streaming database to read and write data in our application. Follow the tutorial to connect PostgreSQL and you need only specify the
host address,port,database name,usernamefor RisingWave as shown below. Note that we usehost.docker.internalfor Host Address because we are running RisingWave and Appsmith in two different containers. In this way, two containers can communicate easily.
Step 7. Write a query to add some taxi trips
As I mentioned earlier, you can run SQL queries directly from Appsmith UI. Now on the Explorer tab in Appsmith, navigate to the Queries/JS section and click the New Query + button to the right of the screen. Provide the query name
Insert_taxi_tripsand insert two taxi trips into ourTAXI_TRIPSthe table we created in Step 3.INSERT INTO taxi_trips VALUES (1, 1001, '2022-07-01 22:00:00', 4, 6), (2, 1002, '2022-07-01 22:01:00', 6, 9);Click the Run button to execute a query. It will add these trips to the RisingWave database. You'll see the results in the Response tab if the query succeeds.
Note that we inserted records manually for the sake of the demo, but in reality, you should ingest streaming data from different sources such as from a real taxi driver app.
Step 8. Write a query to select taxi trips
Similarly, we can add another query to fetch taxi trips from RisingWave. We add a new query with the name
Select_taxi_trips:
Step 9. Design your app and display data
Appsmith allows you to bind data from your queries to your widgets. Read more here. You can now use Appsmith's drag-and-drop interface to design your app's front end. You can use widgets like
Table,Text,Button,Input, and more to interact with your data. We are going to show taxi trip data in the Table widget. To display data, click the Widgets tab, and drag and drop a Table widget on the canvas. Give a new table name and in the Table Data box, paste the below JS code to display the results from theSelect_taxi_tripsquery on the table.{{Select_taxi_trips.data}}
Step 10. Create a new page to update trips
With our current integration, you can easily define what happens when users interact with your app. For example, you could create a form for updating existing taxi trip data. When the form is submitted with UI, it triggers a
UPDATE taxi_tripsquery that adds a new task to the RisingWave streaming database. Or when the user double-clicks on a selected table row in the Taxi Trips table we built in the previous step, we display details on the form. Add a new page called Edit Trip Details in Appsmith and begin to add Form widget with necessary fields to the canvas. See below the typical form structure:
Here is ourUpdatequery example which maps input fields from the current trip form to the query.
With Appsmith, it is also possible to navigate between two pages of the app and share data across pages. We can pass the values of the selected row in the Taxi Trips table to the Edit Taxi Trip form.
Step 11. Create a materialized view
Creating a materialized view for our taxi ride app can significantly enhance the application's performance, especially when dealing with complex queries on large datasets. Materialized views store the result of a query physically in RisingWave, and are refreshed immediately as data comes in, making it much faster to fetch data from them compared to running the actual query every time.
For example, we create a materialized view to dynamically calculate the average speed of all rides. To do so, we add a query and create a Table view in Appsmith:

As you can see,
Conclusion
Low-code platforms like Appsmith are proving to be game-changers in the way we build applications. Paired with the power of real-time streaming databases like RisingWave, we can build a complex data-driven application like in the taxi-driving app example. With RisingWave, it is also possible to combine data from multiple streams and visualize this data in Appsmith.
