
Sanjiv Anand  Verified user
Community Leader | Freelancer
CODDIO
 Verified user
Community Leader | Freelancer
CODDIO
To make a S3 file manager to manage the files in a S3 bucket
Introducing "S3 File Manager" by Appsmith: Your comprehensive solution for managing files stored in Amazon AWS S3 buckets. With its intuitive interface, secure authentication, and powerful features such as file navigation, operations, previewing, and search functionality, S3 File Manager streamlines cloud file management. Users can effortlessly organize, access, and collaborate on their S3 files with granular permissions management and robust error handling. Customization options ensure the app adapts to individual preferences and workflow requirements. Simplify your cloud file management experience with S3 File Manager, empowering you to harness the full potential of Amazon S3 with ease.
First and foremost we need to setup the S3 bucket as a datasource in Appsmith. Refer this tutorial to know how to setup the S3 bucket in appsmith
Next we can continue with building the UI of the App.
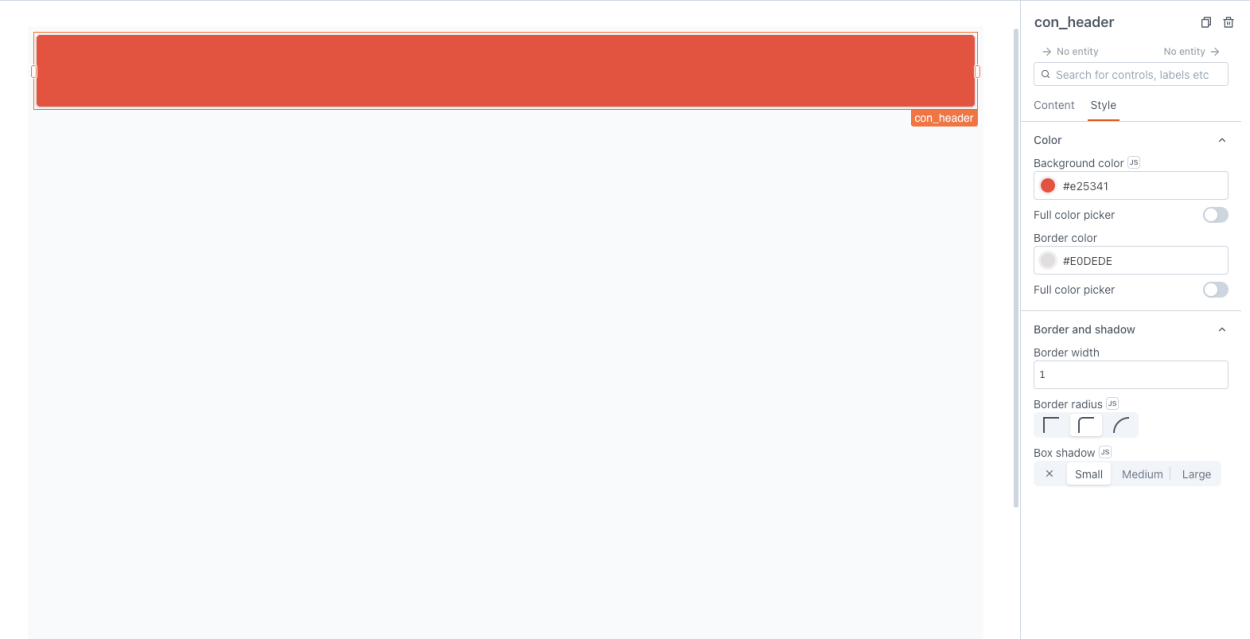
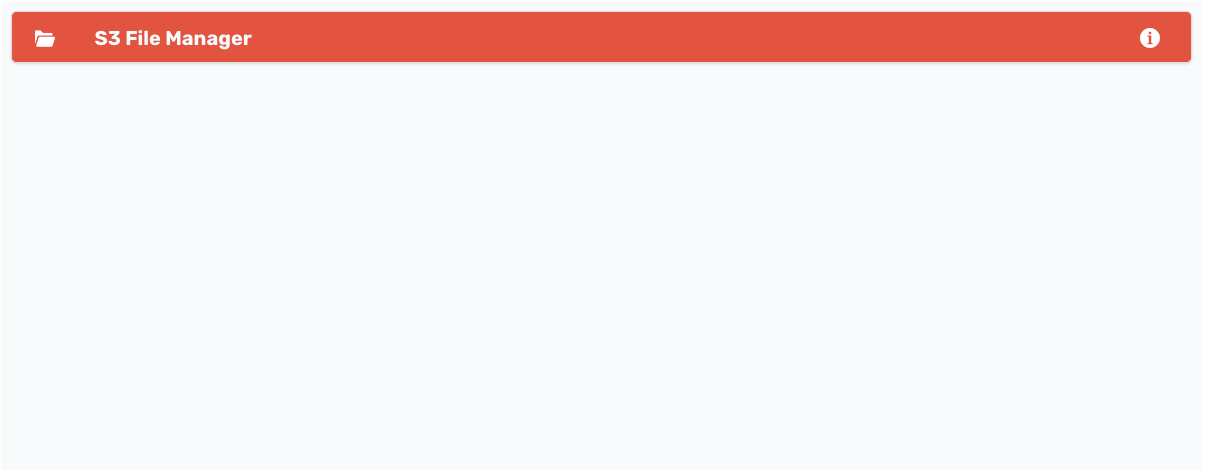
Drag and drop a container, which will act as a container for the header
Then add an icon button to add the icon of a folder.
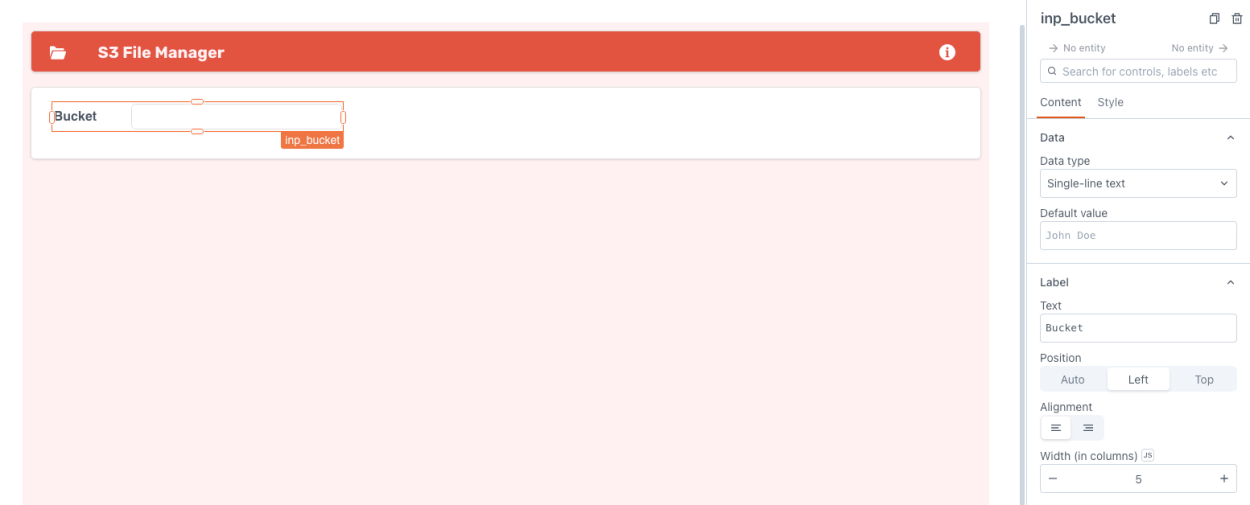
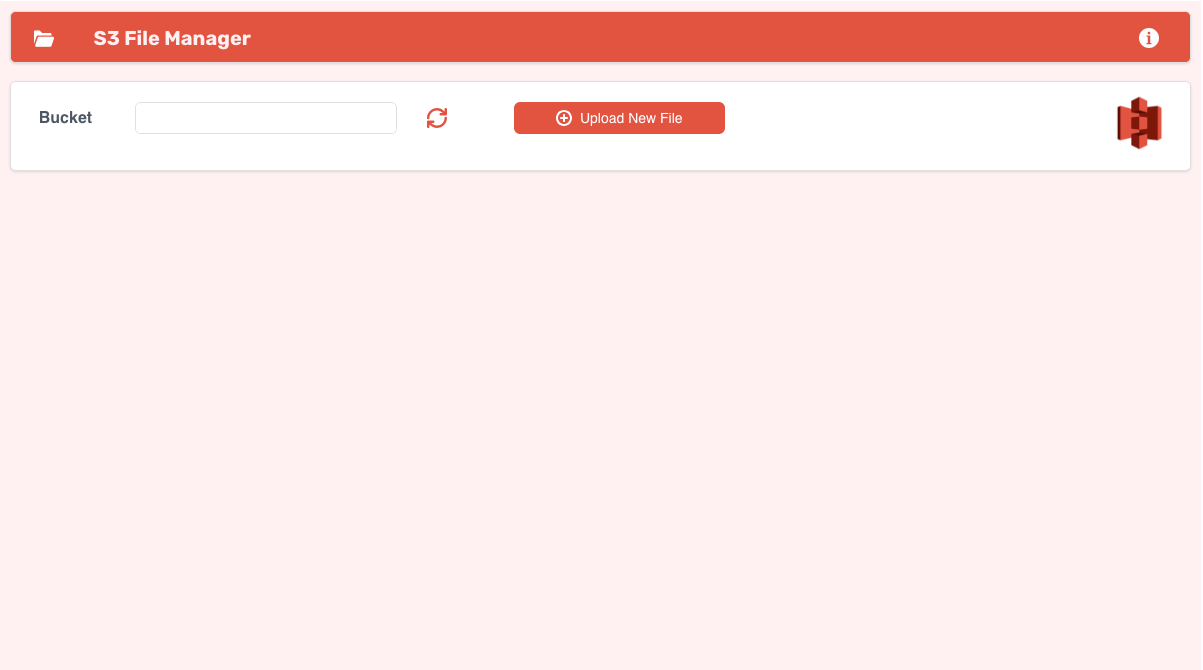
Next add a input widget into the canvas, this will act as an input to select the bucket we need to access. Here I am naming the widget as inp_bucket.
Note: It is important to name the widgets meaningfully, as it helps us to organise the code and it is easy to bind the widget to the JS Object or Query.
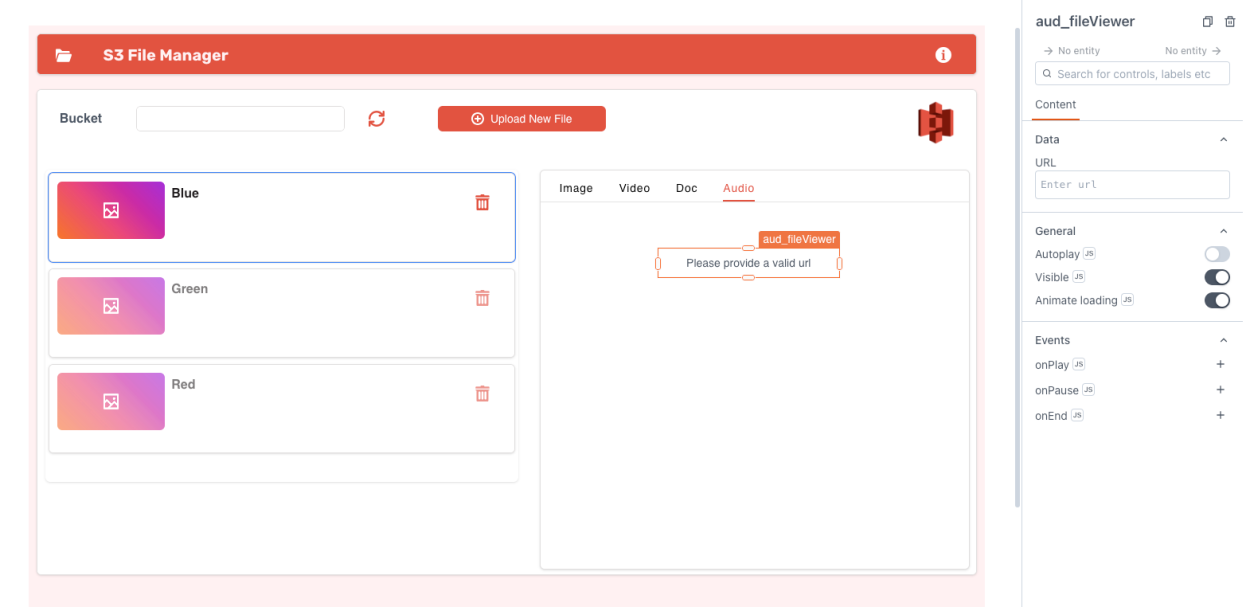
Audio
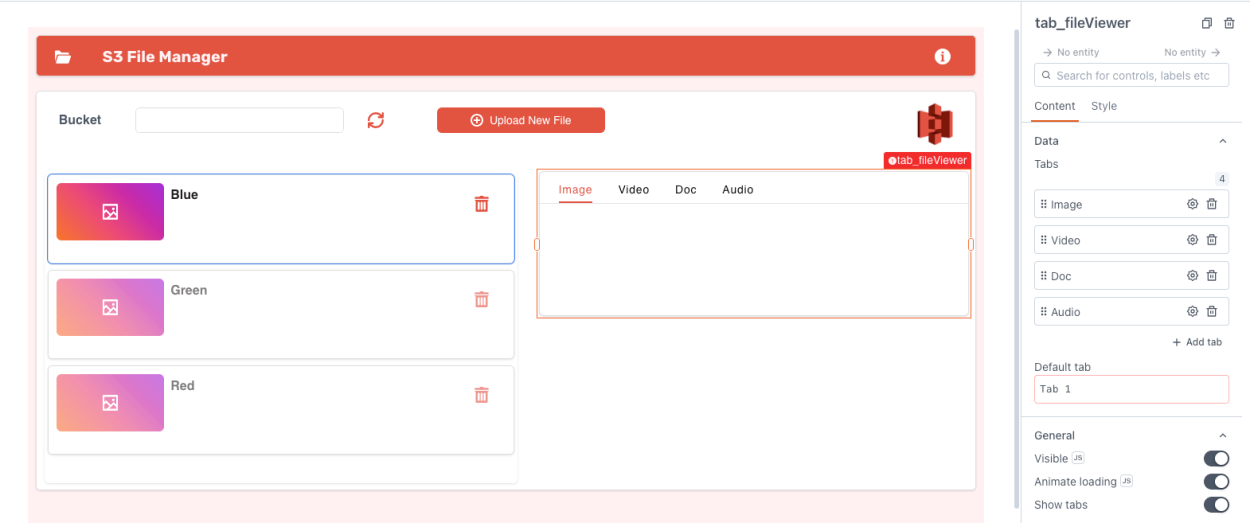
Now add an Image widget in the image tab
In the same way add the Video widget into the Video tab
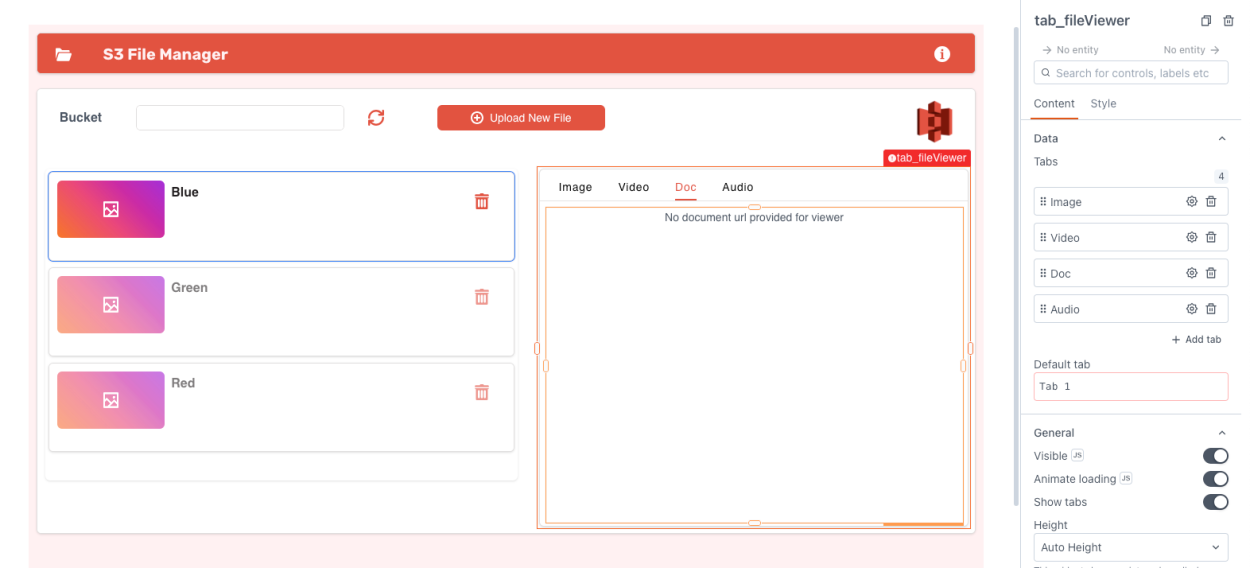
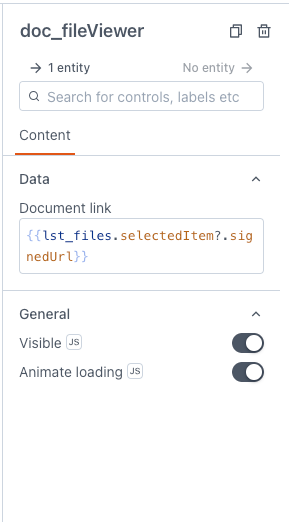
Next do the same for Doc tab by adding the document viewer widget
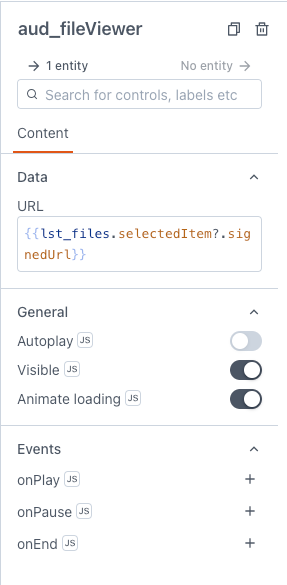
Finally let's finish this step by adding the Audio Widget to the Audio tab
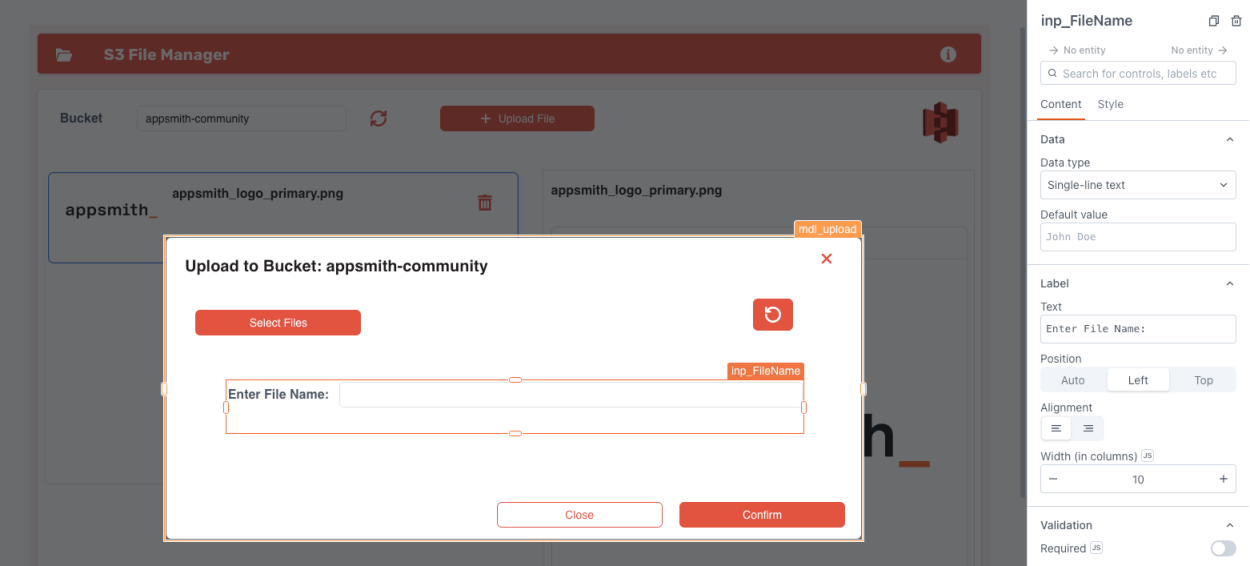
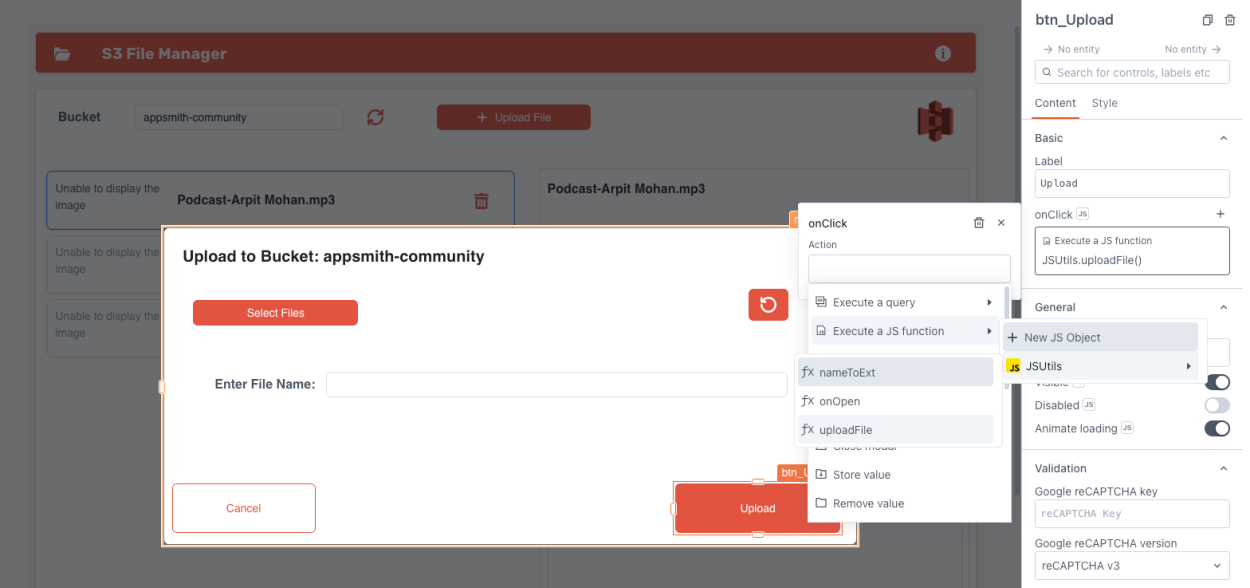
Next change the modal title to Upload to Bucket : {{inp_bucket}}
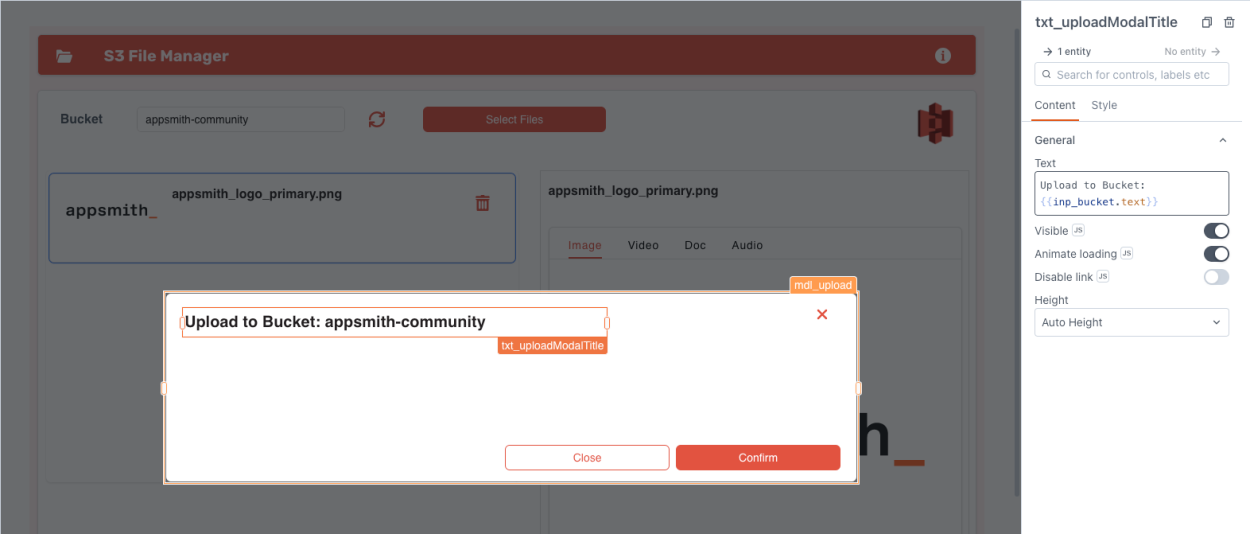
Next add a FilePicker Widget, rename it to fpk_upload. This name will be used while writing the JS Code for the Upload logic and change the text to upload File
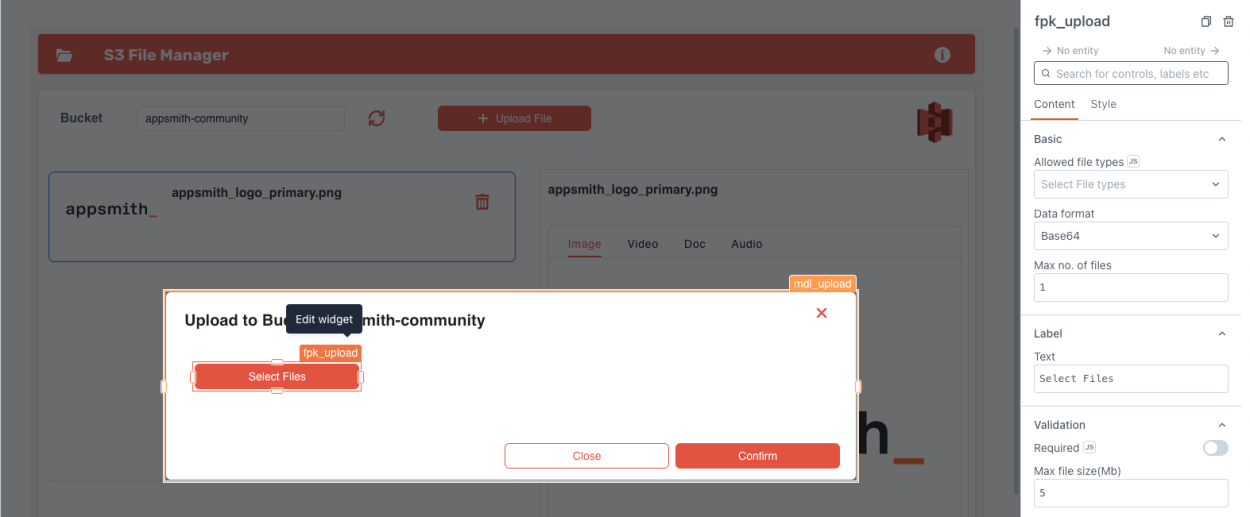
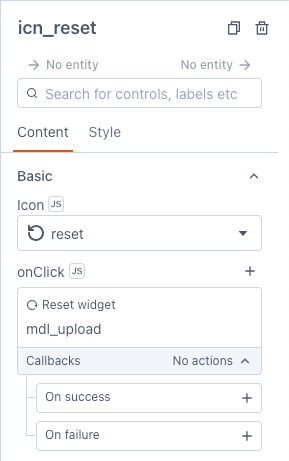
Then set the onClick function to reset the mdl_upload modal
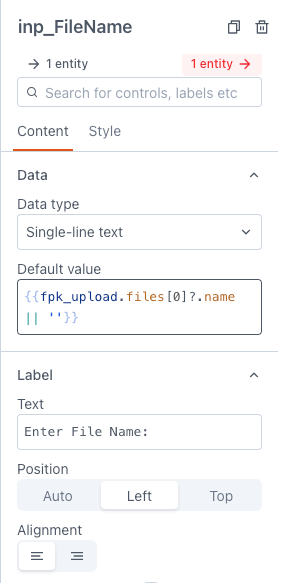
inp_FileName, to input the name of the fileSet the default value to {{fpk_upload.files[0]?.name || ''}}
A query is a request for information or action sent to a database, application, or API. It typically retrieves specific data or performs operations based on predefined parameters, helping users extract relevant information or manipulate data according to their needs.
We need to create 3 queries for this application
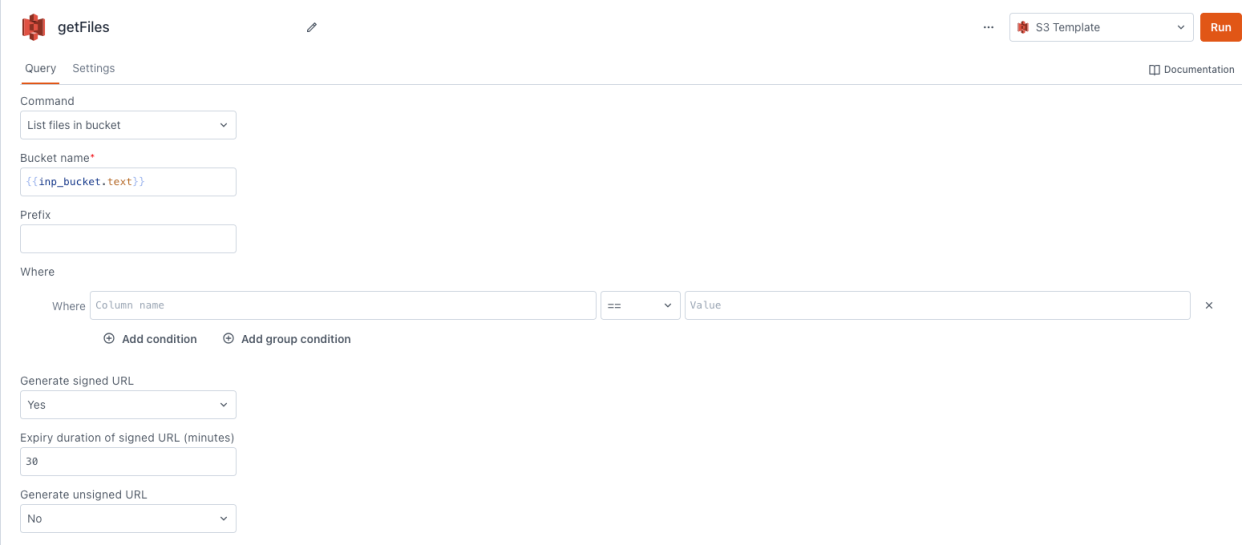
First, Let's create the getFiles query
This query is required to get all the files in the bucket
Go to Queries Tab in appsmith, then click on new Query and select your S3 Datasource
{{inp_bucket.text}}change the signedURL to yes and unsignedURL to no
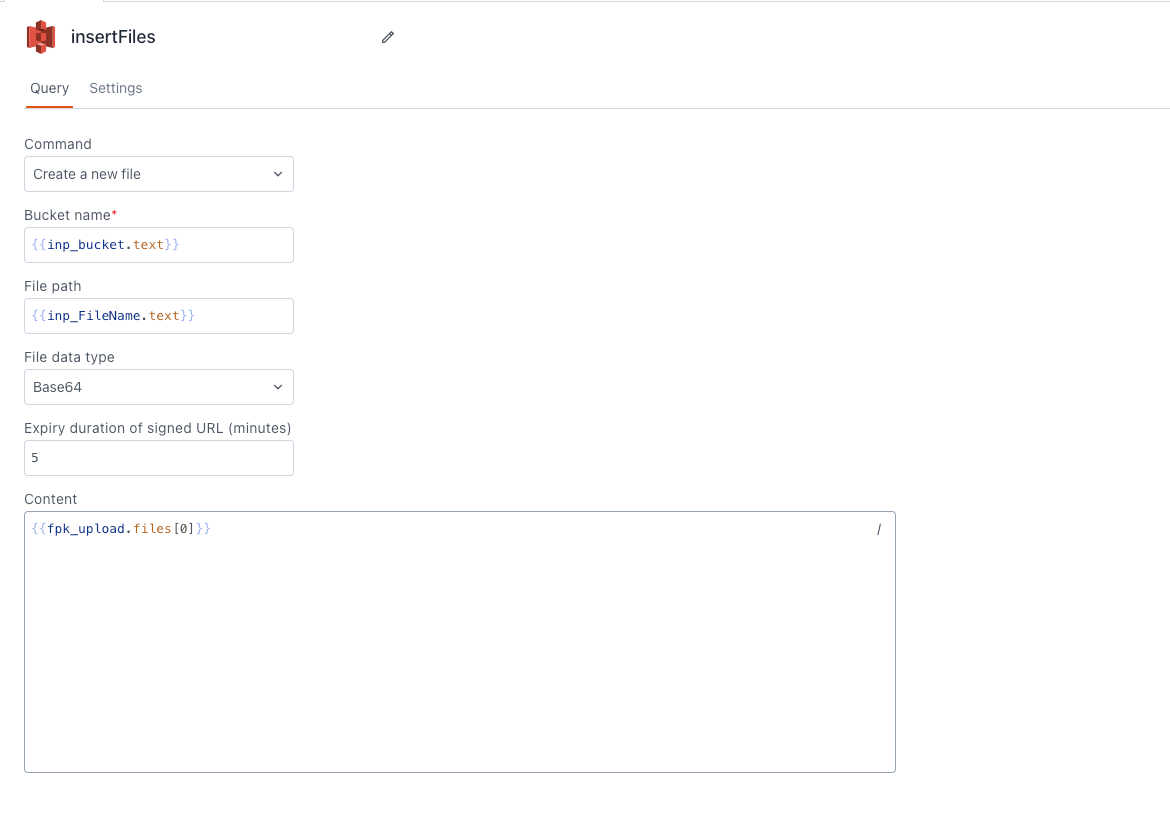
This query is used to insert a new file into the bucket.
Create a new file .{{inp_bucket.text}}And the content to {{fpk_upload.files[0]}}
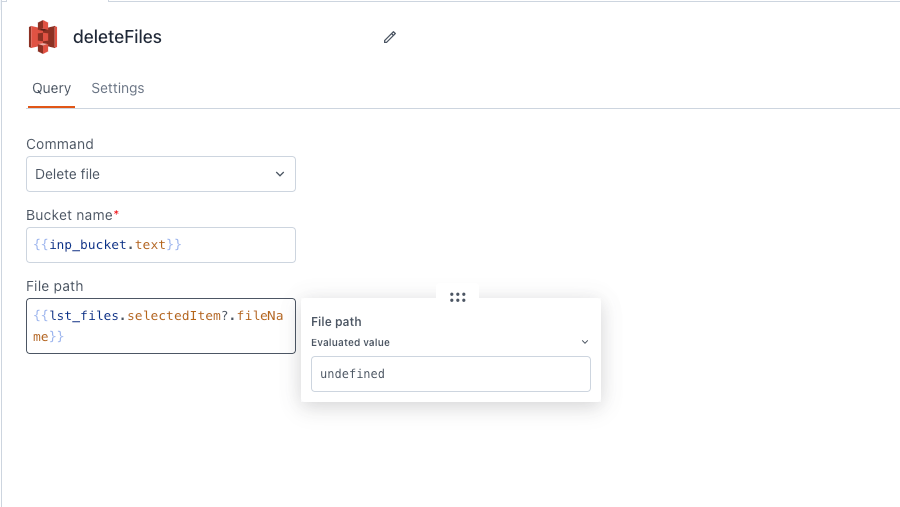
This query is used to delete the files in the bucket
Delete Files{{inp_bucket.text}}Change the filePath to {{lst_files.selectedItem?.fileName}}
Note: The chaining operator (?.) in JavaScript allows safe access to properties of an object without causing errors if intermediate properties are undefined or null. It short-circuits evaluation and returns undefined if any part of the chain is null or undefined. For further details, Refer this
JavaScript in Appsmith enables dynamic user interfaces, seamless API integration, custom logic implementation, event handling, and data manipulation. It's essential for creating interactive and functional applications that meet specific requirements and provide a superior user experience.
Now let's create a new JS file in appsmith.
Go to JS -> + New JS Object
Here, I am giving the name JSUtils For this JS Object.
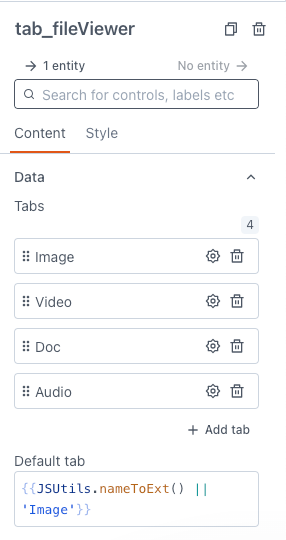
First we need to custom logic to decide which tab needs to be shows for that specific file format.
defaultTab: {
        html: 'Doc',
        txt: 'Doc',
        gif: 'Image',
        jpg: 'Image',
        jpeg: 'Image',
        png: 'Image',
        svg: 'Image',
        mp4: 'Video',
        mkv: 'Video',
        mpeg: 'Video',
        doc: 'Doc',
        docx: 'Doc',
        pdf: 'Doc',
        mp3: 'Audio',
        wav: 'Audio'
    },
    nameToExt(name=lst_files.selectedItem?.fileName){
        if(!name){return 'Image'}
        const ext = name?.split('.').pop().toLocaleLowerCase();
        return this.defaultTab[ext]
    }
This code splits the extension of the file from the file name and finds the appropriate tab to showcase/preview the file.
This object named defaultTab contains key-value pairs where the keys represent file extensions (without the dot) and the values represent the default category associated with those file types. For example, HTML, TXT, and DOC files are categorised as "Doc", while GIF, JPG, PNG, and SVG files are categorised as "Image". Similarly, MP4, MKV, and MPEG files are categorised as "Video", and MP3 and WAV files are categorised as "Audio".
The function extracts the file extension by splitting the name at the last dot and converting it to lowercase. This is done to ensure consistency as file extensions are often case-insensitive.
Then, the function looks up the file extension in the defaultTab object defined earlier. If a matching category is found, it returns that category; otherwise, it returns 'Image' by default.
Next we have the upload logic
uploadFile: async () => {
        await insertFiles.run();
        await closeModal('mdl_upload');
        resetWidget('fpk_upload')
        await getFiles.run()
    }
And then we have the Default item Logic for the list
defaultItem: 0
The entire code for the JS is Here:
export default {

    defaultItem: 0,

    uploadFile: async () => {
        await insertFiles.run();
        await closeModal('mdl_upload');
        resetWidget('fpk_upload')
        await getFiles.run()
    },

    defaultTab: {
        html: 'Doc',
        txt: 'Doc',
        gif: 'Image',
        jpg: 'Image',
        jpeg: 'Image',
        png: 'Image',
        svg: 'Image',
        mp4: 'Video',
        mkv: 'Video',
        mpeg: 'Video',
        doc: 'Doc',
        docx: 'Doc',
        pdf: 'Doc',
        mp3: 'Audio',
        wav: 'Audio'
    },
    nameToExt(name=lst_files.selectedItem?.fileName){
        if(!name){return 'Image'}
        const ext = name?.split('.').pop().toLocaleLowerCase();
        return this.defaultTab[ext]
    }

}Now let's connect the widgets with the queries.
First Let's connect the list Widget with the getFiles Query.
{{getFiles.data}}fileName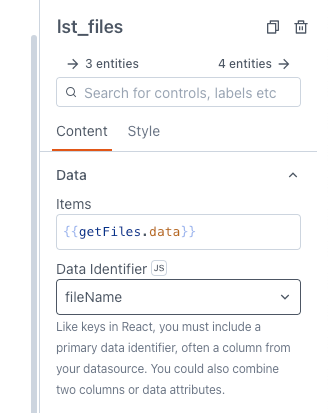
Next set the defaultItem of the list widget to {{JSUtils.defaultItem}}
Then we need to connect the list elements,
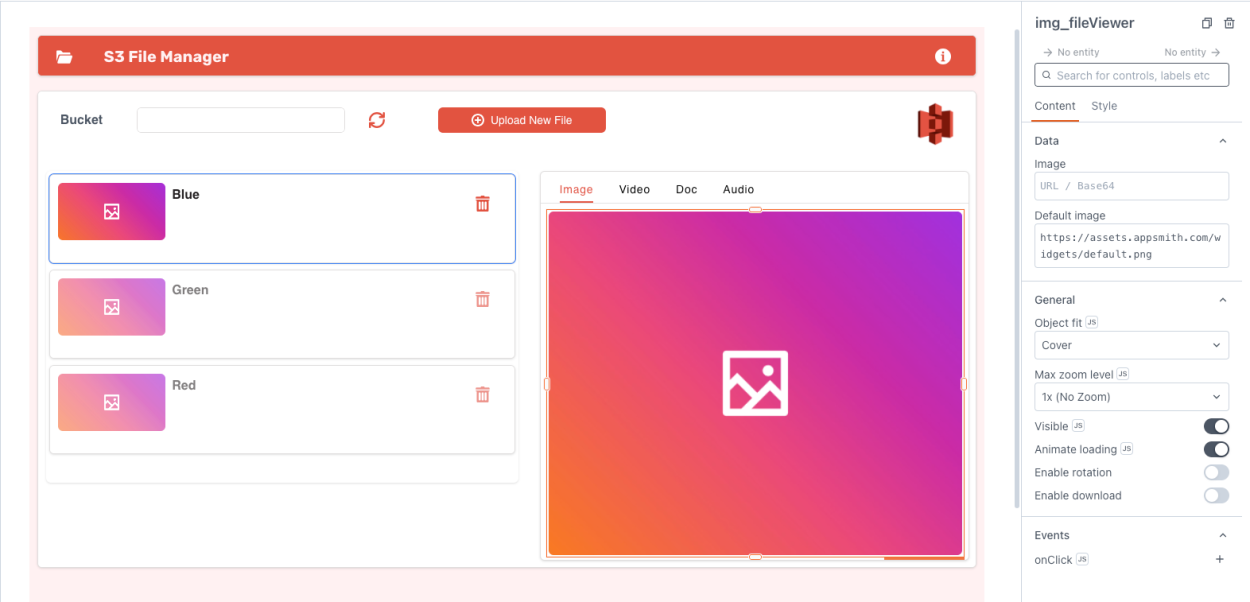
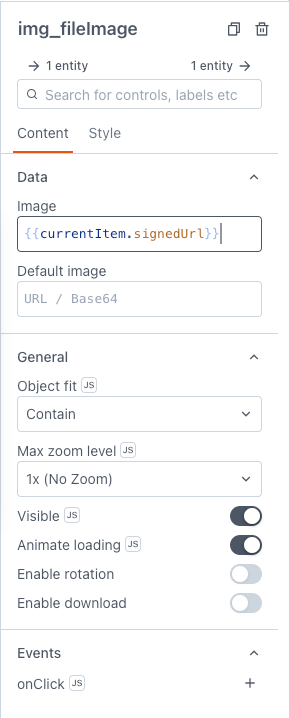
First select the Image widget in the list. and change its Data to {{currentItem.signedUrl}}
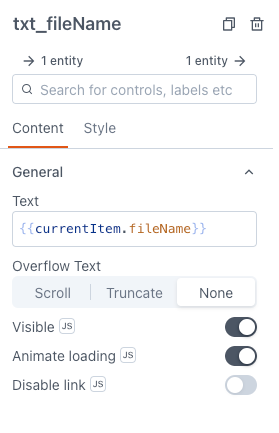
Next select the text widget inside the list and change its Text to {{currentItem.fileName}}
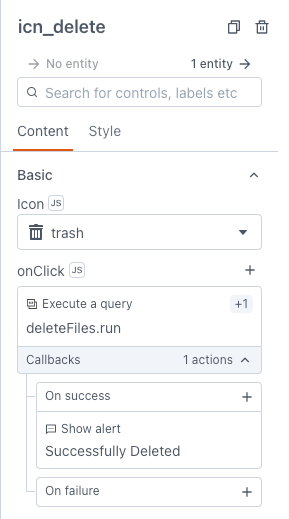
And set the onClick property of the icon button with the delete symbol to deleteFiles Query
Now let's connect the defaultTab property of the tab widget to {{JSUtils.nameToExt() || 'Image'}}
Next let's connect each of the preview tabs(Image, Video, Doc, Audio)
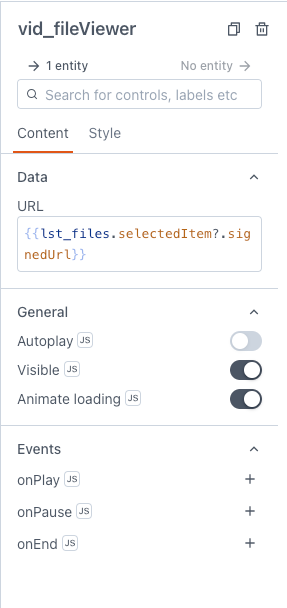
Select the Image Widget and set the Data to {{lst_files.selectedItem?.signedUrl}}

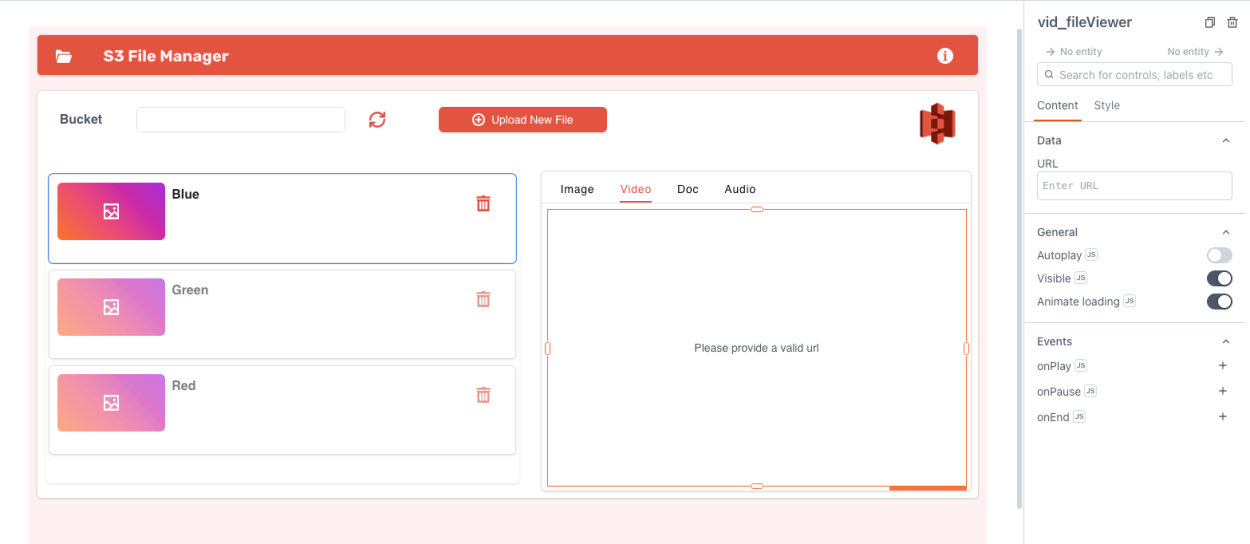
Similarly do this for the video, Doc and audio widget using the same code
Next let's connect the upload button with the JS Code
That's all, Now we have a working S3 File Manager app entirely made using appsmith
In conclusion, the S3 File Explorer developed with Appsmith emerges as an indispensable tool for navigating the complexities of Amazon AWS S3 storage. Seamlessly integrating the robust capabilities of S3 with the intuitive features of Appsmith, this application redefines cloud file management. Its user-friendly interface streamlines access to S3 buckets, empowering users to effortlessly browse, organize, and interact with their files.
Beyond mere navigation, the S3 File Explorer facilitates efficient file operations, including uploading, previewing and deleting files, all within a single, cohesive platform. Users can preview supported file types, search for specific files or folders, and manage permissions with ease, enhancing productivity and collaboration.
Moreover, Appsmith's customization options allow tailoring the File Explorer to suit individual preferences and workflow requirements. Whether managing personal files or facilitating team collaboration, the versatility of the S3 File Explorer ensures seamless adaptation to diverse use cases.
With robust error handling mechanisms and secure authentication, users can navigate their S3 resources with confidence, knowing their data remains protected. Overall, the S3 File Explorer stands as a testament to the power of combining Appsmith's agile development platform with the unparalleled scalability and durability of Amazon AWS S3, empowering users to harness the full potential of cloud-based file management.

Its a very interesting articles and show all the crud around it.
But when the file exceed 5mb it stoping to work like this. How to do it?