
Zendesk API: Creating an Authenticated API Datasource
Goal
Connecting to the Zendesk API via user token
Prerequisites
A Zendesk account
An Appsmith account
Overview
The Zendesk API has options to connect via user name and password, or by using an API token. This tutorial will be using the more secure, token method, and will show how to create an Authenticated API Datasource in Appsmith, to securely store the token on the Appsmith server. Using this server-side method, the token never gets exposed to clients.
Create an API Token in Zendesk
Start out by heading over to the Admin Center, and navigate to the API section.
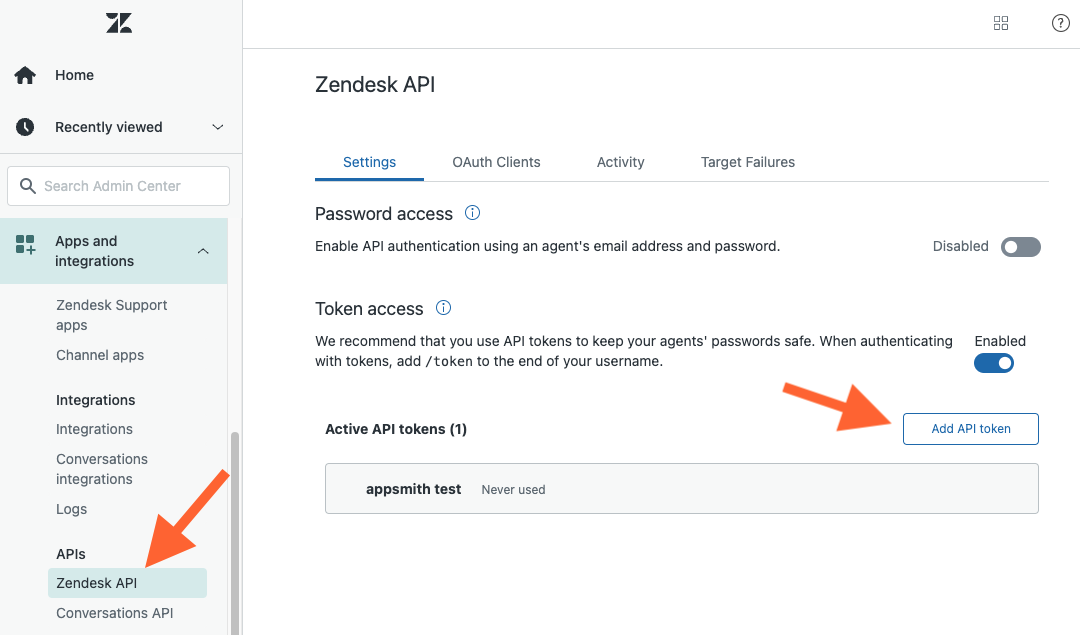
- Enable Token access
- Add an API token
- add a description
- copy the token and save it somewhere safe!
NOTE: You won't be able to view this token again in Zendesk, but you can always generate a new token.
Next, click the
(i)next to Token access, and copy the curl template, then head over to Appsmith.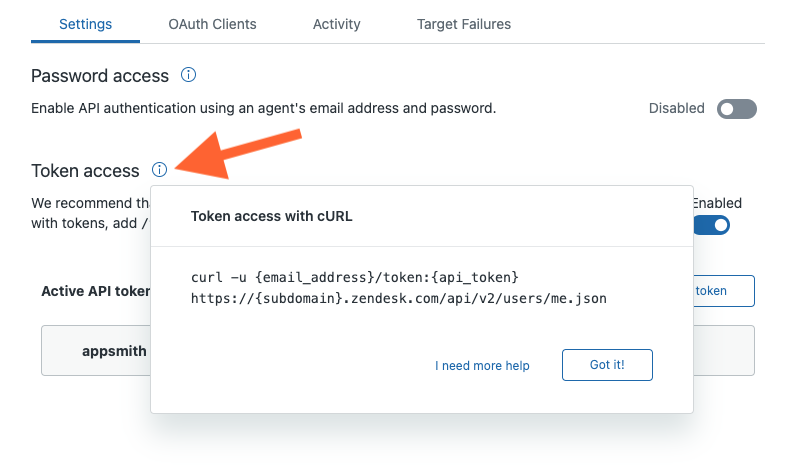
Import CURL to Create a new API
In Appsmith, click Datasources [+] on the left sidebar and select CURL Import

Paste in the curl request, and update it with your
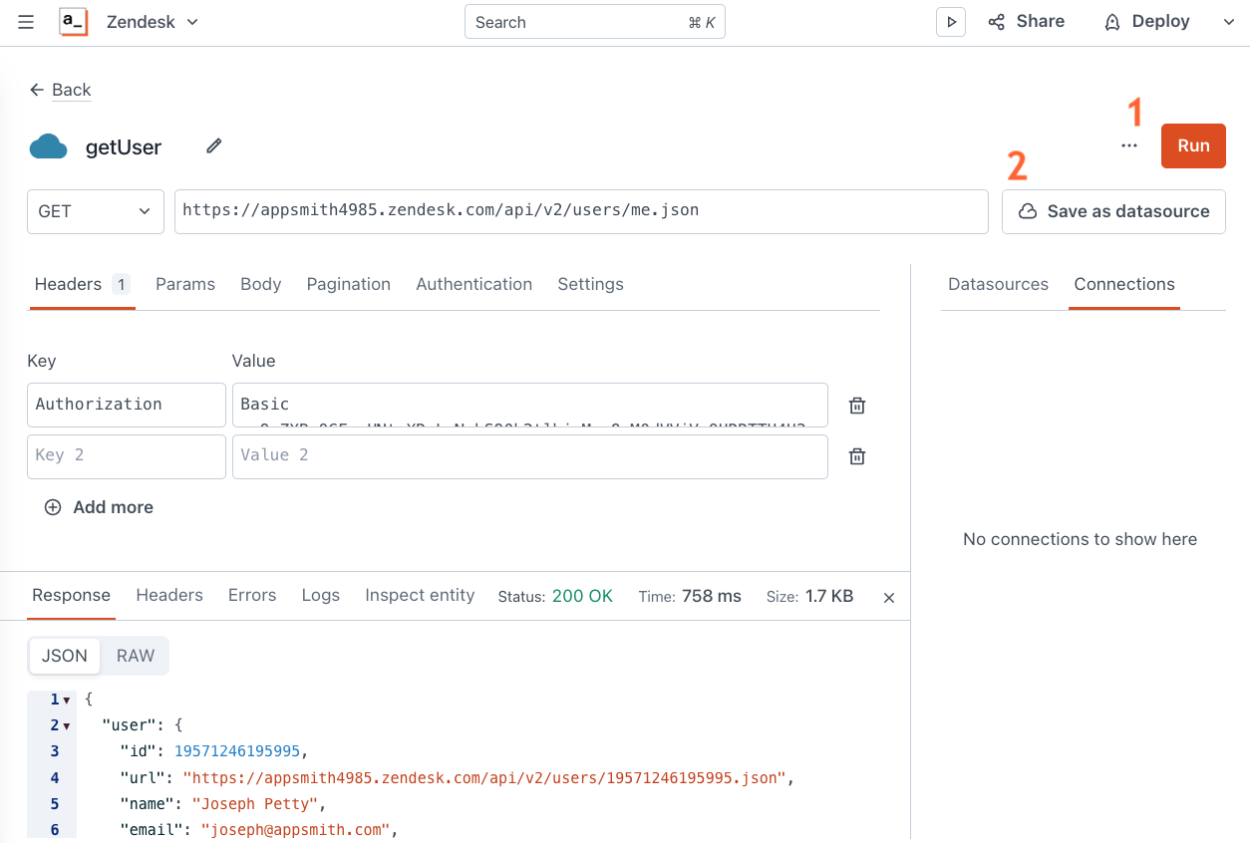
email,api_token, andsubdomain. Then click Import, to create the new API.Test the API
Click Run, and you should get back a response with your user object. Then click Save as datasource, to convert the API to an Authenticated API Datasource.
Save the API as a Datasource
Notice how the authentication header is stored in plain text, in an unencrytped field? Before saving the datasource, the best practice is to move the token to the authentication settings and store the token in the encrypted password field.

- Under the Authentication section, set the authentication type to Basic
- enter your email for the user name, followed by
/token - Copy the token from the unencrypted version of the header, and paste it in the password
- Delete the original header, now that the token is stored securely! ⚠️
- Save the datasource
- Retest the API
Note the blue bar around the url now. This indicates that the API is connected to a datasource.
The headers appear blank now, because the server will be adding on the credentials after any requests are sent from the client side.
Conclusion
Creating an Authenticated API Datasource in Appsmith allows developers to securely build apps that integrate with other platforms. Zendesk's API allows developers to connect using API tokens to keep the agent's password safe and separate from the integration.