Large Language Models can be extremely powerful business tools, but they also come with significant risk if not used properly. In part one of this post, I covered how you can self-host your own LLM on local hardware, and avoid the privacy and security risks of using a cloud-based AI service. If you haven't read part one yet, check it out for a more detailed overview of Ollama and Llama3.2. It also covers how hosting your own LLM can be cheaper, and can work completely offline, or air-gapped from outside internet.
With Part 2, we'll be moving that setup to our own private cloud, using Docker in a Digital Ocean Droplet.
This guide will cover:
- Deploying a Digital Ocean Droplet (Docker/Ubuntu)
- Building a custom container with Docker Compose
- Installing Appsmith and Ollama in Docker
- Installing the Llama3.2 model
- Connecting to Ollama from Appsmith
- Building a simple chat app
Let's get started!
(Check out the video tutorial here)
Deploy Docker Droplet
Start out by creating a new Droplet from your Digital Ocean Dashboard.
Configure the new droplet as follows:
| Region and Data center | Choose whichever option you prefer |
|---|---|
| Choose Image | Marketplace => Search Docker => Select Docker Latest on Ubuntu |
| Size: Droplet Type | Basic or higher |
| CPU Options | Premium Intel or higher |
| Plan | 16GB RAM or higher (4GB for Appsmith, and 8GB for Llama3.2 model) |
| Authentication Method | Password is used in this guide, but feel free to use SSH key |
| Hostname | Rename to something more descriptive: e.g. docker-ubuntu-appsmith-ollama |
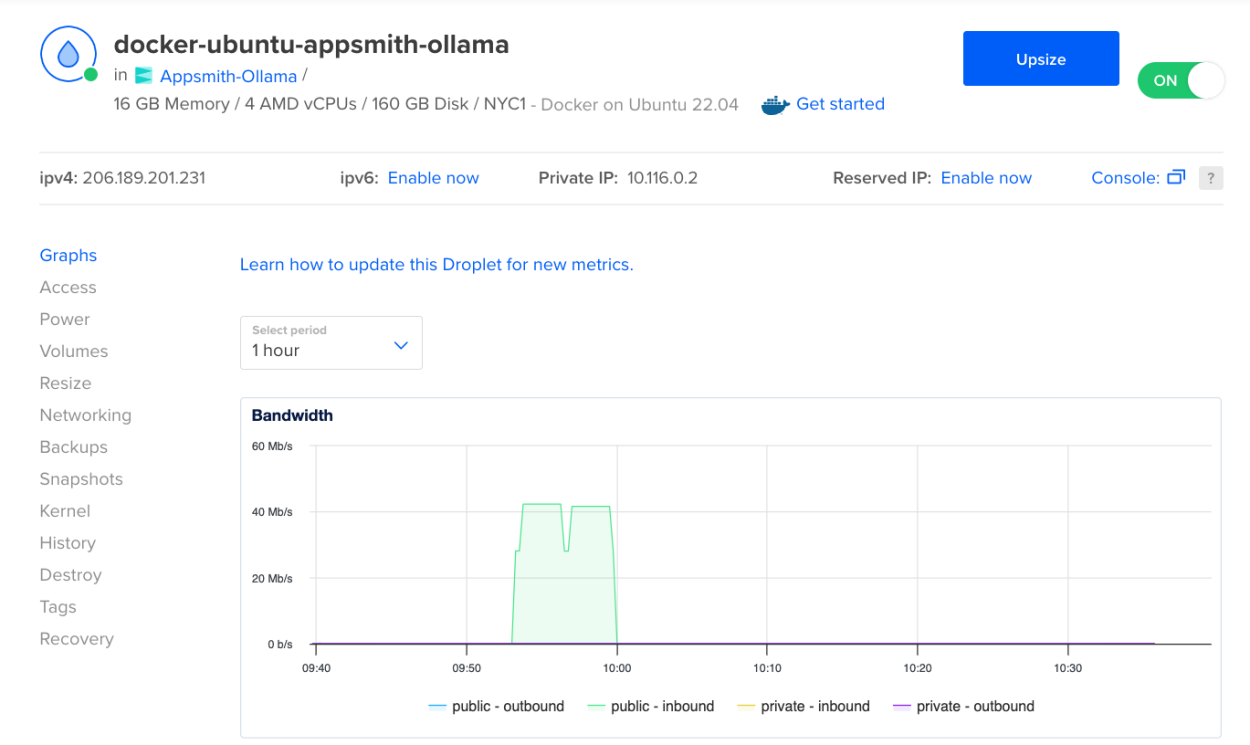
Note: You may want to create a new project first, then select that project when creating the droplet.
Click Create Droplet, and then grab a cup of coffee while it spins up for the first time. ☕️
Open Droplet Console
Once the droplet is ready, click it to open and view more options. Then click Access on the left side bar, and Launch Droplet Console.
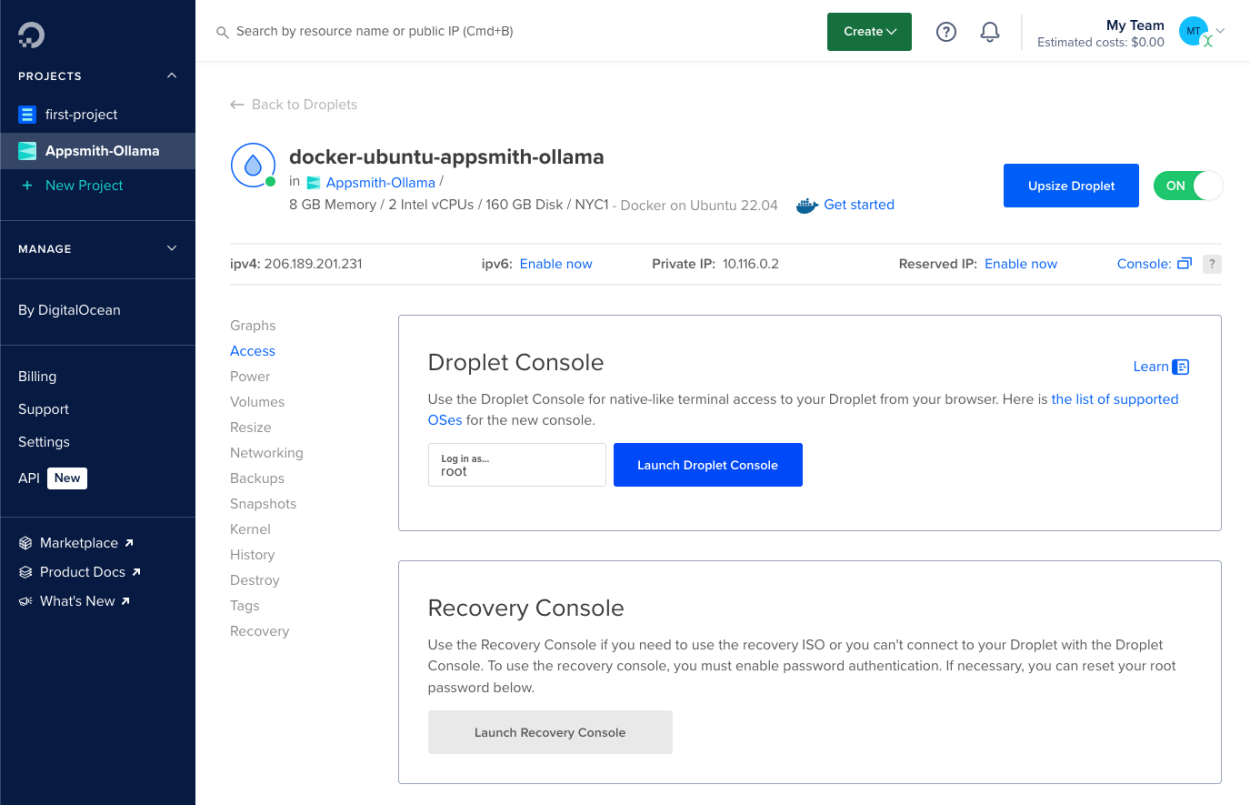
This will open up a remote terminal window logged into the Ubuntu machine with the root account.
Prepare the Environment
First we'll update the machine to
apt update && apt upgrade -y
Verify Docker Compose is pre-installed:docker compose version
Create Docker Compose File
Next we'll create a new Docker Compose file to configure a custom container with Appsmith and Ollama. Start out by creating a new folder and then navigate to it. Then create a new file inside the folder. mkdir appsmith-ollama && cd appsmith-ollamanano docker-compose.yml
Paste the following YML into the Nano text editor:
services:
 appsmith:
   image: index.docker.io/appsmith/appsmith-ee
   container_name: appsmith
   ports:
     - "80:80"
     - "443:443"
   volumes:
     - ./stacks:/appsmith-stacks
   restart: unless-stopped
 ollama:
   image: ollama/ollama:latest
   container_name: ollama
   environment:
     - SOME_ENV_VAR=value  # Replace with actual variables
   restart: unless-stopped
Then press ctrl+o to Write Out (save) the file, and Enter to confirm. Then press ctrl+x to exit Nano.
Start Docker Services
Now start up docker from this folder, and it will create a new container with both Ollama and Appsmith. docker compose up -d
Confirm services are running:docker ps

Ok, Appsmith and Ollama are both running, but there's still a little setup to do with each one before we can use them.
Set Up Llama 3.2 in Ollama
Ollama is running, but we haven't downloaded the actual Llama3.2 model yet. To do that, we have to interact with the terminal for the individial ollama container, not the host Docker-Ubuntu machine. So first we have to tell Ubuntu to open up a terminal for the ollama container.
docker exec -it ollama bashNow from this terminal, we can download and install Llama3.2.
ollama run llama3.2You'll see several files download the first time running this command. If you shut down the container and restart later, it should skip the download and go straight to running the model.
Once the download finishes, you'll see a prompt, allowing you to begin chatting with the model directly from the terminal!

Verify Appsmith and Ollama
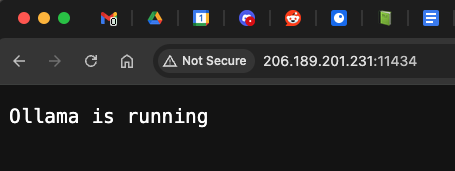
Next, go back to the Droplet Dashboard and copy the public IP address. Then open http://<Droplet_IP>:11434 to verify Ollama is available by the IP address. You should see a status page with a message.
Next, open http://<Droplet_IP> in a browser to access the Appsmith UI. This should take you to the welcome page for the new Appsmith server. Finish the onboarding flow and create your new admin account for the Appsmith server.
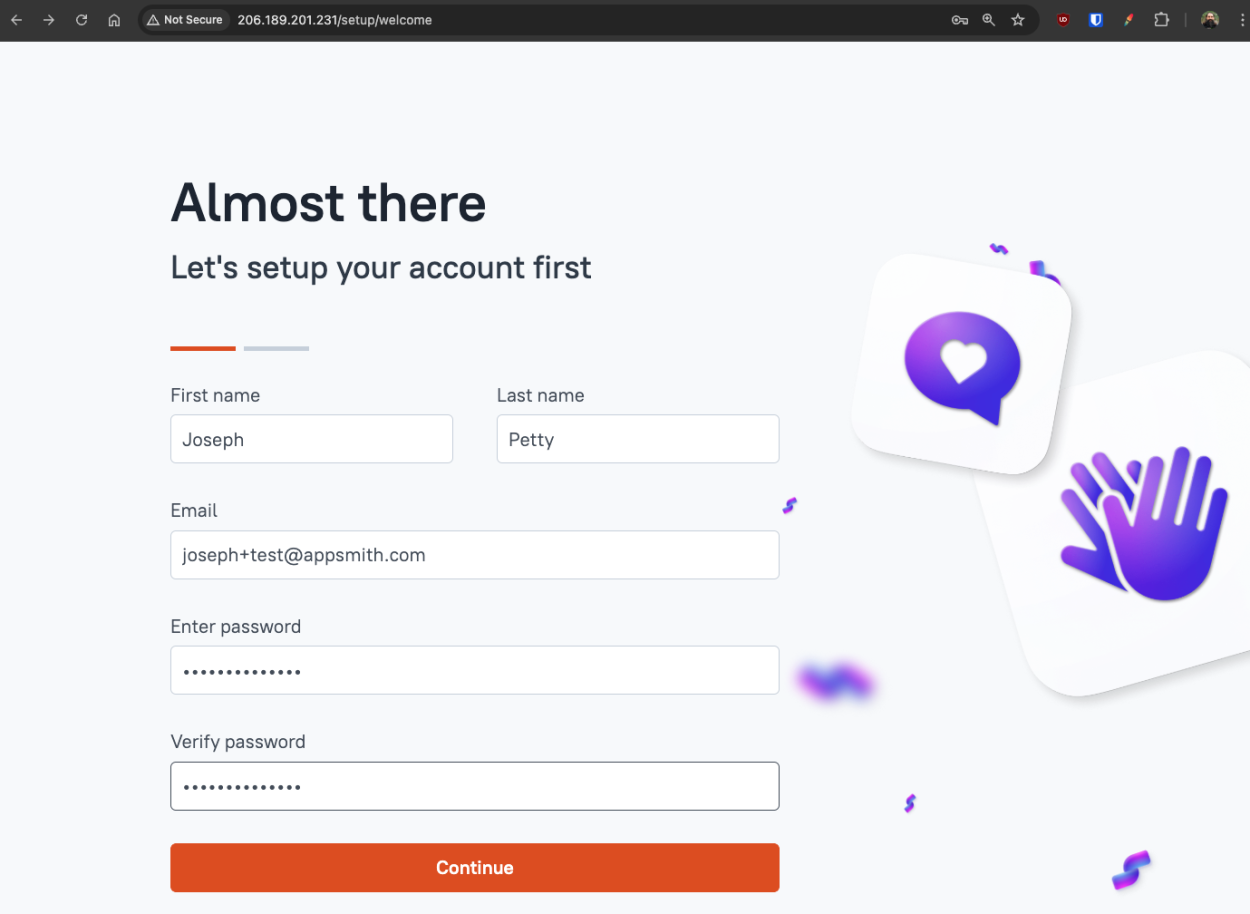
Click Continue, then Get Started, and then add a new REST API to your first app.
Building a Chat App
Ok, Ollama and the Llama3.2 model are running and ready to use. Set up the new API as follows:
| Name | sendMessage |
|---|---|
| Method | POST |
| URL | http://ollama:11434/api/generate |
| Body Type | JSON |
| Body |
|
| Timeout (Settings tab) | 90000 (1.5 minutes) |
Click Run, and give it about a minute to generate. You should get back a response with info about Appsmith.
Note: Setting stream=true takes longer for a response, but it will be the complete version instead of a partial response.
Building the UI
Next, click the UI tab and drag in an input widget, button, and a text widget. Then lay them out like a chat interface. You may want to set the input type to multiline, and set the text widget to fixed height with scroll for displaying the chat response.
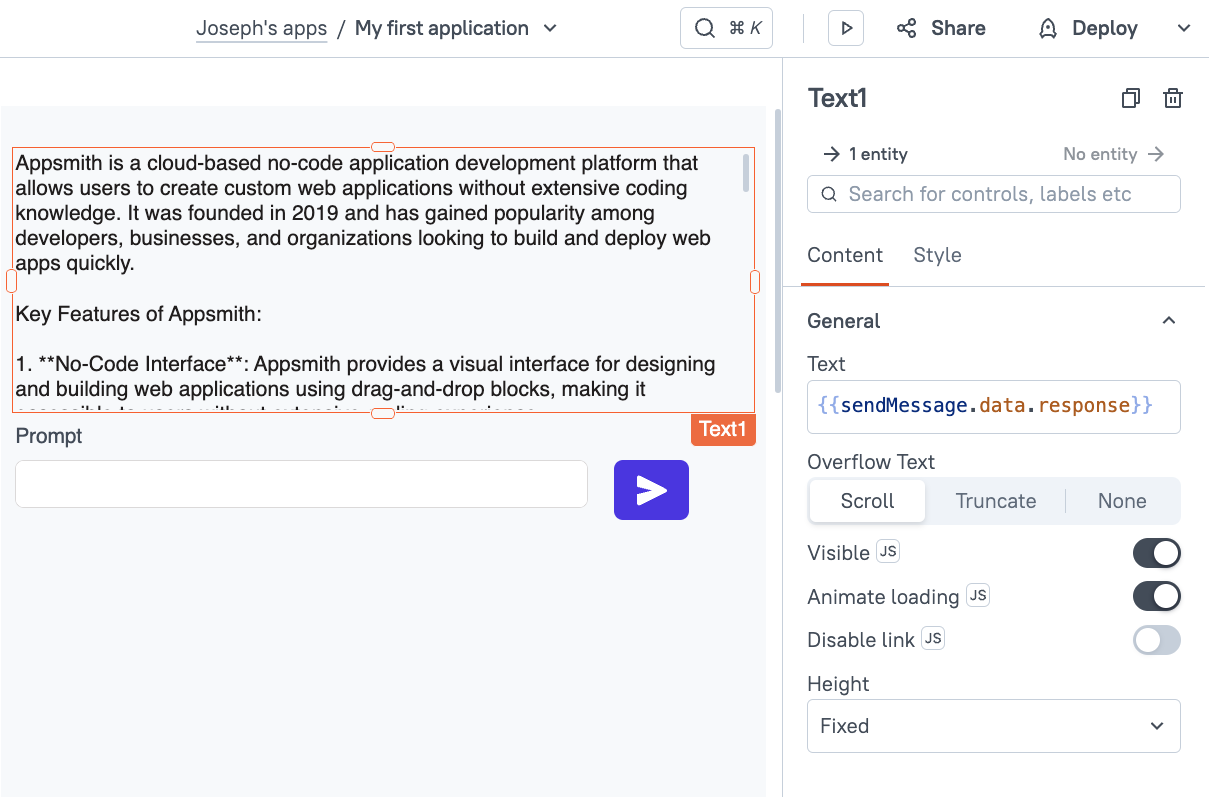
Set the Text widget to display data from {{sendMessage.data.response}}, and then set the button's onClick to run the sendMessage API.
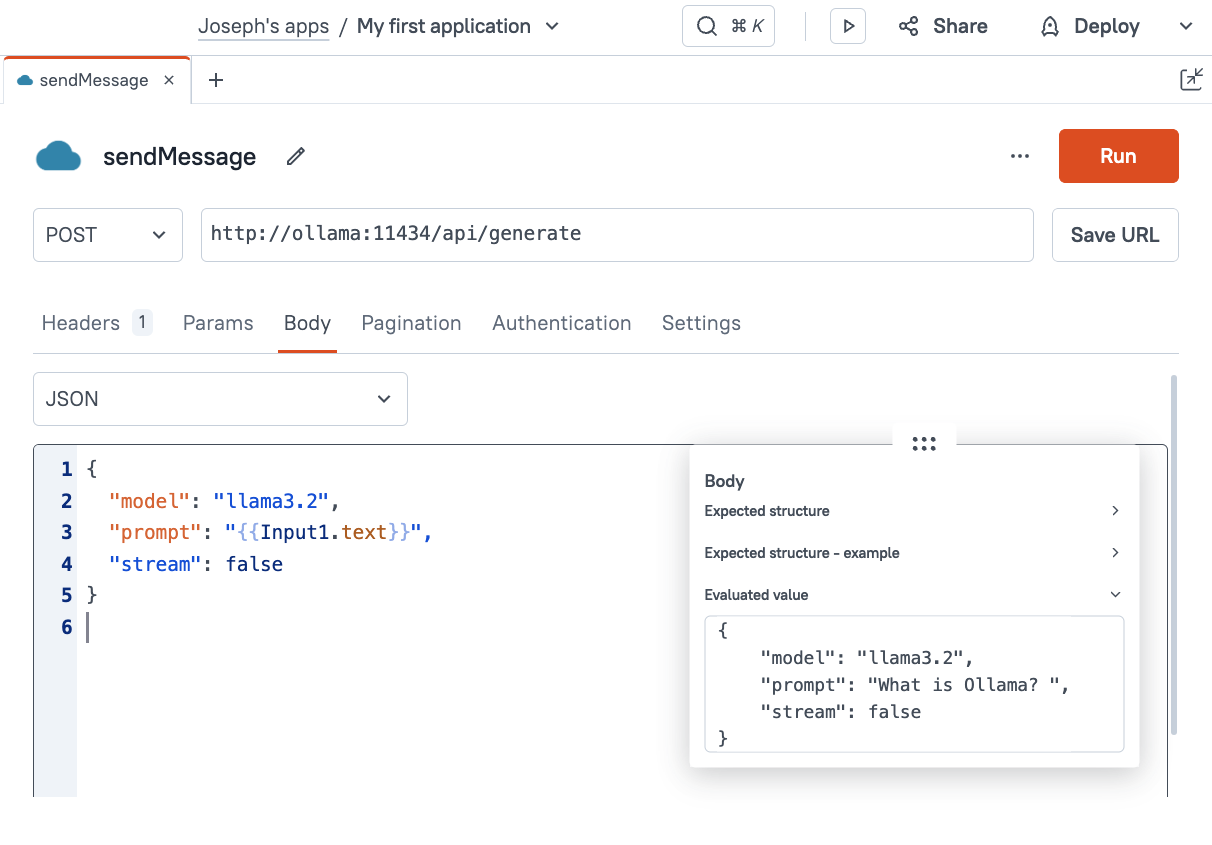
Lastly, go back to the sendMessage API body, and replace the hard-coded message with a binding to the new input widget.
{
	"model": "llama3.2",
	"prompt": "{{Input1.text}}",
	"stream": false
} 
Time to test it out!
Click Deploy 🚀
Now enter a prompt and click the send button.
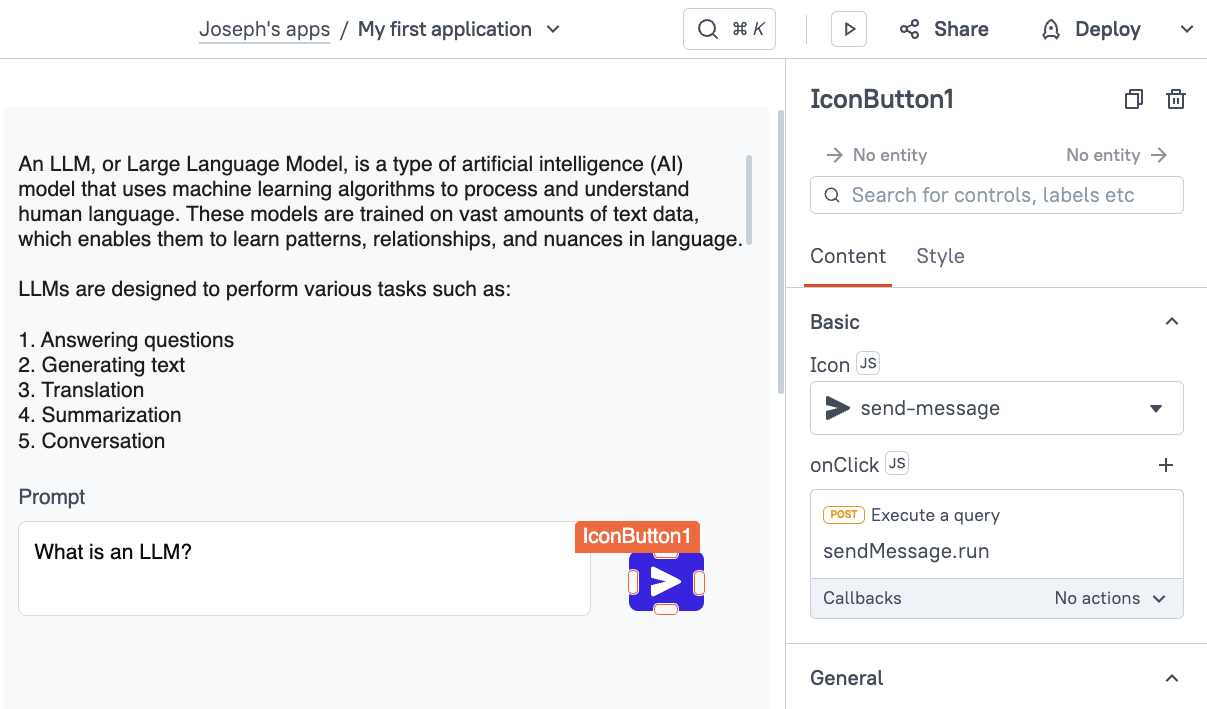
And there you have it. A self-hosted LLM in the same virtual private cloud as your Appsmith instance!
Conclusion
Self-hosting your own LLM is easy with Ollama. Whether you choose to host it locally on your own hardware, or in the cloud, self-hosting an LLM along side Appsmith is a great way to leverage AI in your internal applications without the traffic leaving your network. Now you can avoid the privacy and security issues of using public AI services, and save on subscription fees with this easy to use setup.
