
Part 1: Setting Up Strapi - Integrating Appsmith & Strapi
Goal
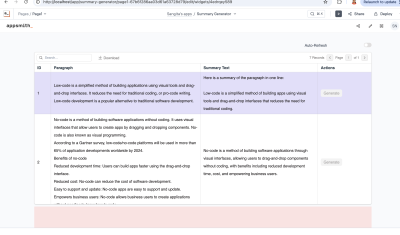
This is Part 1 of a series called Building Dynamic and Enterprise Dashboards with Appsmith and Strapi, where we explore how this dynamic duo can help you supercharge your data-driven applications with ease.
At the end of this session, you will have a working Strapi headless content management system instance locally ready to start serving data for your Appsmith application. In the following parts of this series you will also learn how to deploy this Strapi instance to the cloud.
Prerequisites
Node.js v.18+ installed locally.
Overview
Strapi is a leading open-source headless Content Management System (CMS) that provides a flexible and customizable platform for managing digital content. Whether it's e-commerce catalogs, large business datasets or any structured data, Strapi allows you to define, store, and deliver your content seamlessly via REST APIs or GraphQL. Strapi have a user-friendly interface to define and manage data structures and a wide range of plugins, making it perfect for managing dynamic content.
Creating a local Strapi project
Creating a Strapi project is really simple, using your prefered terminal, in my case I use iTerm, go to the folder you want the Strapi project to be initialized, and there, you will run
npx create-strapi-app@latest appsmithThis command uses npx, which is a way to install Node.js dependencies and execute npm package binaries. This takes care of setting up our project which we named
appsmith. After it installs all the dependencies, it will ask us for what type of project we want to create.npx: installed 101 in 10.48s ? Choose your installation type ❯ Quickstart (recommended) Custom (manual settings)We will choose the
Quickstartoption which is best for most of the projects. Once this is done, our Strapi CMS app will be ready and we will see on the terminal that the server is running onhttp://localhost:1337/admin, open it on your browser and you should see something like this: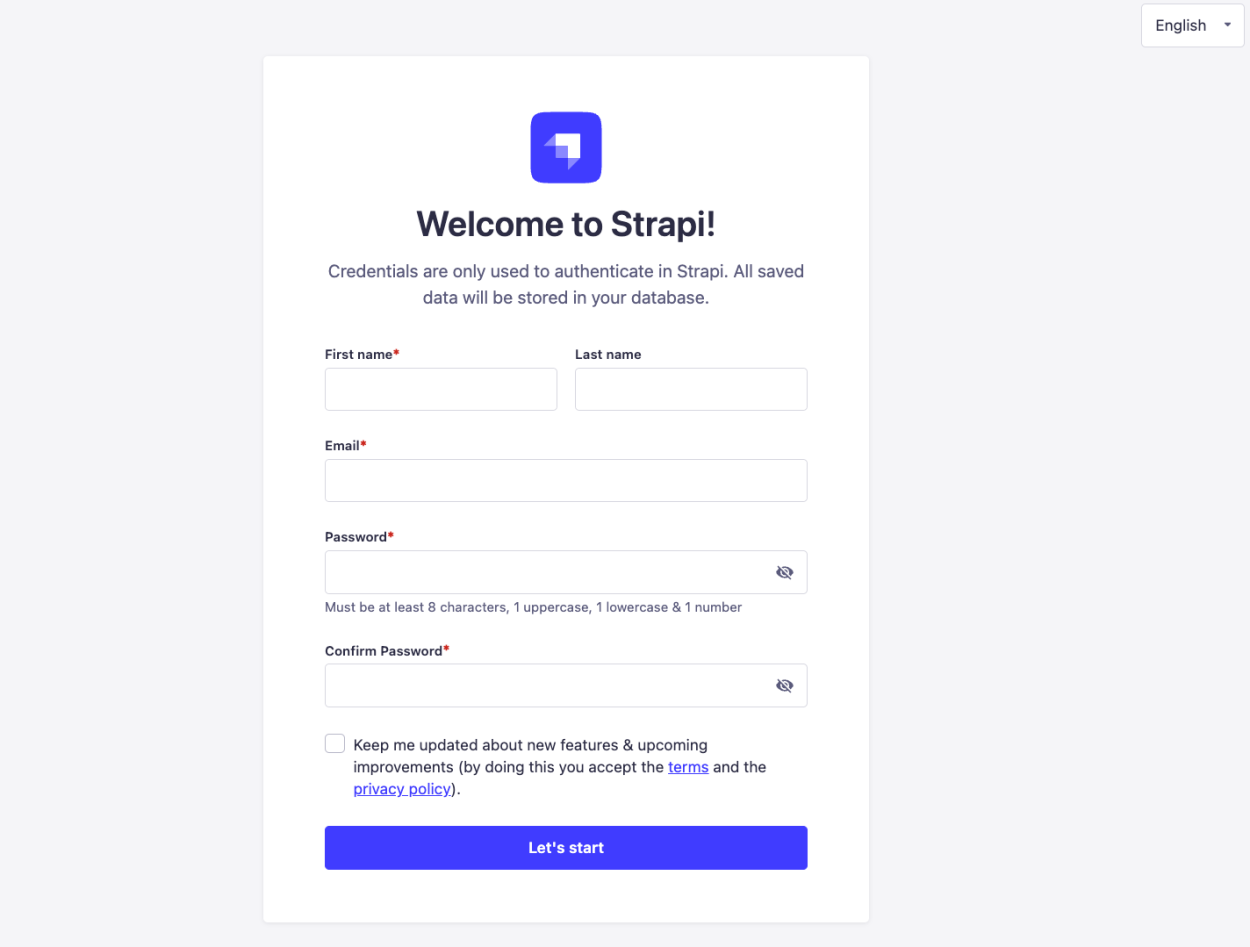
Here you will enter the details for the first and super admin user. After you enter your information, you will land on the Strapi dashboard, which is very straightforward.

- Content Manager: Here you will see all the content on your CMS, divided by content type with filtering, search, sorting, etc.
- Content-Type Builder: Here you visually create your different data models, fields, relationships, and behaviour. Most of the application building is done here and Strapi translates everything to code, which you can also edit or write code if you desire to define models, controllers, policies, etc.
- Media Library: Here you can see all media uploaded to the CMS, and grouping media in folders and categories very easily.
- Plugins: Here you will see the current installed plugins on Strapi.
- Marketplace: Here you will see all the available plugins to install in your Strapi project.
- Settings: Here is all the project settings like Roles, Permissions, Users, Internationalization, Emails, API Tokens, Providers, Webhooks and much more.
Now we are ready to start creating all the content types for our application, before that let's review some important Strapi commands to take into consideration:
  npm run build
  Build Strapi admin panel.

  npm run develop
  Start Strapi in watch mode.

  npm run start
  Start Strapi without watch mode.
Sonpm run buildis a command to build Stapi, this one is important to run before running thedevelopone so all the configuration and changes are applied, for example of you install new plugins or change the configuration files, make sure to run thebuildcommand.