
Part 3: Integrating Appsmith & Strapi Via REST API.
Goal
This is Part 3 of a series called Building Dynamic and Enterprise Dashboards with Appsmith and Strapi, where we explore how this dynamic duo can help you supercharge your data-driven applications with ease.
At the end of this session, you will have an Appsmith App integrated with Strapi using their REST API layer, secured using token-based authentication.
Prerequisites
A working Strapi instance (check part 1 and 2 on how to set that up)
An Appsmith Account (any version works, both cloud or self-hosted)
Overview
Strapi is an open-source headless Content Management System (CMS) that provides a flexible and customizable platform for managing digital content and delivers your content seamlessly via REST APIs or GraphQL. Strapi can be hosted in any Cloud Platform, and since Appsmith can be deployed to any self-hosted cloud platform or your own on-premise, you can deploy both to the same infrastructure.
Create a Strapi API Token
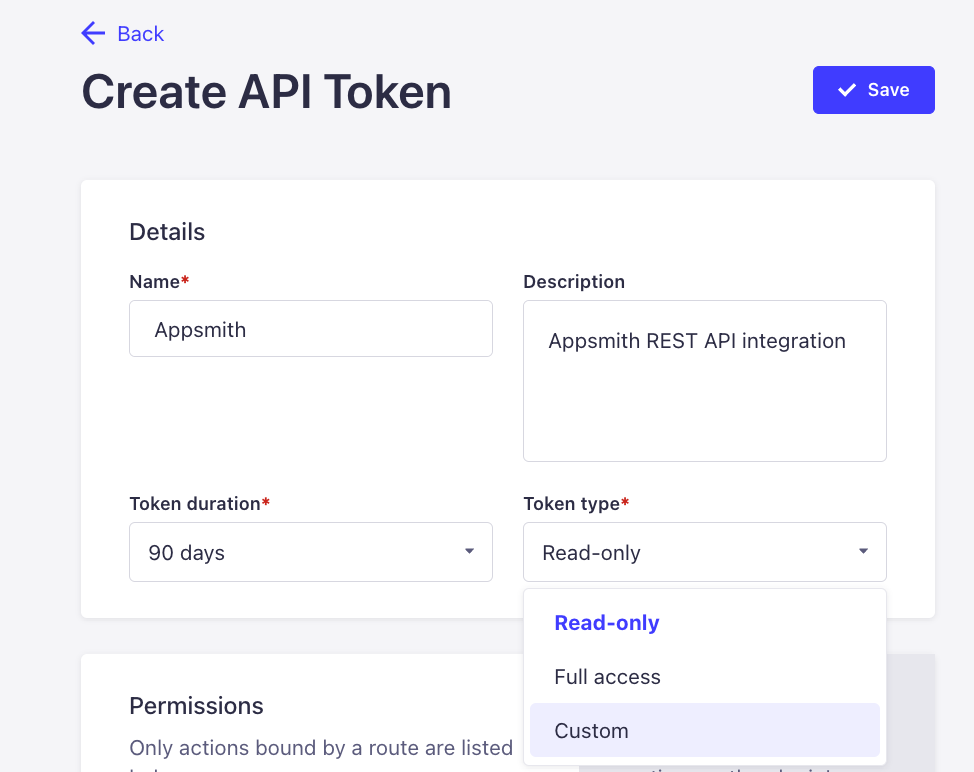
In your Strapi instance, go to Settings > API Tokens > Create New API Token to create the token for authenticating via REST API.
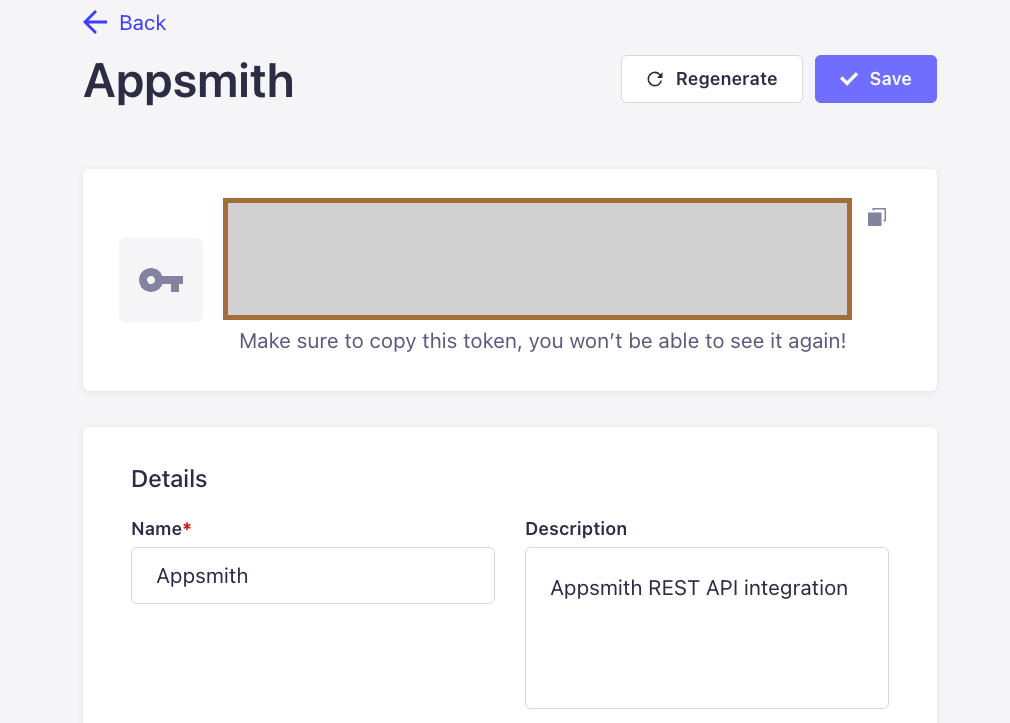
Now, enter the details like Name, Description, Token Duration (for Production you should have a duration; for Development instances, it can be unlimited) and the Type. In my case, I'm just going to read data from Strapi; if you are planning to write data back to Strapi from Appsmith, then we recommend custom and then grain-define to which content types this token can write; we don't recommend full access.
Now, Strapi will give you the Token; make sure to securely store it since you won't be able to retrieve it again.
Create a Datasource in Appsmith
Now that you have your API Token, go to your Appsmith App > Data > Add Datasource > Authenticated API.
In the URL, enter your Strapi instance URL plus
"/api", for example, in my case ishttps://kevinblanco-appsmith.uc.r.appspot.com/api/Then, under Authentication, select Bearer and enter the token you got in Step 1. Give it the name you want; in my case, I will call it "Strapi API," and then Save the Datasource.
Create a Strapi Query
Now that you have your Strapi Datasouce in Appsmith, you can create queries based on it. Appsmith handles the authentication for you, so you don't have to handle the authentication headers on every request. Go to Editor > Queries > Create new Query/API > Strapi API.
You will notice that Appsmith will autocomplete some things in the UI, like the base URL and the headers for you, now all you have to do is enter the endpoint you want to call. For example, in my Strapi instance, I have a content type called "Events" which handles event data, so in my REST API I know I can call GET
/eventsto return the events from the Strapi API.
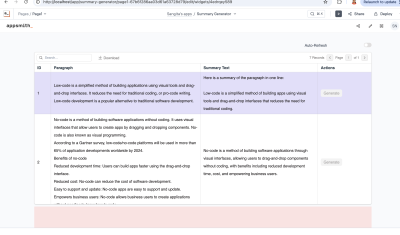
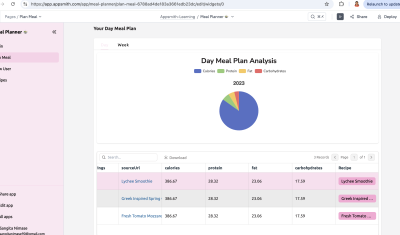
Bind Query Data in UI Elements
Now, with the query in place pulling data from Strapi's REST API, you can confidently start building your UI based on that data. You can use the data binding option in the query or bind the data using the double curly brackets, for example in our case, we called our Query "getEvents" so we can do
{{getEvents.data}}and normally Strapi groups field data in a value calledattributesso you can do{{getEvents.data.attributes}}Here's an example on building a List widget with the Strapi data.
Conclusion
That's it! This is how easy you can connect your Strapi app to Appsmith using their REST API layer. Start building your app today and ask your questions in the comments section.