


Migrating From Airtable API Keys to Oauth2: A Comprehensive Guide
Goal
A comprehensive walkthrough to help developers smoothly transition from Airtable's deprecated API keys to the new OAuth2 integration or alternatively, utilize Appsmith's native SaaS connector for their Airtable integrations.
Prerequisites
Access to an Airtable account to obtain API keys or set up OAuth2
Access to an Appsmith account, if you choose to use its native SaaS connector.
Overview
As the world of software development continues to evolve, so do the tools we use. One such change is happening with Airtable, a popular platform that allows users to create their own custom databases. Airtable has announced that it is deprecating its API keys and moving towards OAuth2 for authentication. This change will initially affect developers building new integrations, but by February 2024, all existing API keys will stop working, forcing developers to migrate existing apps to OAuth2.
But don't worry, we've got you covered. In this blog post, we'll guide you through the process of migrating from the old API keys to the new OAuth2 integration. Alternatively, you can use Appsmith's native SaaS connector, a simpler and equally effective solution. Let's dive in!
Understanding the Change
Before we get into the how-to, let's understand what's changing. Airtable is moving from API keys to OAuth2, a protocol that allows applications to request authorization to access details from an Airtable user's account without getting their password. This is a more secure method of authentication and is widely used in the industry. You can read more about this change in the Airtable API Key Deprecation Notice.
Migrating to OAuth2
Airtable provides a comprehensive guide on how to integrate OAuth into your applications. This includes details on authorization requests, token creation requests, token expiry and refresh tokens, and more. Here are the key steps:
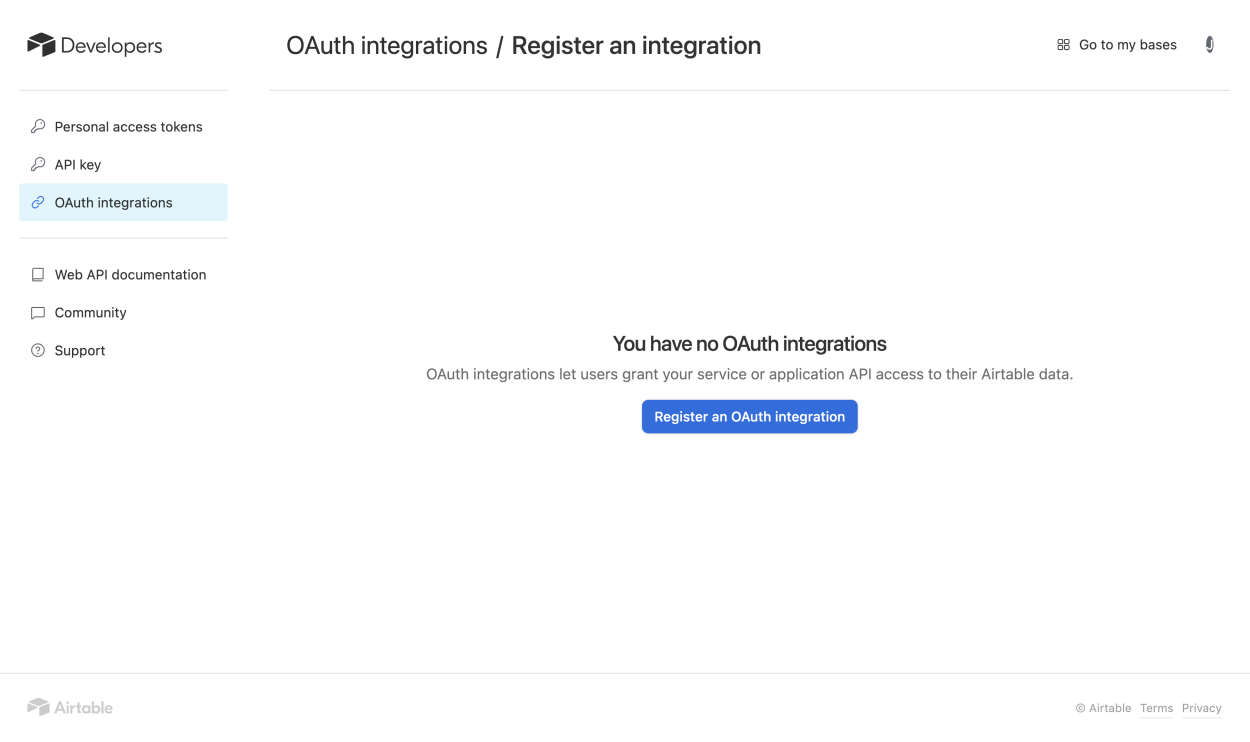
Register Your Application
You'll need to register your application with Airtable to get your client ID and client secret, which are essential for the OAuth2 process here.
Authorization Request
The Authorization Request is the initial phase in the OAuth2 process. When a user decides to use your application, they are redirected to Airtable's authorization endpoint. This is a webpage hosted by Airtable where the user is asked to log in and authorize your application to access their data. This process is typically initiated by a link or button in your application that takes the user to the authorization endpoint.
The key advantage of OAuth is that it allows your application to access user data without needing to know the user's login credentials. Instead, your application receives an authorization code, which can be exchanged for an access token. This process enhances security and user trust. For a deeper understanding of OAuth, consider resources like the official OAuth website.
After clicking to register your application from the step above, add an integration name and redirect URL like below
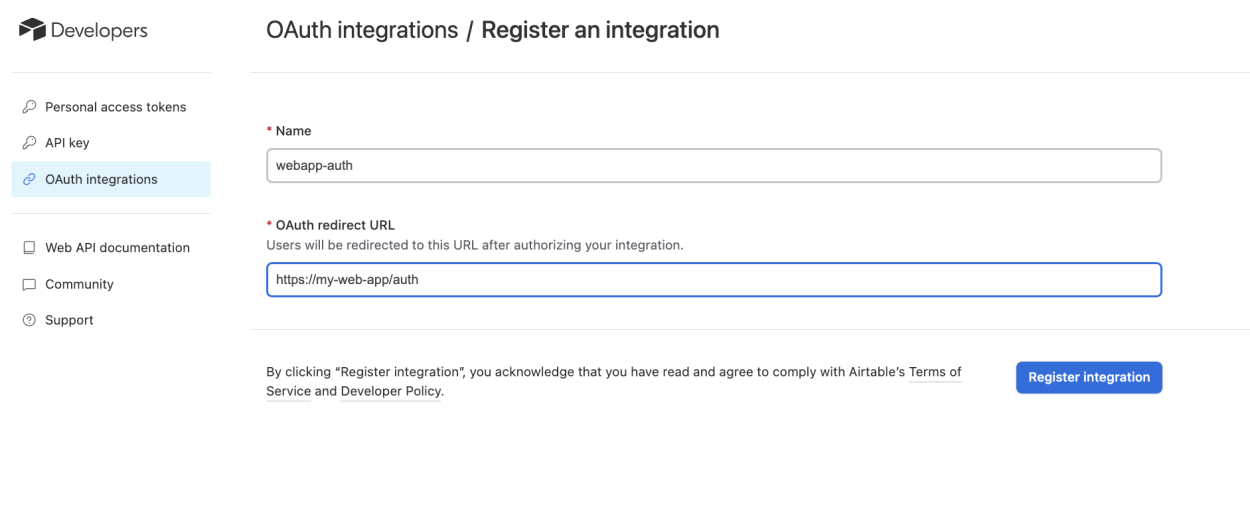
Register Application
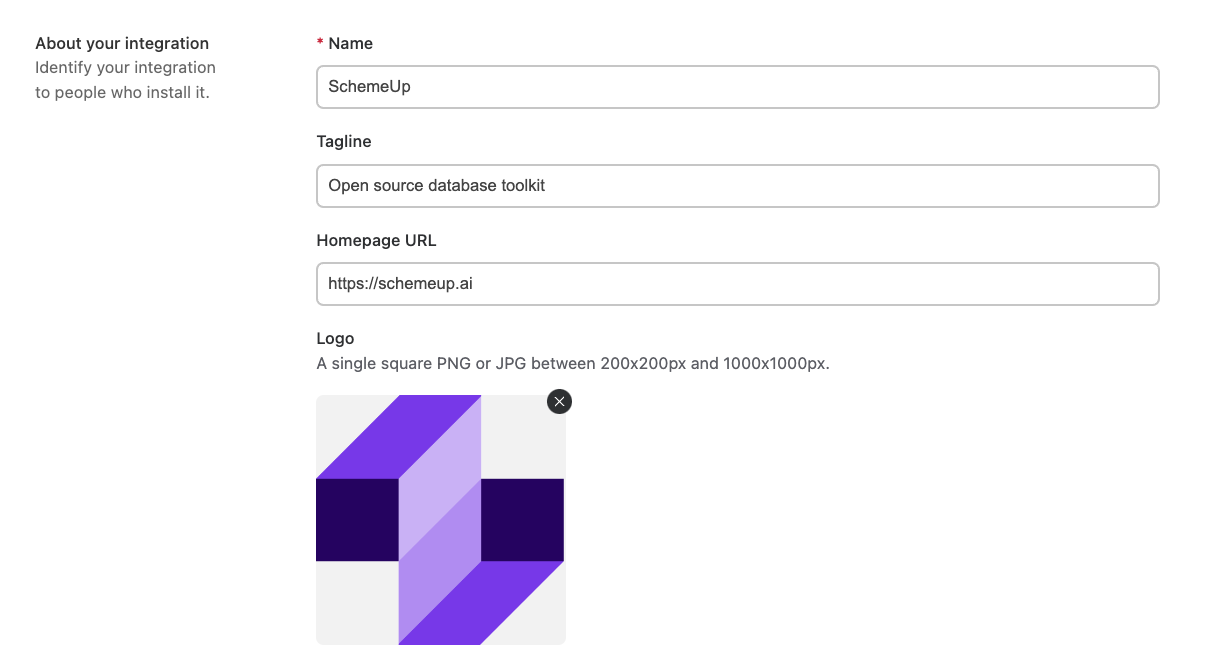
First, you'll need to provide some basic information about your integration. This includes the name, tagline, homepage, and logo of your application. This information will be used to identify your integration to users who install it.
Next, you'll be asked to provide developer details. Airtable will provide you with a Client ID and you'll be prompted to create a Client Secret. The Client Secret is a private key that authenticates your integration when requesting an OAuth token. It's important to note that you should only generate a client secret if you are requesting OAuth tokens from a server.

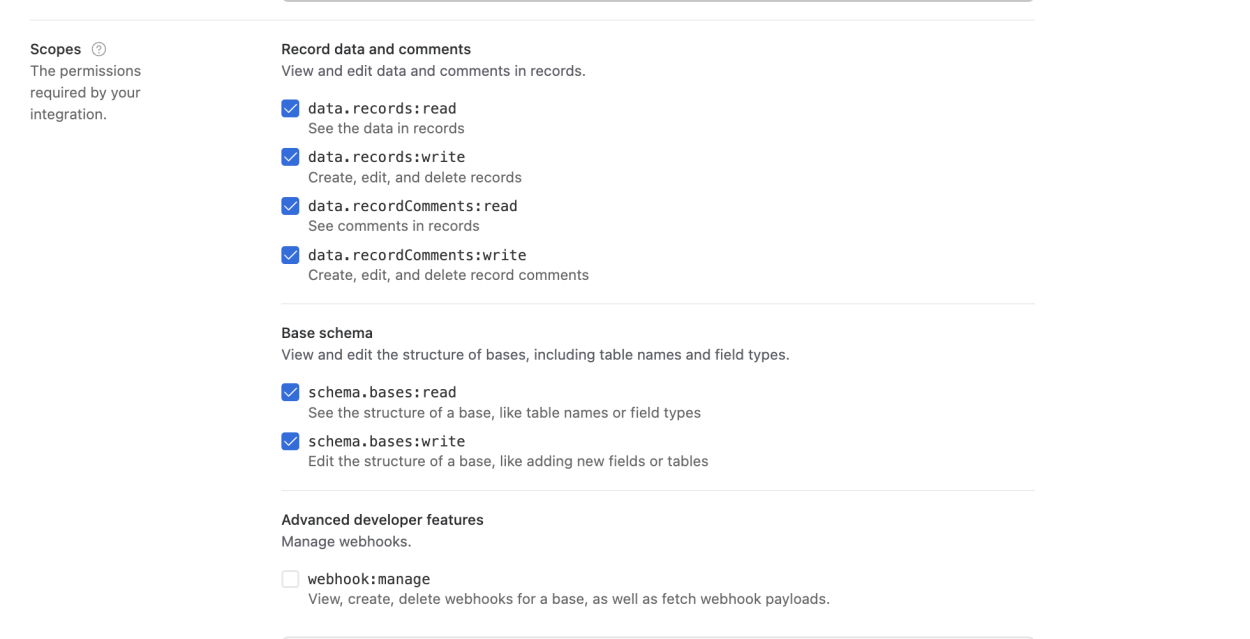
Scopes define the permissions required by your integration. You'll need to specify which scopes your application requires. For more information on how scopes work, you can refer to Airtable's Scopes Documentation.
Finally, you'll need to provide support information for your integration. This includes a support email, privacy policy URL, and terms of service URL. Please note that until you provide this information, your integration will be limited to development use and only you will be able to authorize it.
Once you've filled out all the necessary information, you can submit the form to register your application. With your application registered, you're now ready to start integrating with Airtable using OAuth2.
Using Appsmith's Native SaaS Connector
If you're looking for a simpler solution, Appsmith's native SaaS connector for authenticated datasources is a great alternative. With Appsmith, you can connect your Airtable endpoint in clicks, write simple queries to fetch your data, and bind it to a growing library of 45+ widgets. Here's how you can do it:
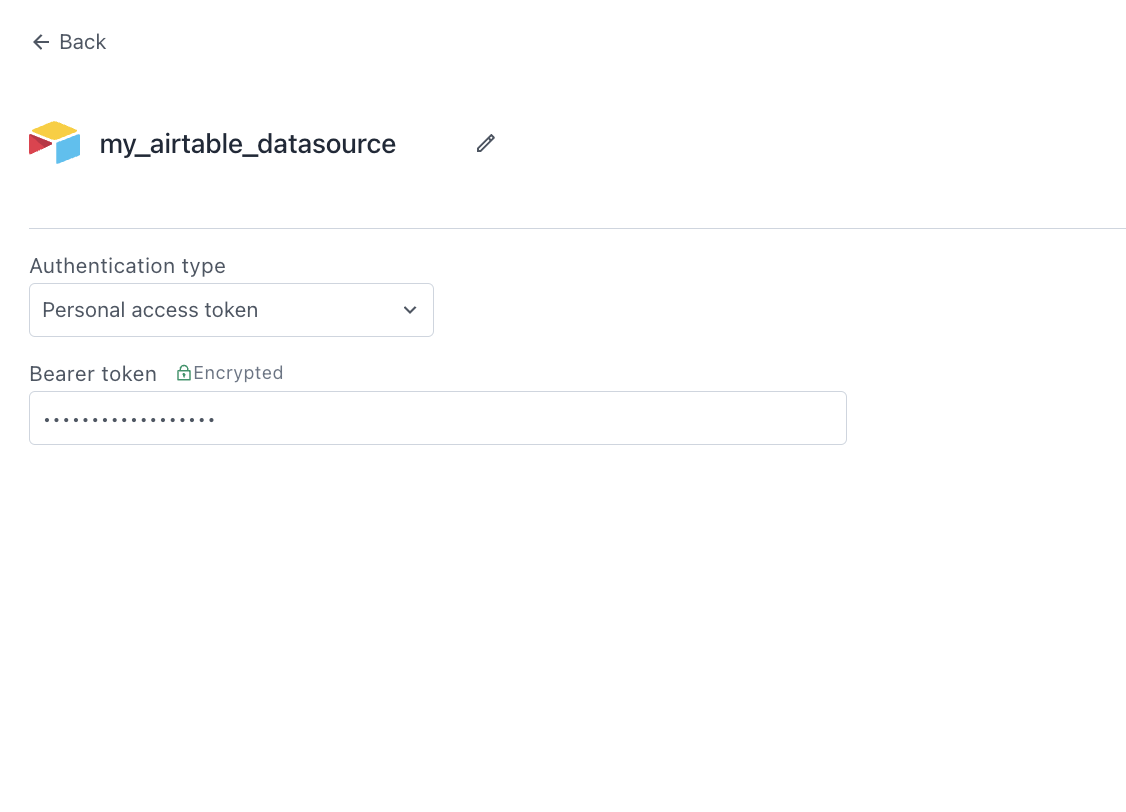
- Connect your Airtable Endpoint: In Appsmith, you can easily connect your Airtable endpoint by providing your Personal Access Token.
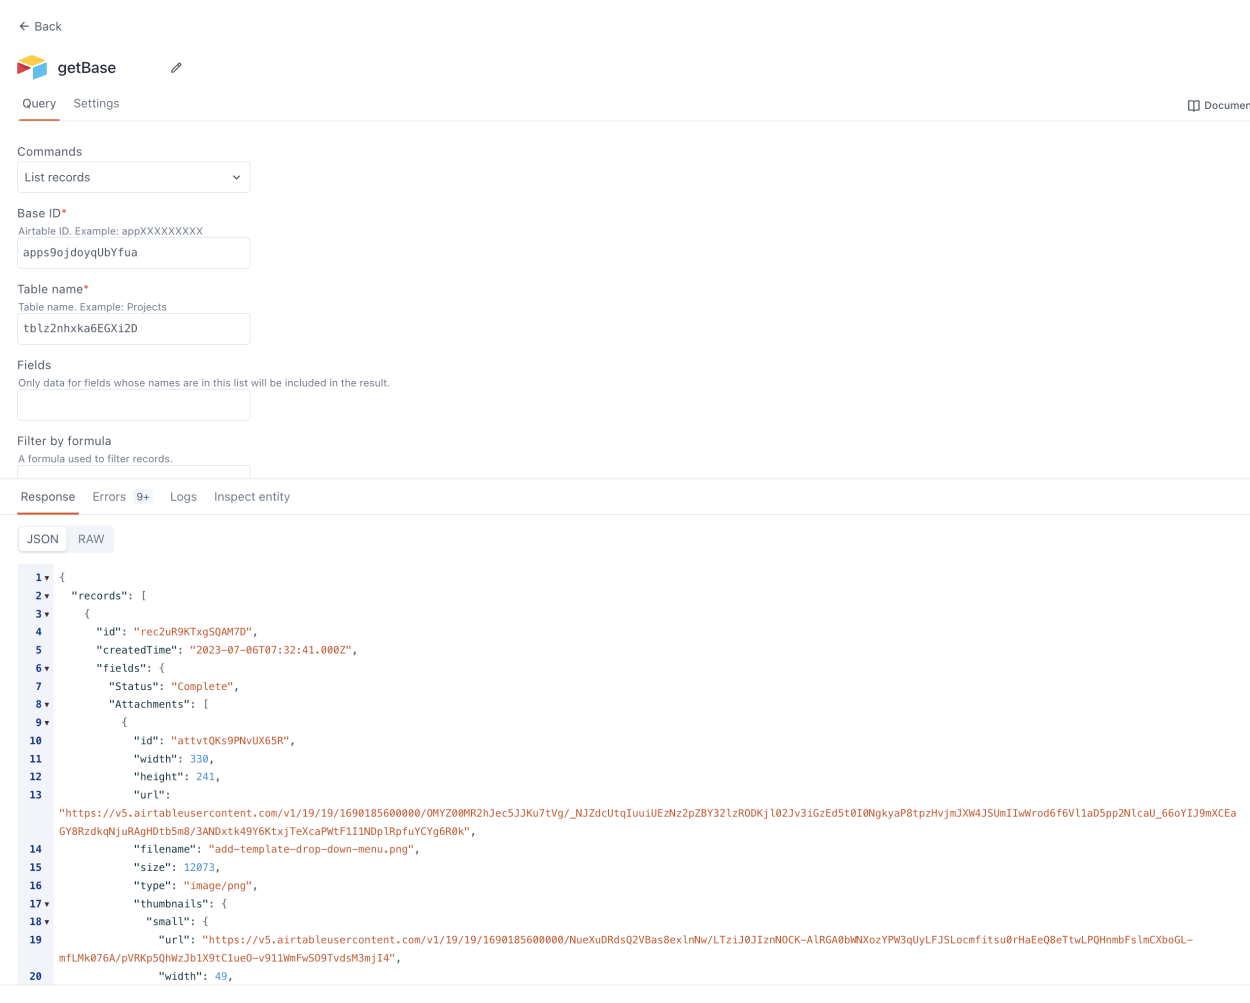
- Fetch Your Data: Once connected, you can write simple queries to fetch your data from Airtable.
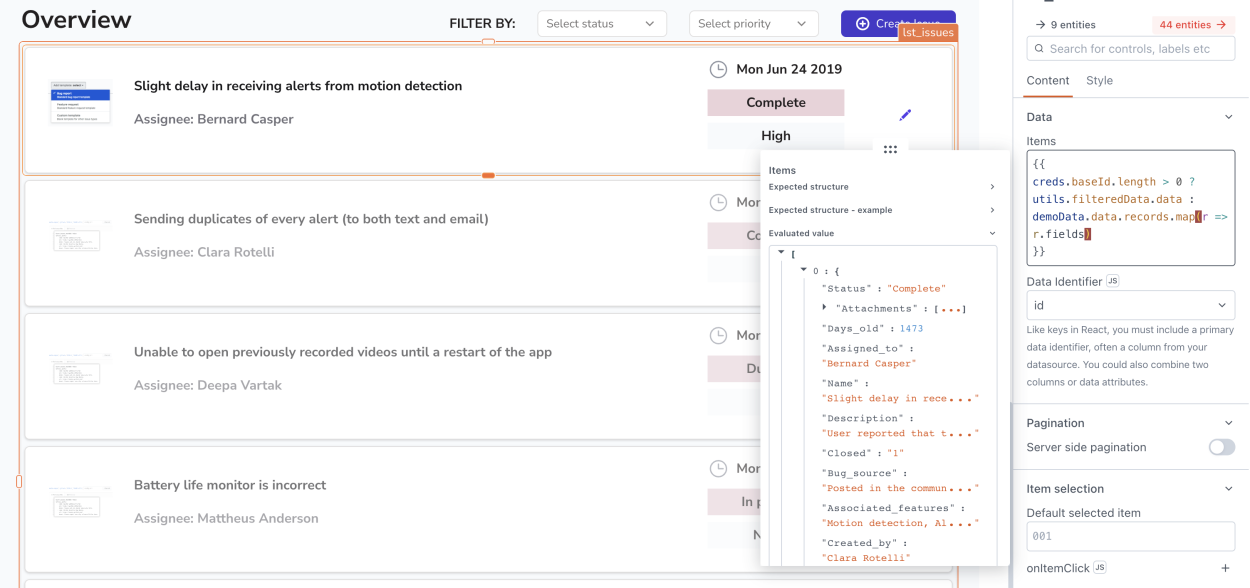
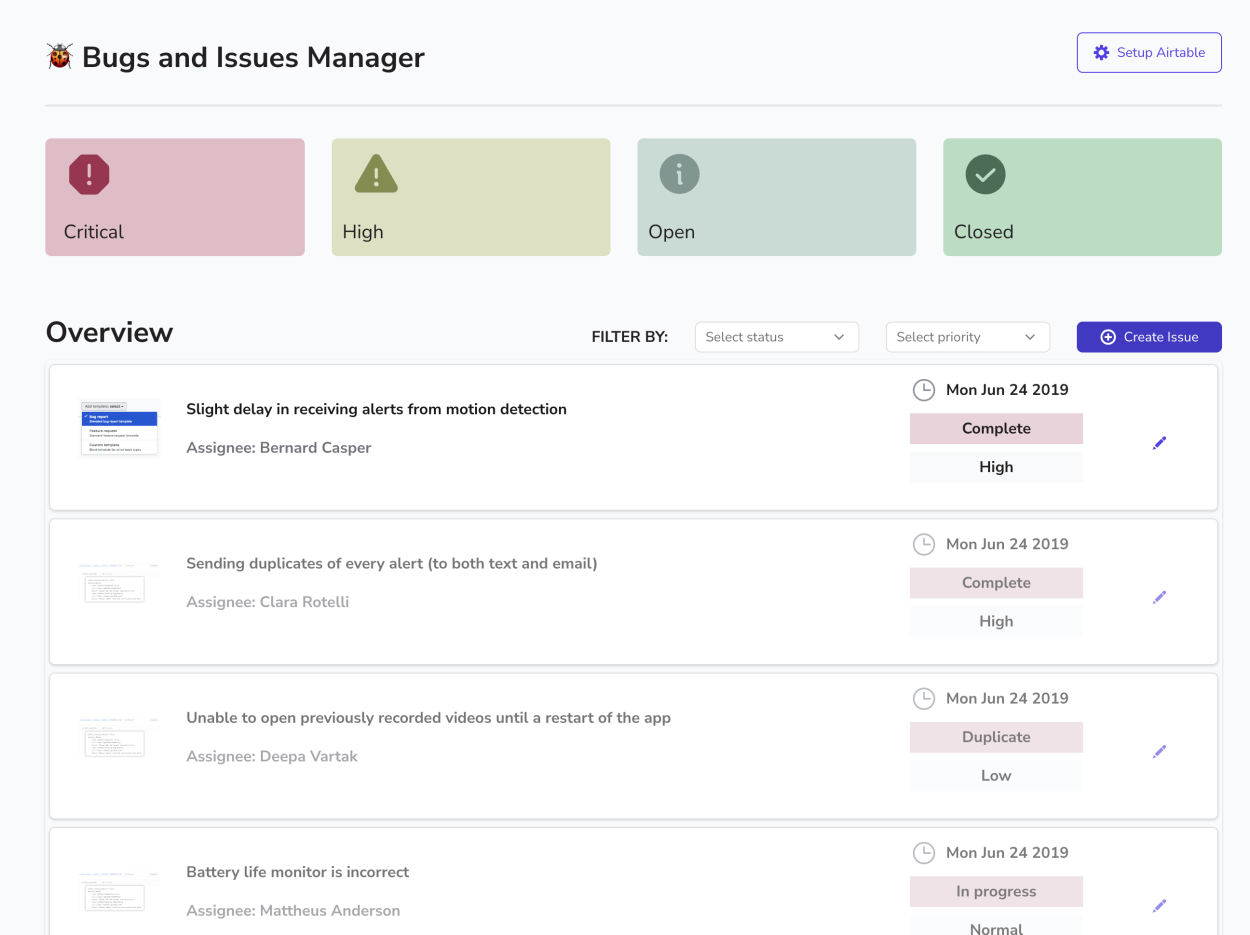
- Bind Your Data: Appsmith allows you to bind your data to a variety of widgets, from tables and charts to forms and text editors.
- Deploy: Once you're satisfied with your application, you can deploy it confidently to Appsmith's cloud or self-host it using their pre-built Docker and Kubernetes images.
You can find more details in the Appsmith Airtable Integration Guide.
- Connect your Airtable Endpoint: In Appsmith, you can easily connect your Airtable endpoint by providing your Personal Access Token.
Conclusion
While the transition from Airtable API keys to OAuth2 might seem daunting, it's a step towards more secure and efficient applications. Whether you choose to migrate to OAuth2 or use Appsmith's native SaaS connector, we hope this guide has made the process clearer and easier. Happy coding!